It always starts with the marketplace
Have we not yet learned that I come up with the weirdest things? I was browsing the marketplace (yup, again) and came upon a wooden electrical spool and thought – oh that would make a great side table AND look like a thread spool.
Unfortunately, the perfect sized spool was in Gresham, OR and nobody wants to drive there. So after searching for the perfect size spool closer to home, I gave up and went with plan B.
Home Depot
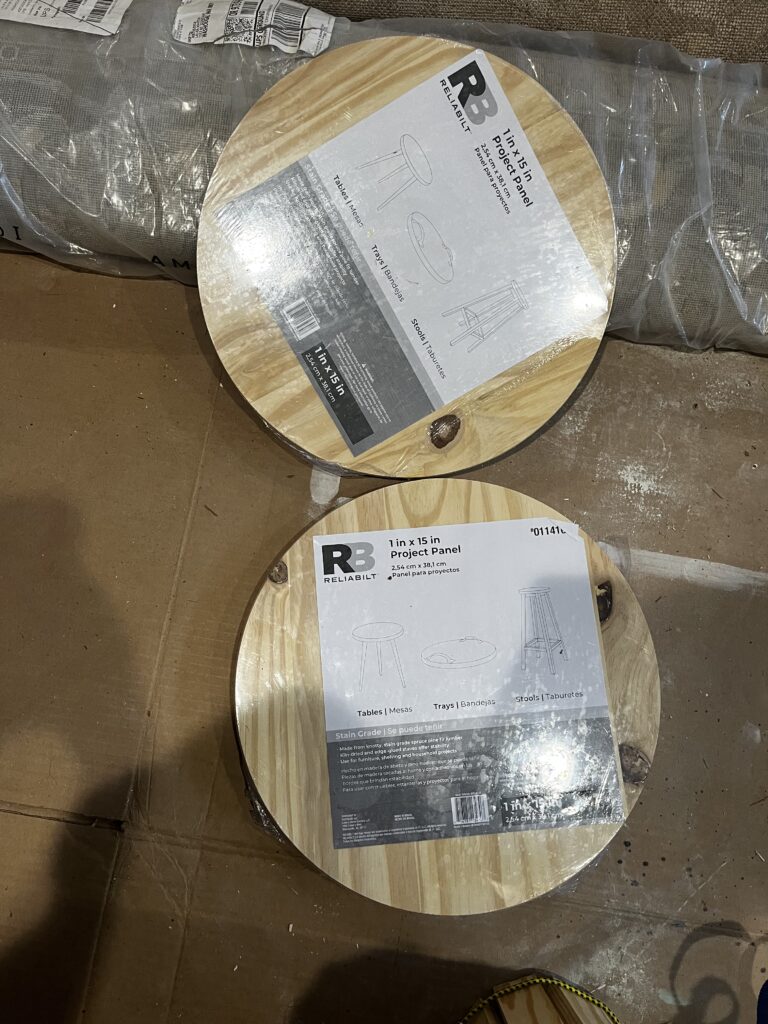
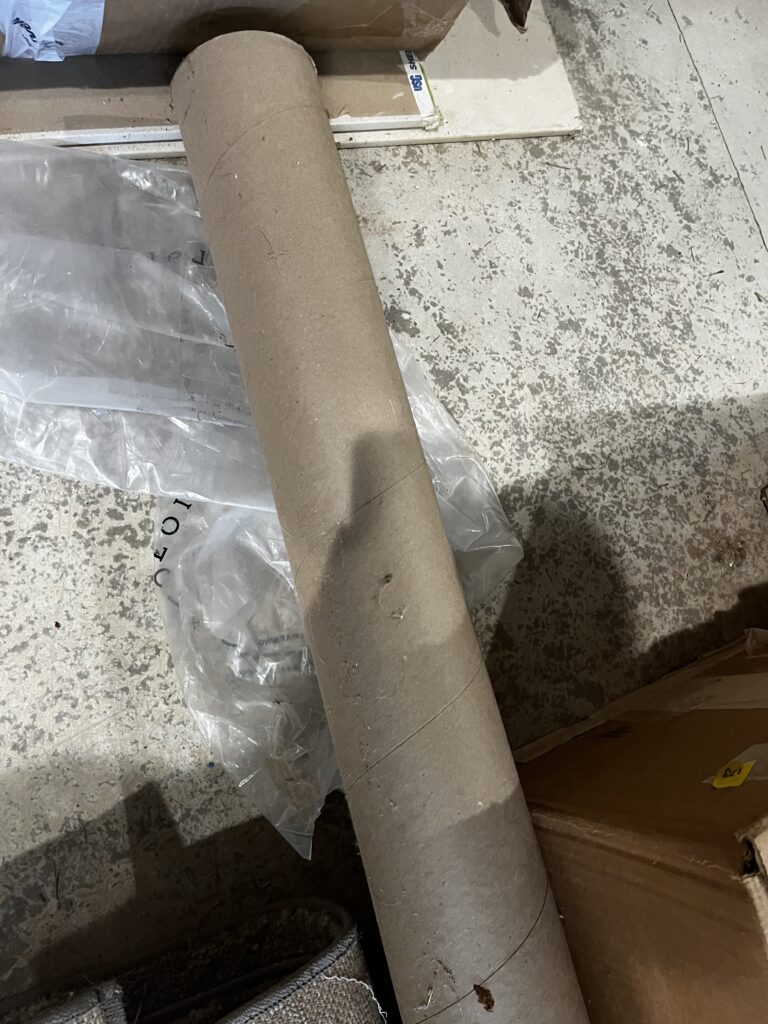
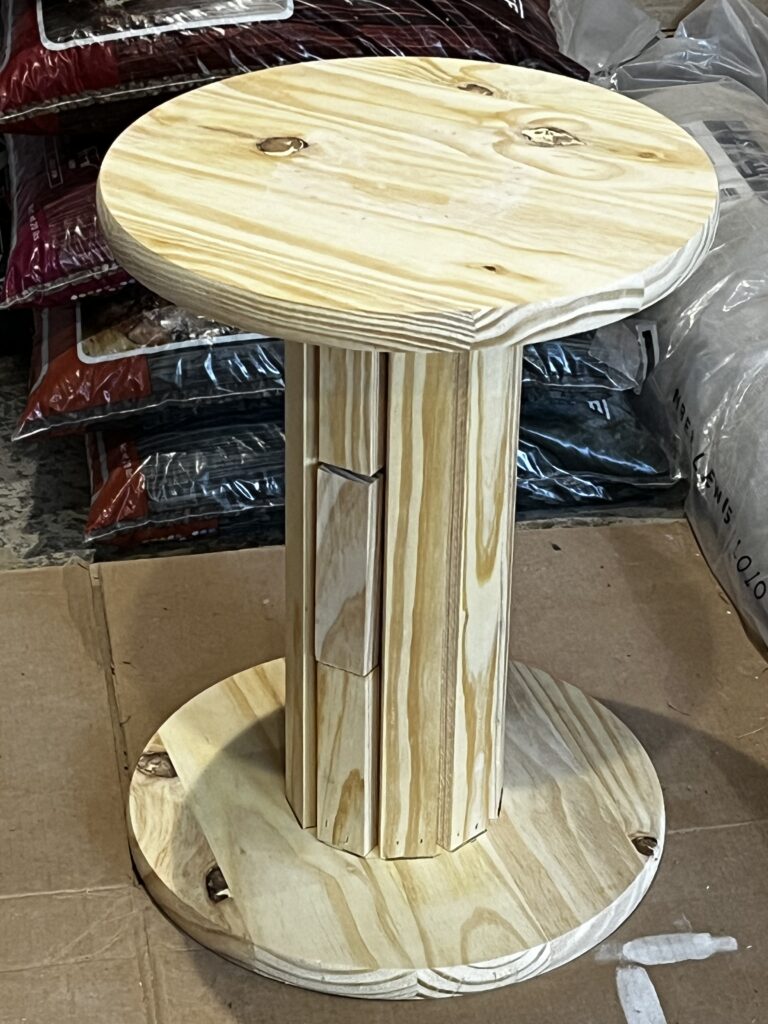
Plan B is always home depot. On a previous shopping trip, I saw that finished pine rounds were relatively cheap. Almost cheaper than an electrical spool on the marketplace. So I picked up two of them and planned on using an old cardboard tube from heavy-duty landscaping fabric (we never cut it up to recycle) for the inside. You can see it, right?
I knew the cardboard wasn’t going to be sturdy enough to support any weight (because you know someone’s going to sit on this thing) so on the next trip to the Depot, I picked up some pine pieces of precut wood. I then cut them to the height I wanted and glued them around the tube.
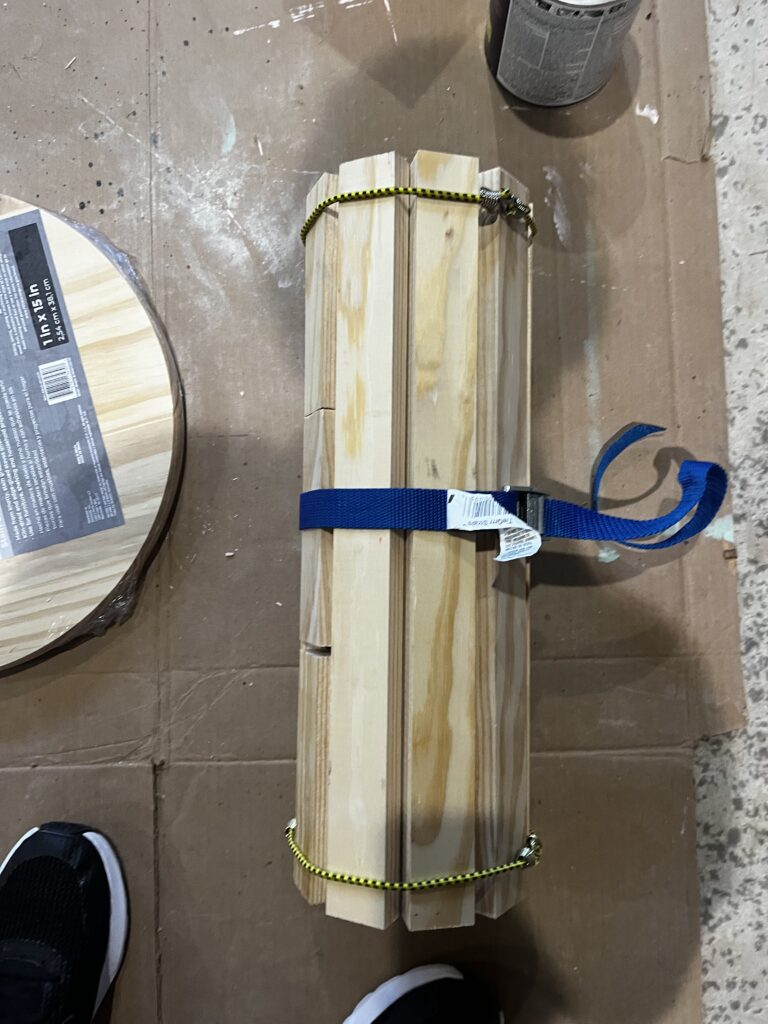
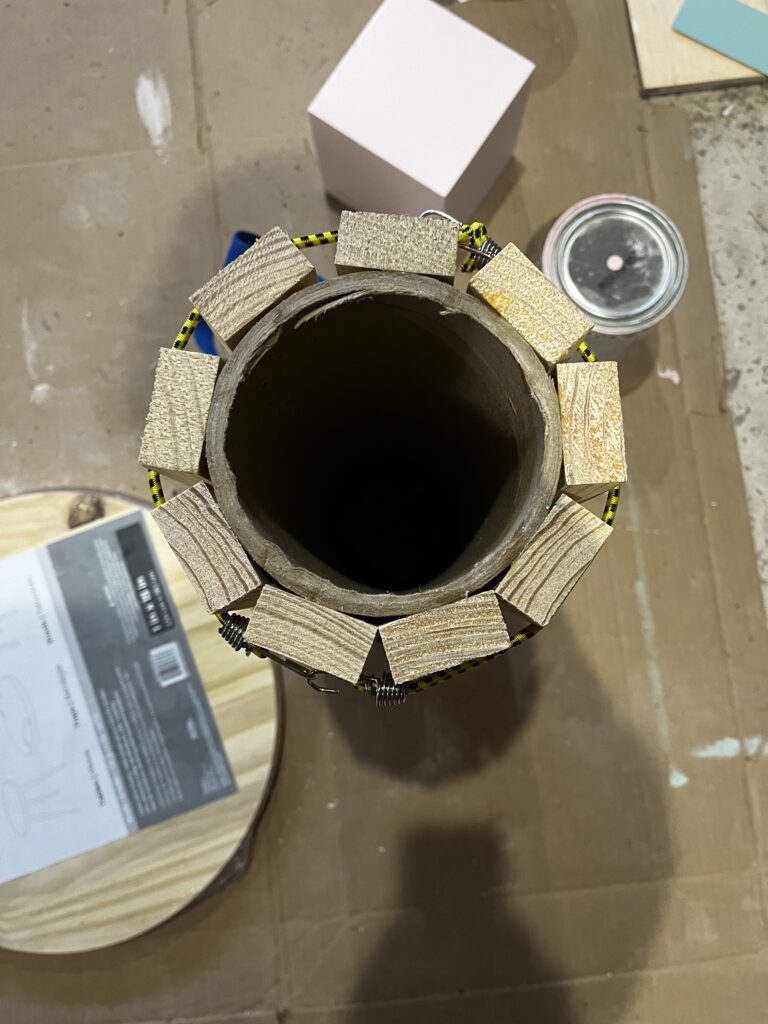
I wasn’t really concerned about how pretty this was since it was going to be covered. I checked my vision to make sure the proportions looked ok. I think it was looking better than an electrical spool would have!
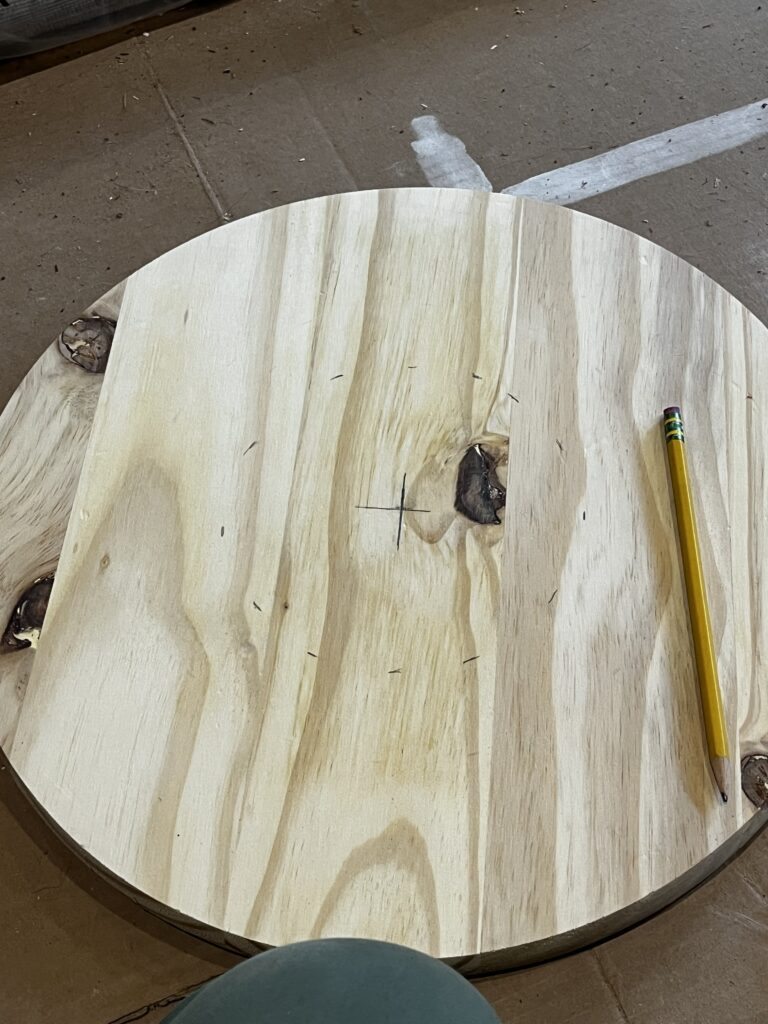
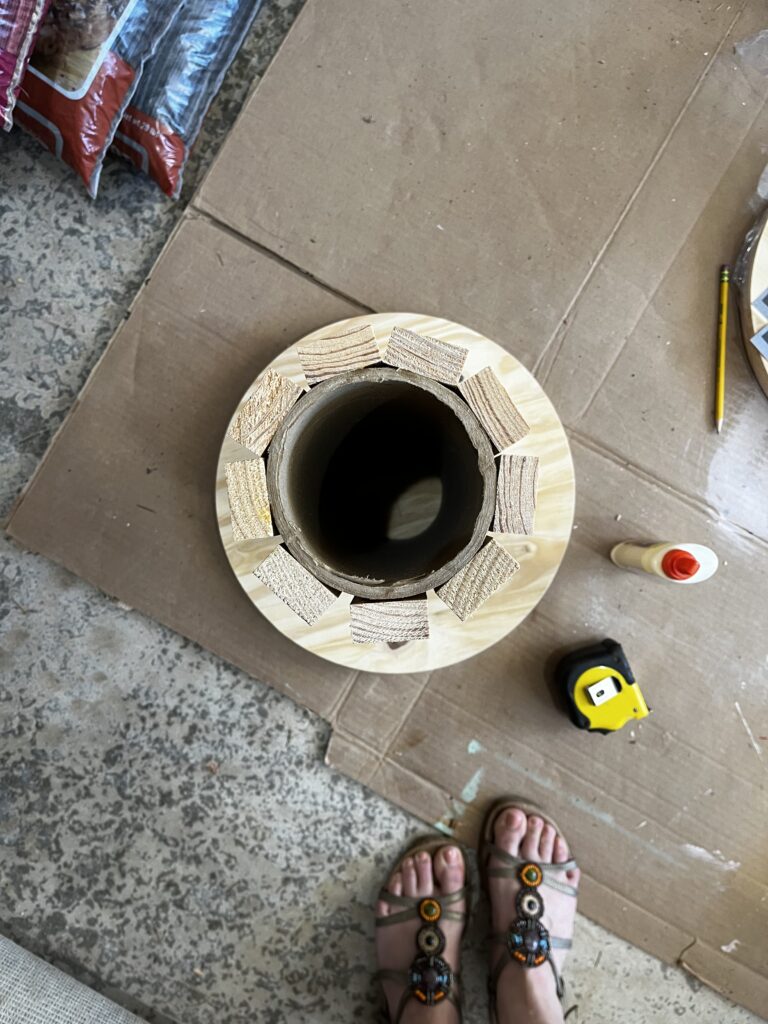
Then I had to do maths and measures to make sure that this tube sat centered on the circle pieces. Meh, close enough. My camera angle was probably off anyways.
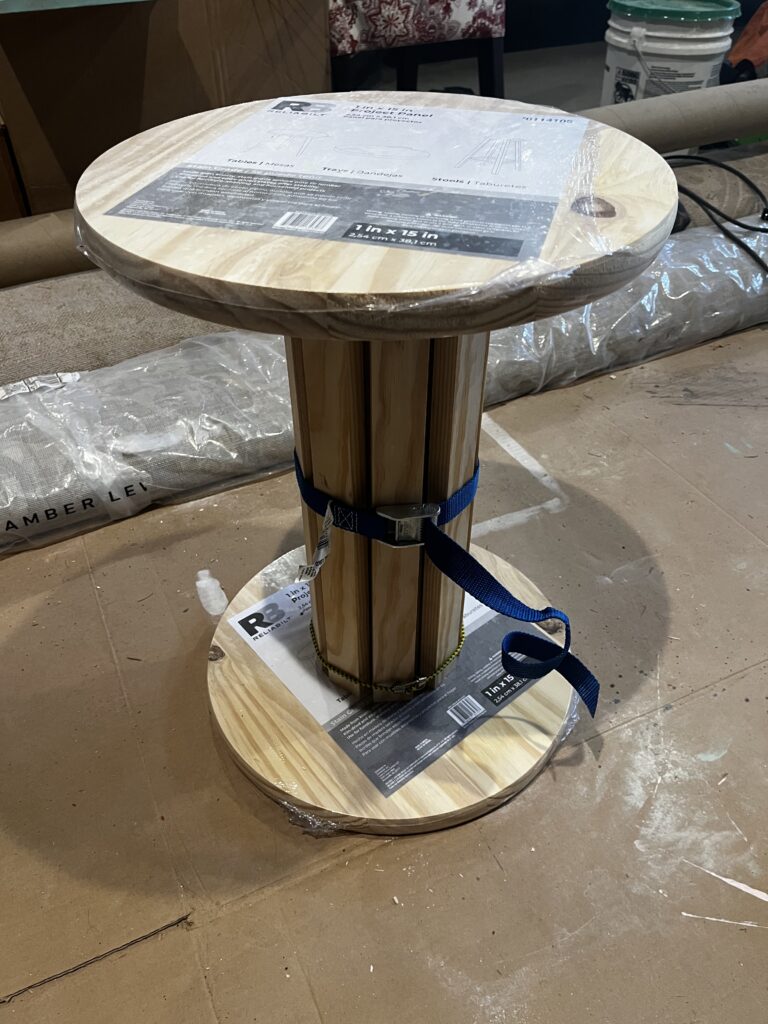
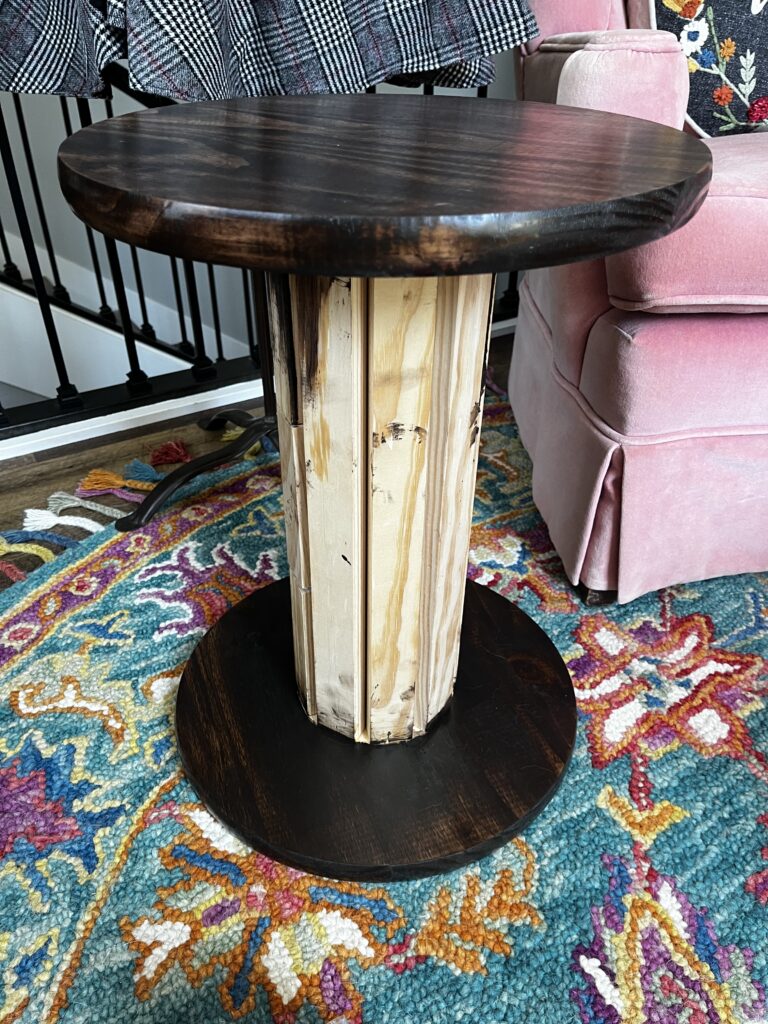
Then it was time to glue and nail it all together! After the hour I spent trying to put the nail gun and compressor all together, I finally had to ask Jim to help me turn the damn thing on. #sigh
Next up…stain. I just used the same stain I’d been using on everything else in the sewing room. Thankfully the pine took it pretty well. Then I added a couple coats of varnish and she was ready for the final step!
Fabric time!
While I’m not scrolling the marketplace, I’m scrolling Pinterest. A while back, I decided I wanted to make a Jelly Roll Rug and proceeded to buy all of the materials to do so. Once I concocted this plan though, I knew I’d be able to apply the same principal to get my “thread” look. And, of course I didn’t read the directions and actually pay attention to the width of jelly roll fabric strips so I took all of my leftover fabric from my colorful quilt I use everyday and cut 2 inch strips.
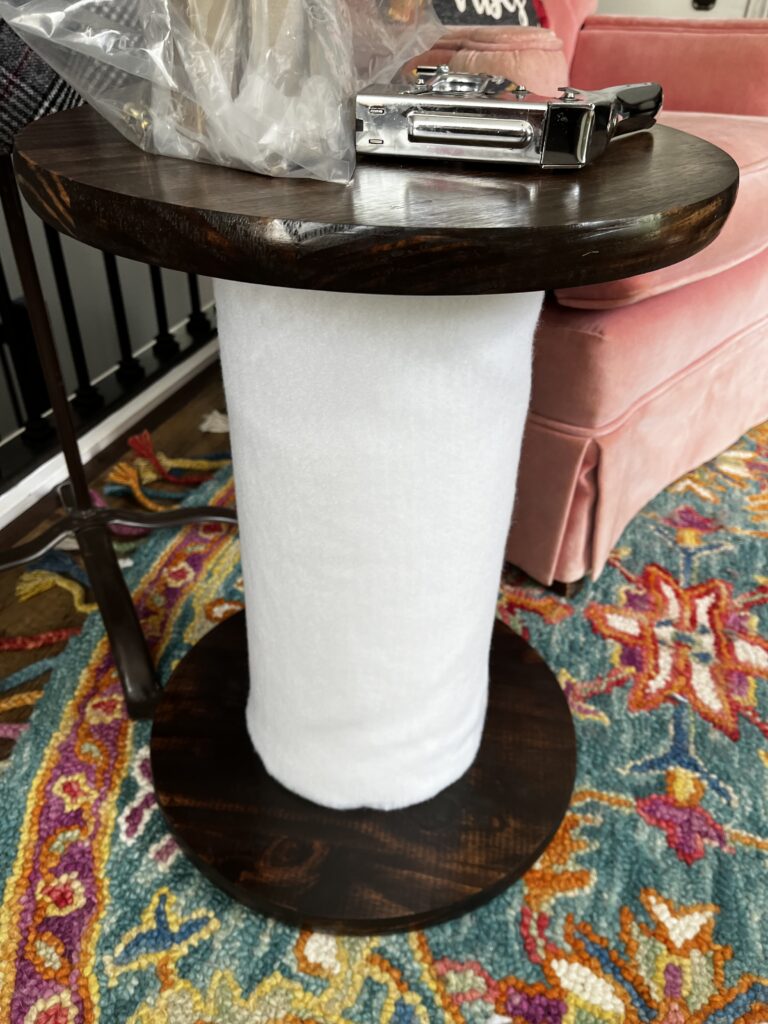
But first! I covered the wood slats with some batting I bought at a thrift store while on vacation. Win!
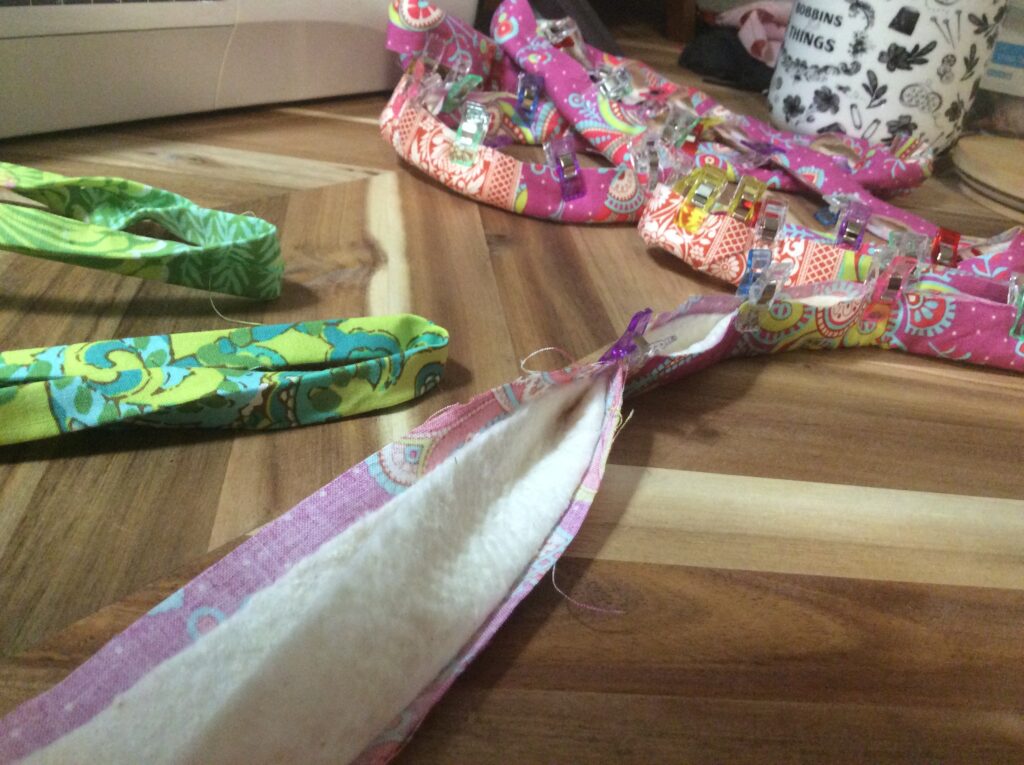
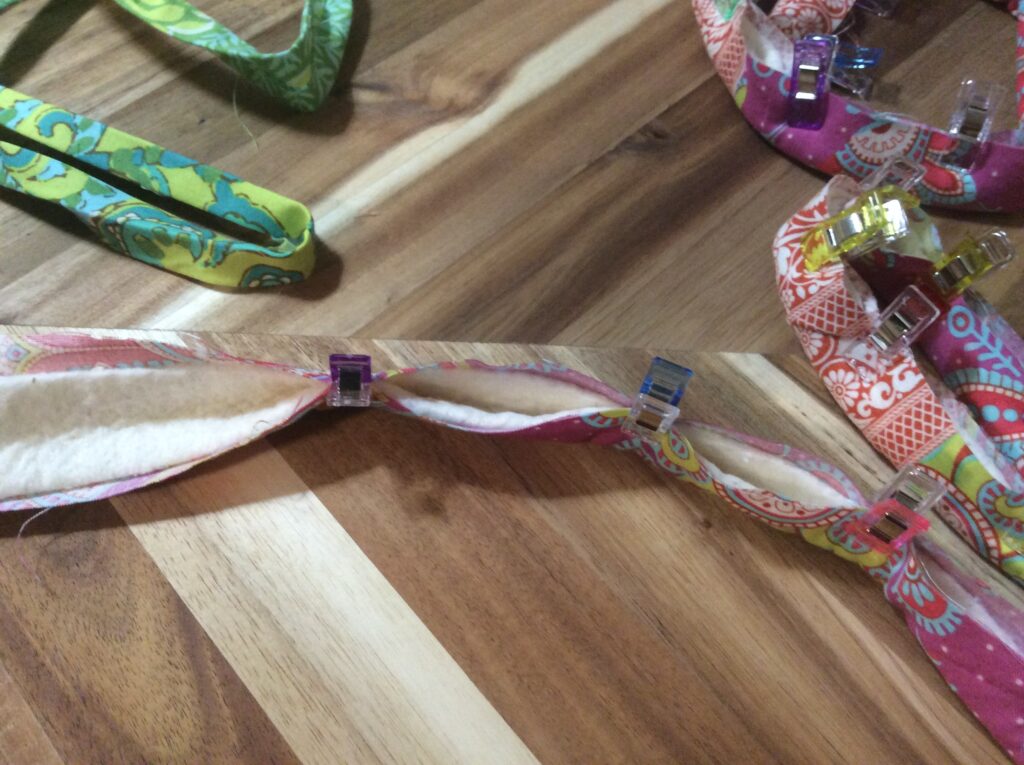
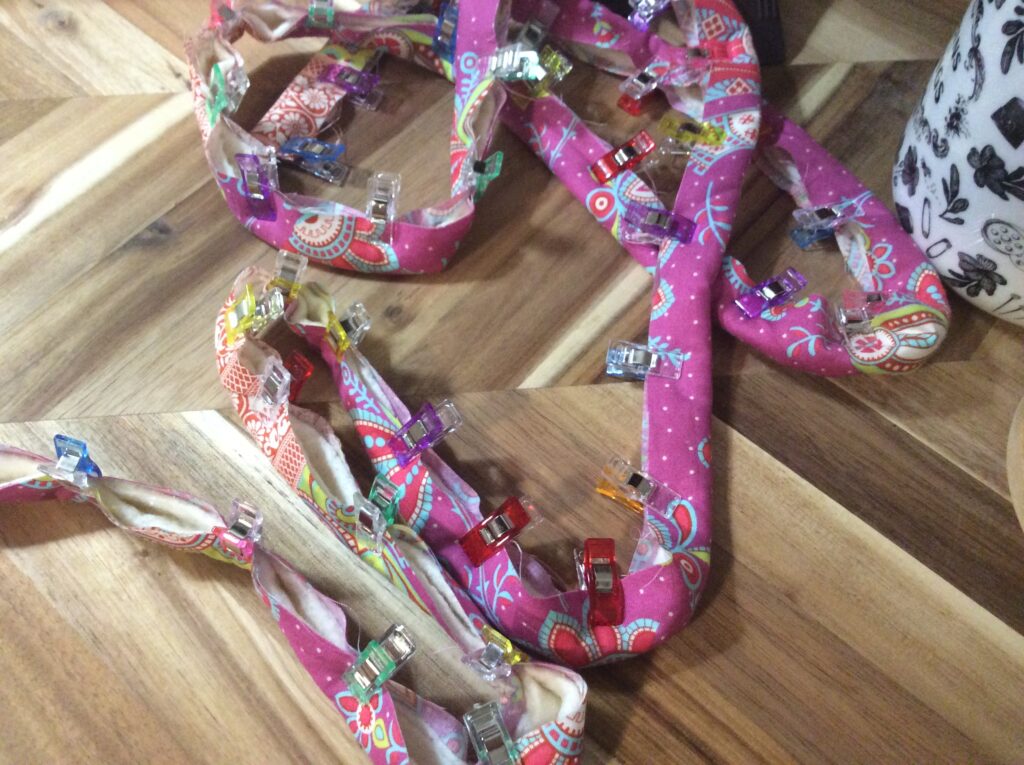
Then I sewed my 2 inch strips all together into one reeeeally long piece of fabric (google jelly roll rug for a step by step). I guesstimated how many strips I’d need because that’s how I roll. Next I took the roll of 2.5 inch batting that I bought for my jelly roll rug (darn I’m going to have to buy more) and folded it inside the fabric and made a batting sandwich. I used my sewing clips (all of them) to do this the entire length of my fabric.
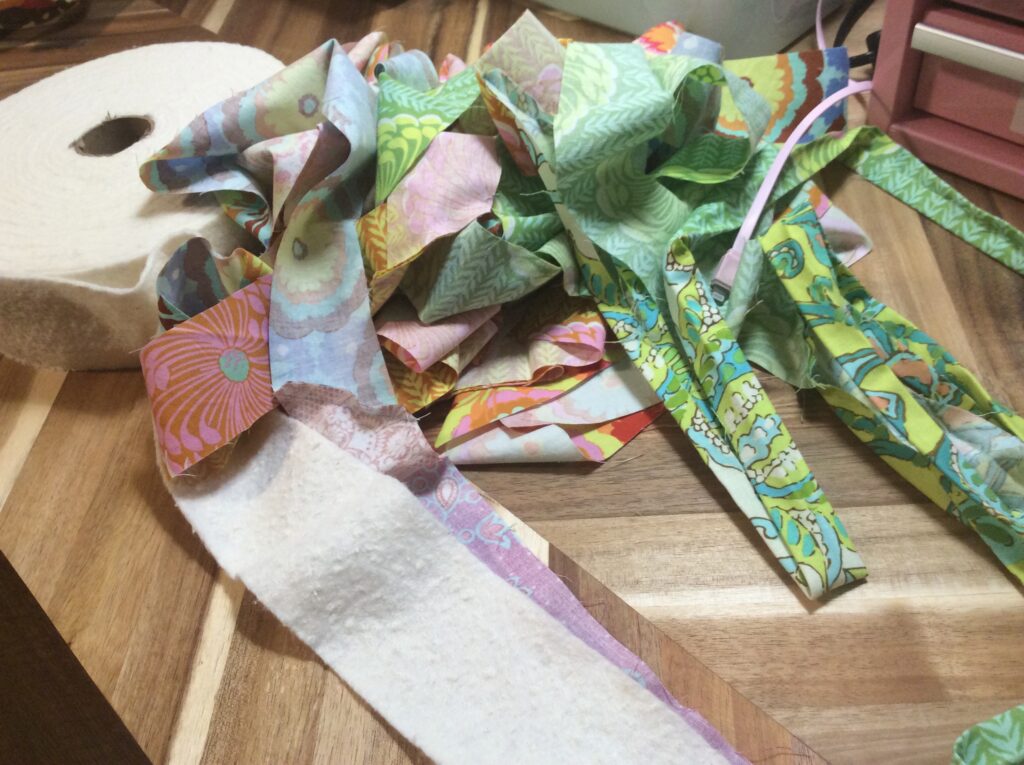
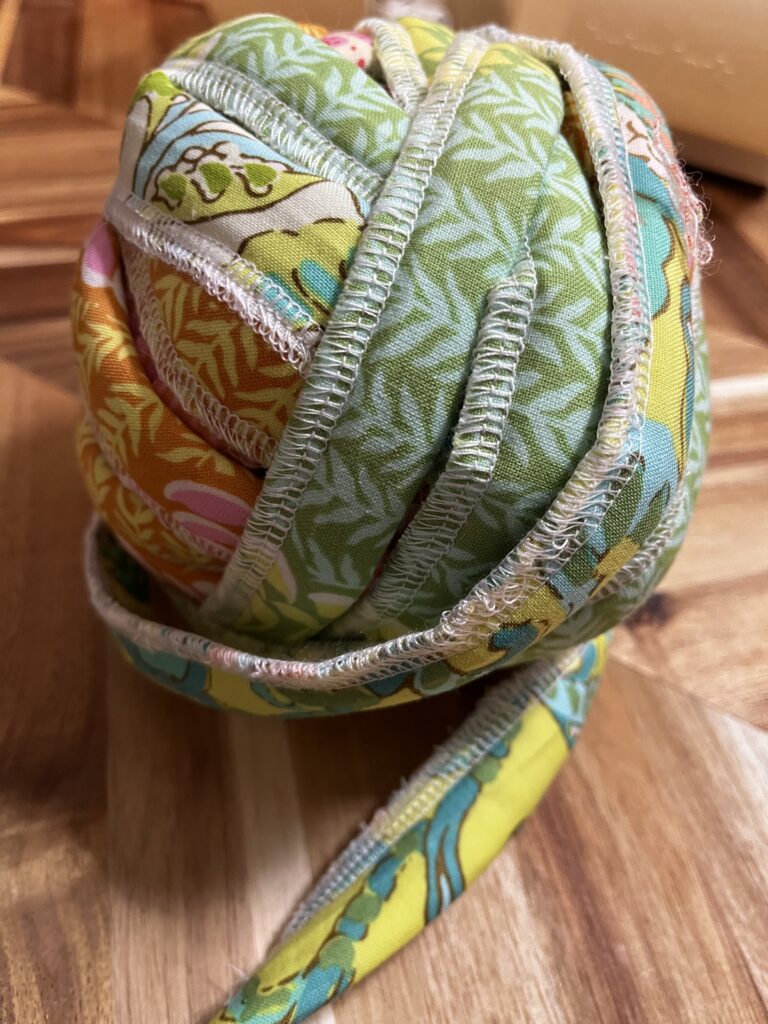
Then, because I’m extra lazy, I serged along the edge so that the fabric wouldn’t fray. I got one gynormous fabric snake that I rolled into a ball.
Then I got a little worried that there wasn’t enough so I did a test wrap. There was some excess so I knew I’d be ok. And I decided I wanted to wrap it a little differently than my test to make it a little bit tighter and to make sure that my serged edge wasn’t showing. Tests are good!
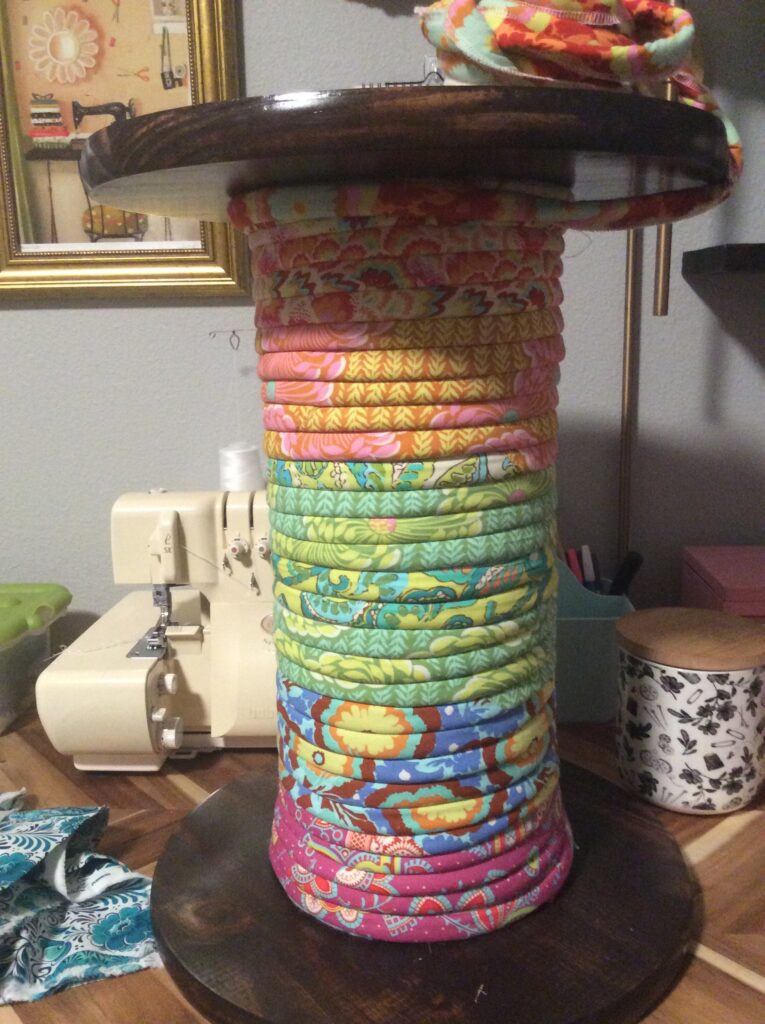
Take 2
I decided not to staple anything in place just in case I needed to start over and re-wrap. I really didn’t want to lose any fabric as I loved it all. So I wrapped a little tighter folding the serged edge to the batting side, giving the “thread” a more uniform look. I also finished smack-dab on the nose with my fabric length. I tucked the ends on the bottom and the top to finish it off…so far it’s all staying put really well!
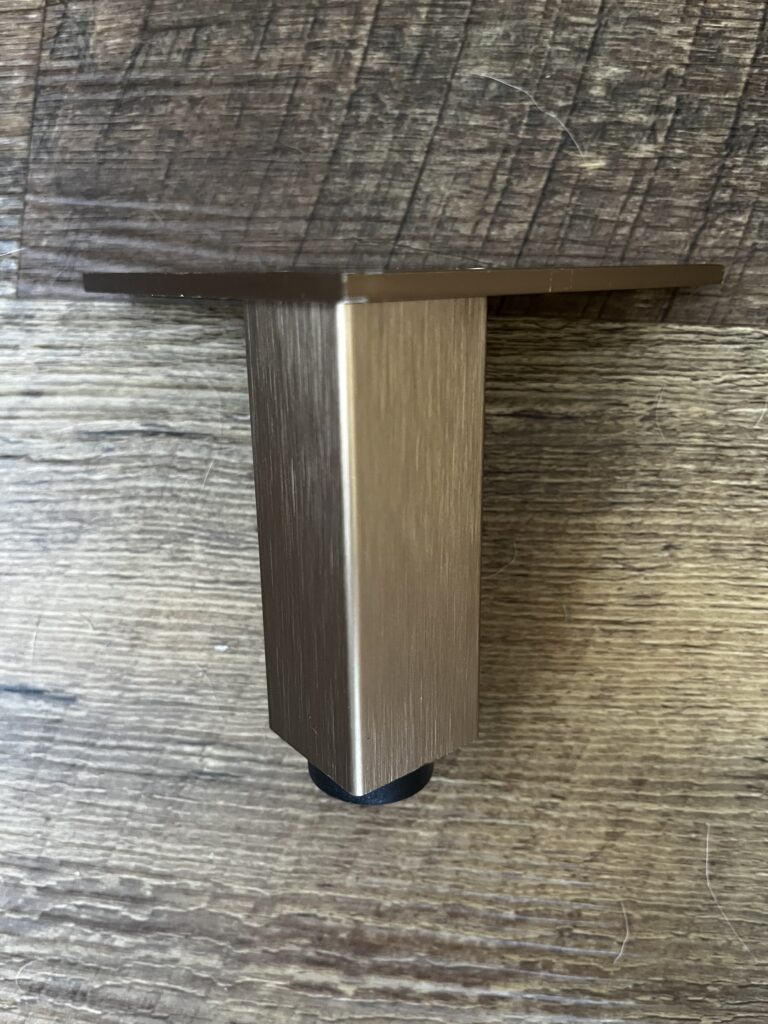
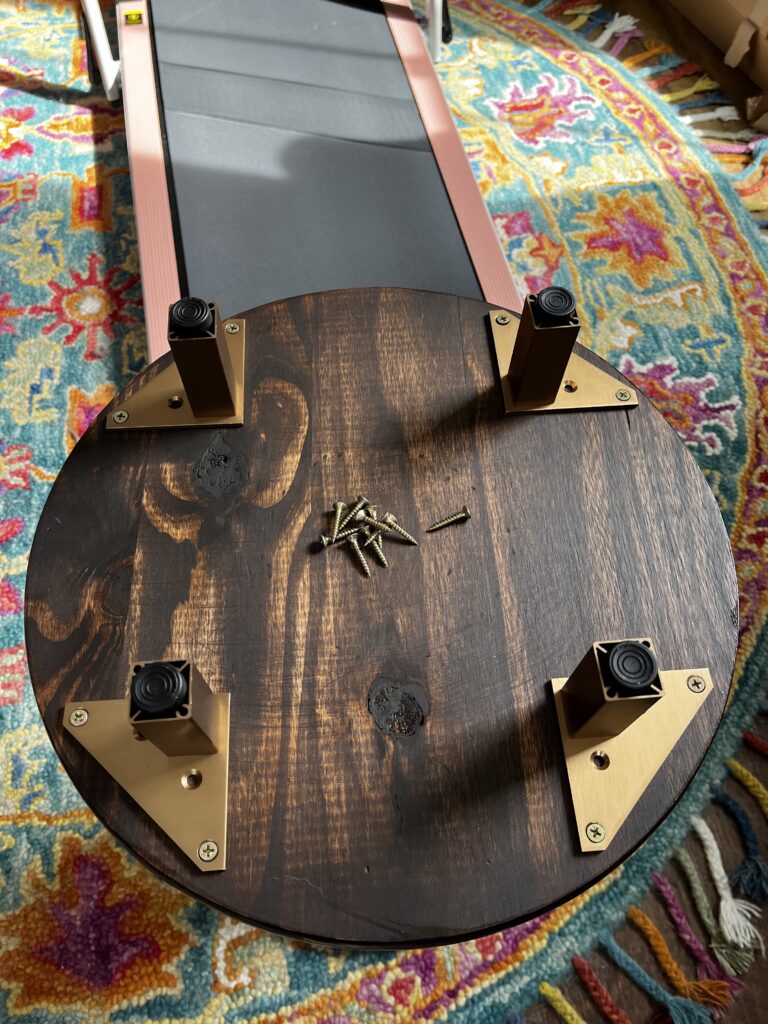
Feets
I knew when I was planning out the height of the inside tube (I didn’t want the proportions to be too weird), it wasn’t going to be quite the right height for a table so I had planned on adding feet to the table. After two trips (and returns) to Home Depot, I decided to risk buying something on Amazon (I like seeing things in person to make sure the quality and color is what I want). I found these gold feet (4 pack) that matched the rest of the gold accents in the room perfectly. When they came in the mail, I was so relieved. And they were cheaper than everything else I had bought (and returned).
Once the table was threaded (ha!) I flipped it upside down to attach the legs. I eyeballed the placement since who’s going to be measuring under the table and conquered the drill!
Now I have a spot next to my perfect pink chair to put my drink and relax.