Sooo…I had to add a new category to the blog for my SEWING ROOM! The plan was to take over Matthew’s room but honestly, it may take a while for the kid to move out. Yeah, he’s only 19 (ugh 20 this week!) and in college. Fine. Let plan B commence!
It all started with Facebook ads
Doesn’t it always? I started seeing these cool arched cabinets, clicked on one, then bam! It was all over. Look at all the pretty cabinets!
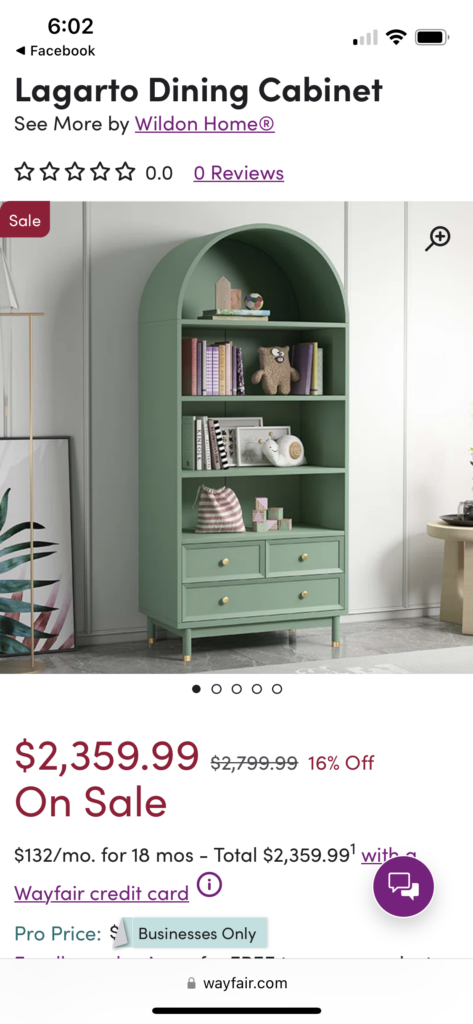
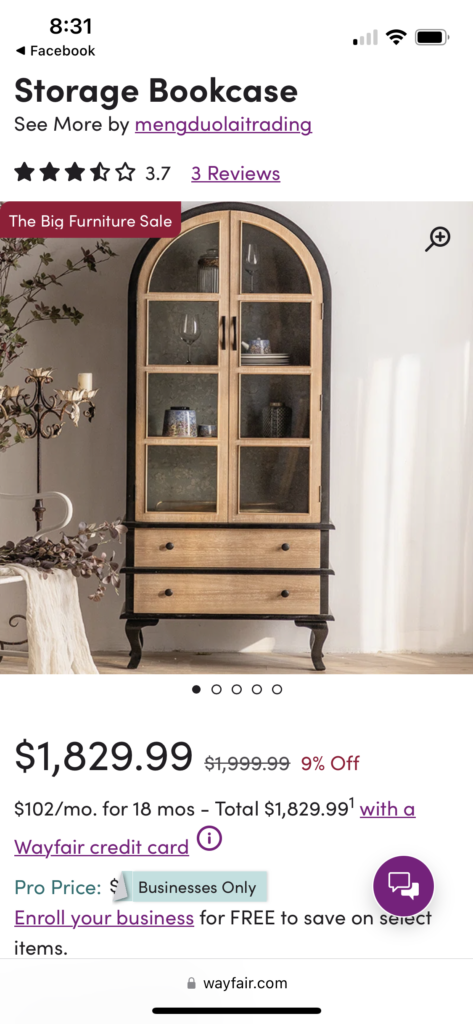
But I didn’t want to pay $2,000. Because that’s me. And then an instagrammer gave me an idea…make one myself!
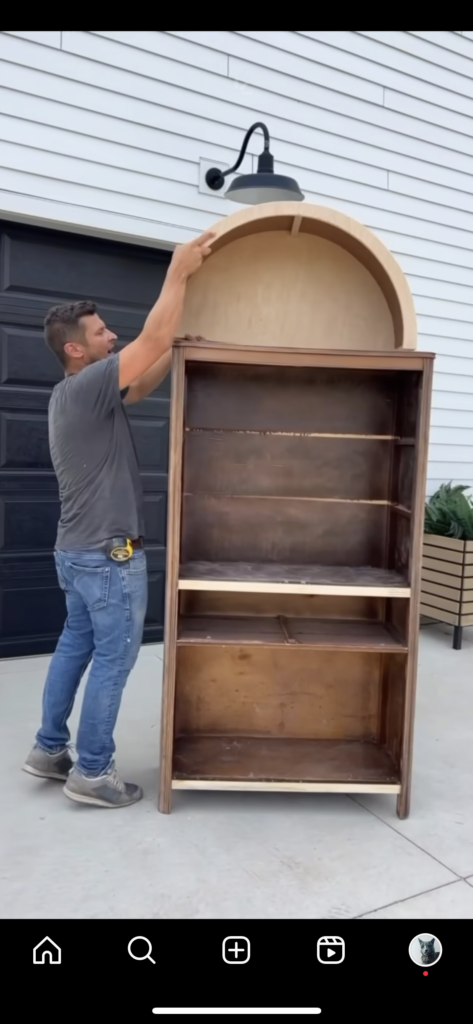
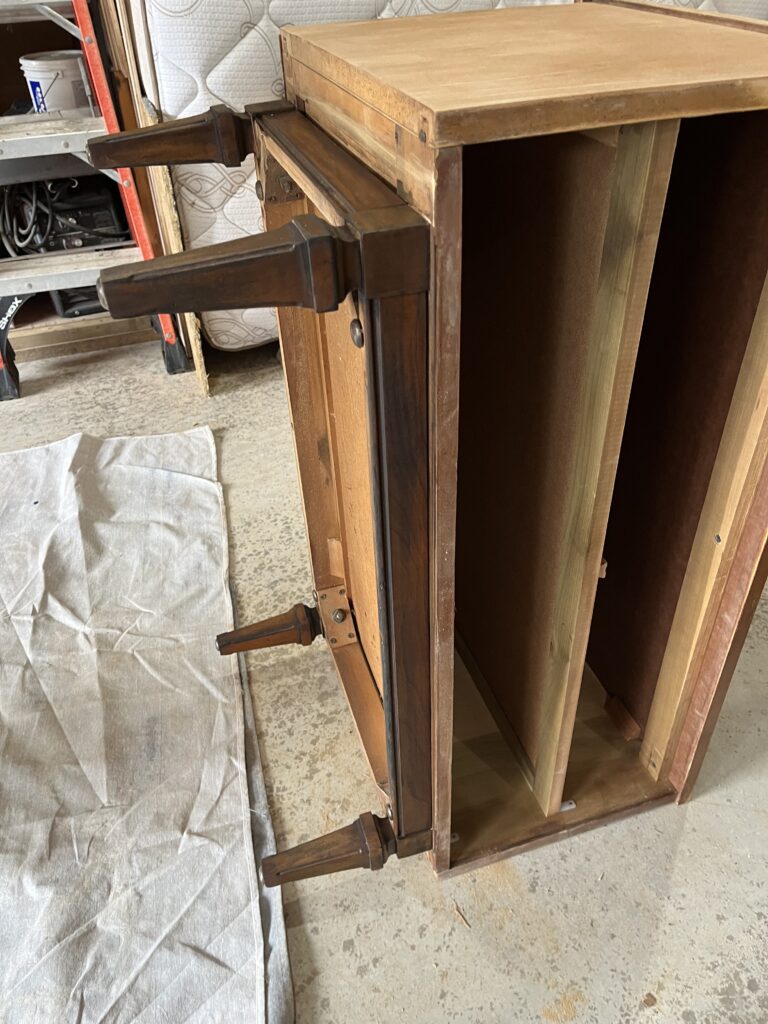
My husband thanks you…profusely #sarcasm. Then the marketplace hunt was on for the perfect “base” to add an arch to! Unfortunately I couldn’t find a good, used, solid wood cabinet on the cheap…but then I came across this beauty. Well, I could see the potential.
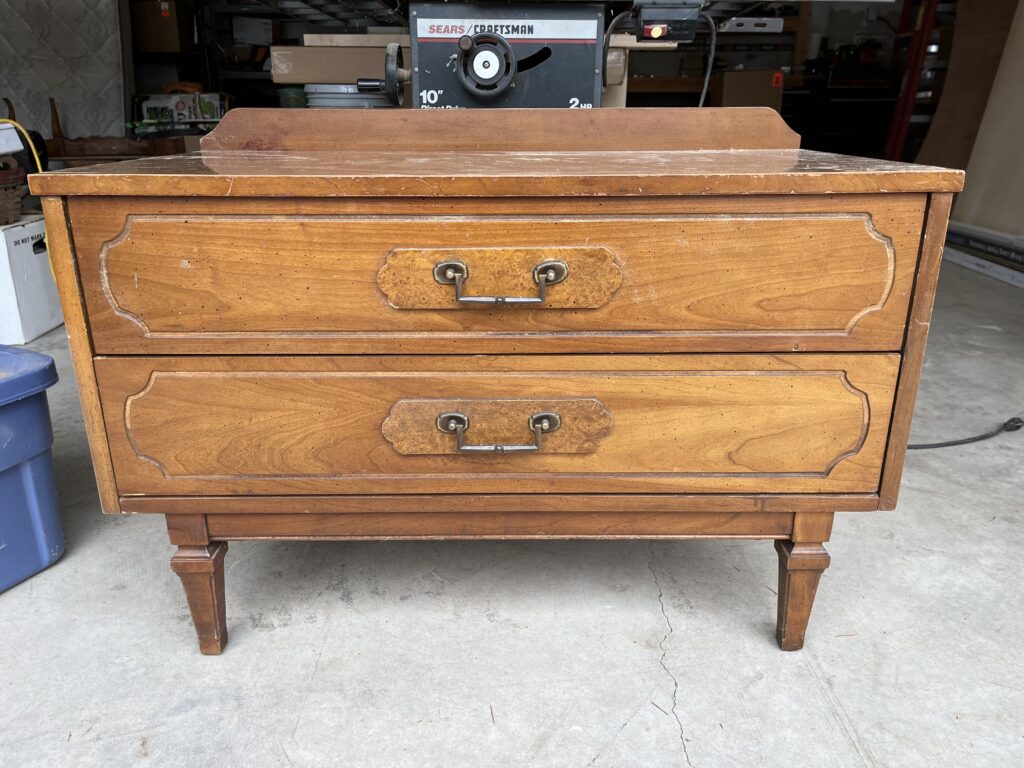
And for only $40. The woman I bought it from almost cried when I packed it up and drove away. She had no idea what I had planned. Probably for the best.
Home away from home (aka Home Depot)
I measured. I planned. I did maths. So much maths. I started with a 4 x 8 sheet of 3/4 inch plywood (~$50) and a 4 x 8 of 1/8 inch thick plywood (~$20) to bend for the arch and use the rest as the backing. I cut 4 foot tall sides and a flat top for the shelf out of the 3/4 inch plywood as the shelf structure to sit on top of the drawers. I attached the 1/8 inch to the back so that it wasn’t super heavy.

The really hard part
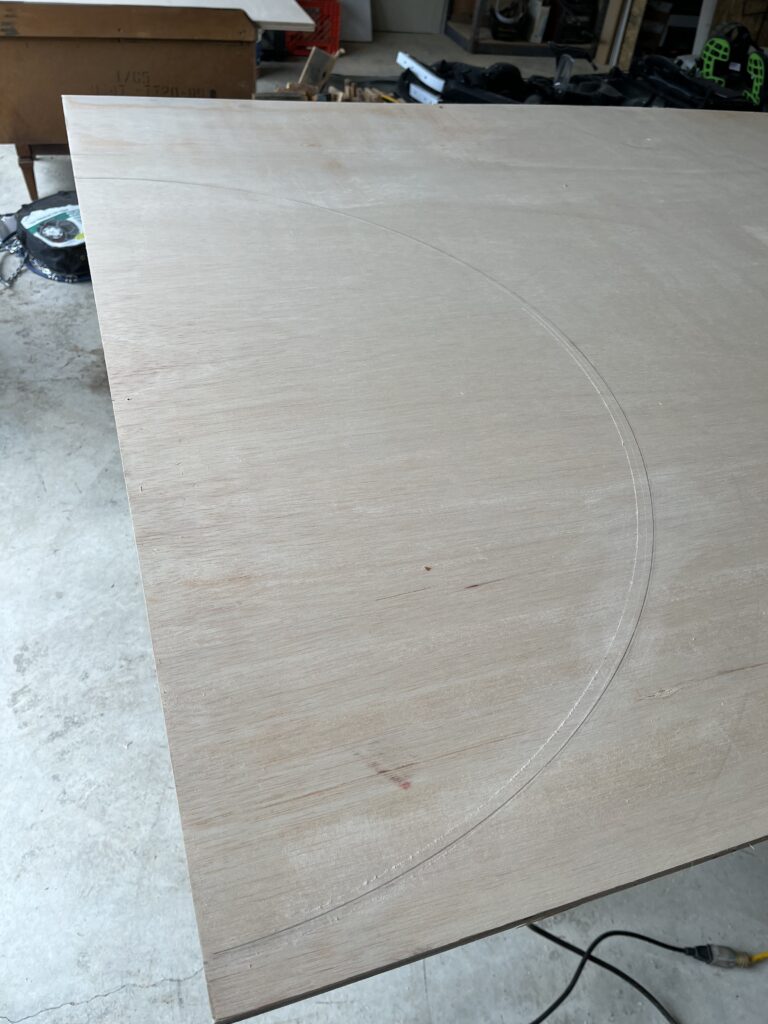
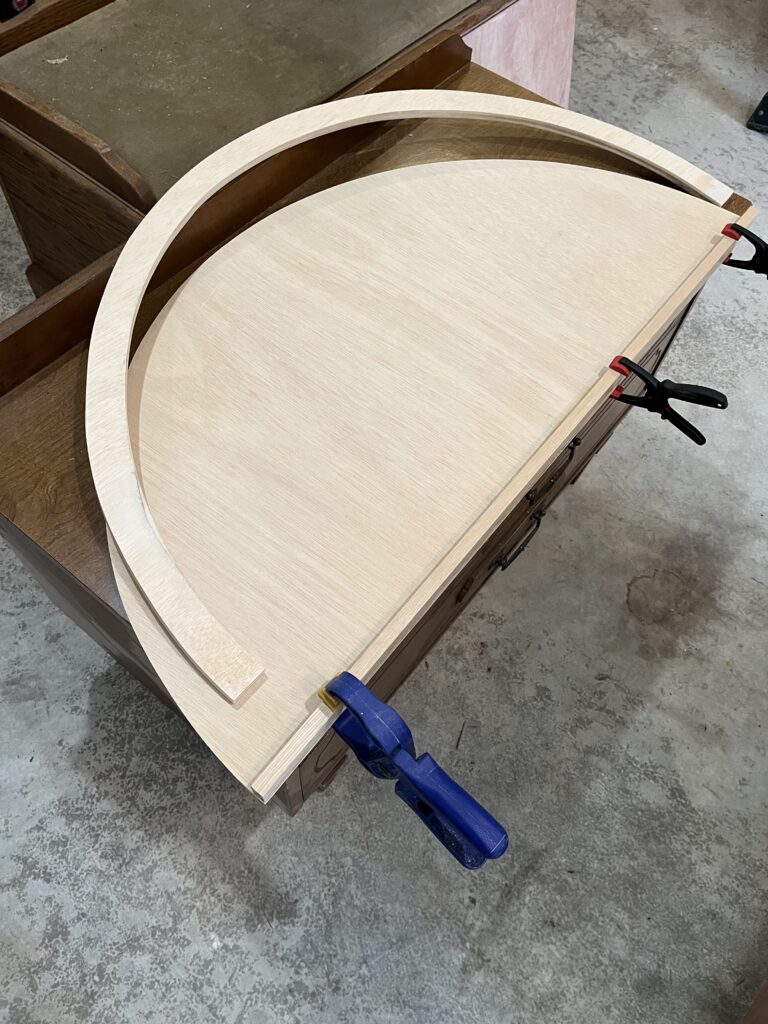
Then it was onto figuring out the top arch. The instagrammers made it look so easy. They lied. Or they had better tools. Or better math skills. Probably all of the above. After a few attempts at drawing an actual half circle that ended up the correct diameter, I used a jigsaw to cut out the shape by hand.
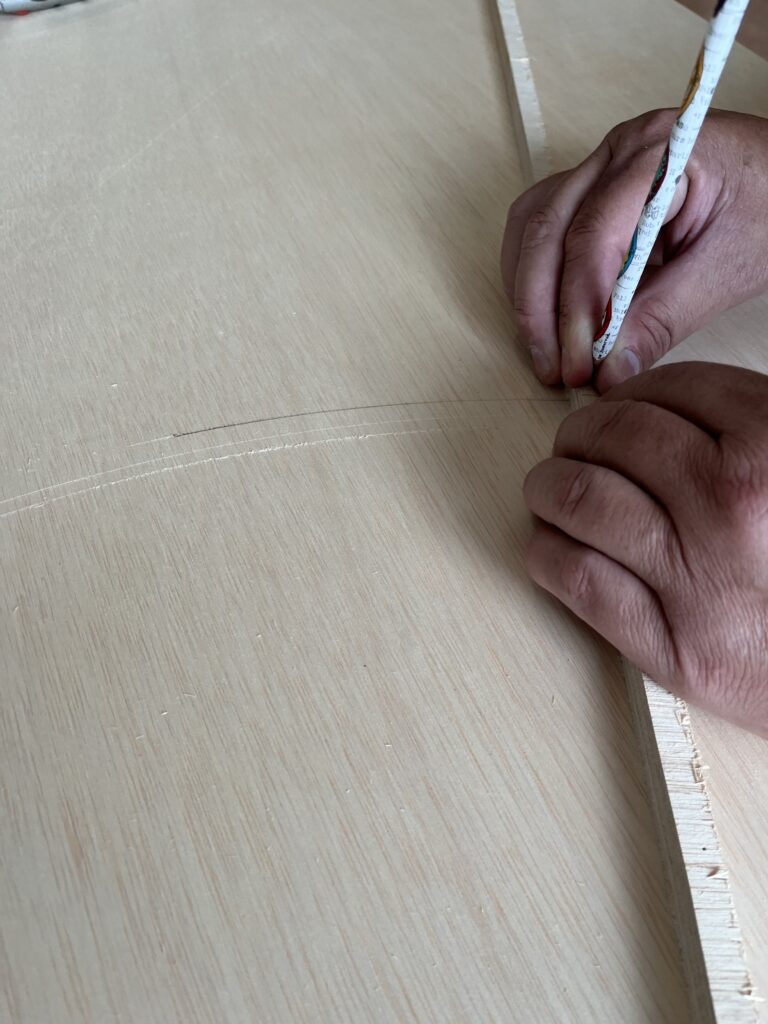
This became the backside of the arch. I traced this piece to create the front side of the arch along with a second, smaller arch to create the arched opening and cut both lines with the jigsaw. I suck at cutting with a jigsaw by the way. But sanding the imperfections down helped. And if you squint, it all looks fiiiiiine.
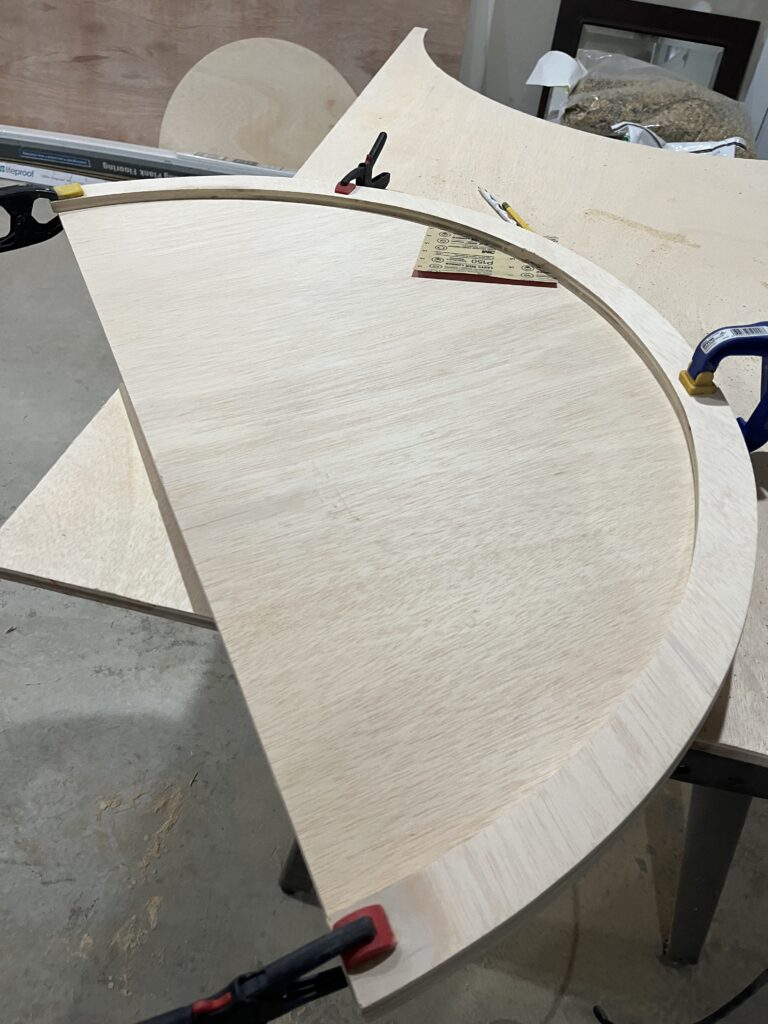
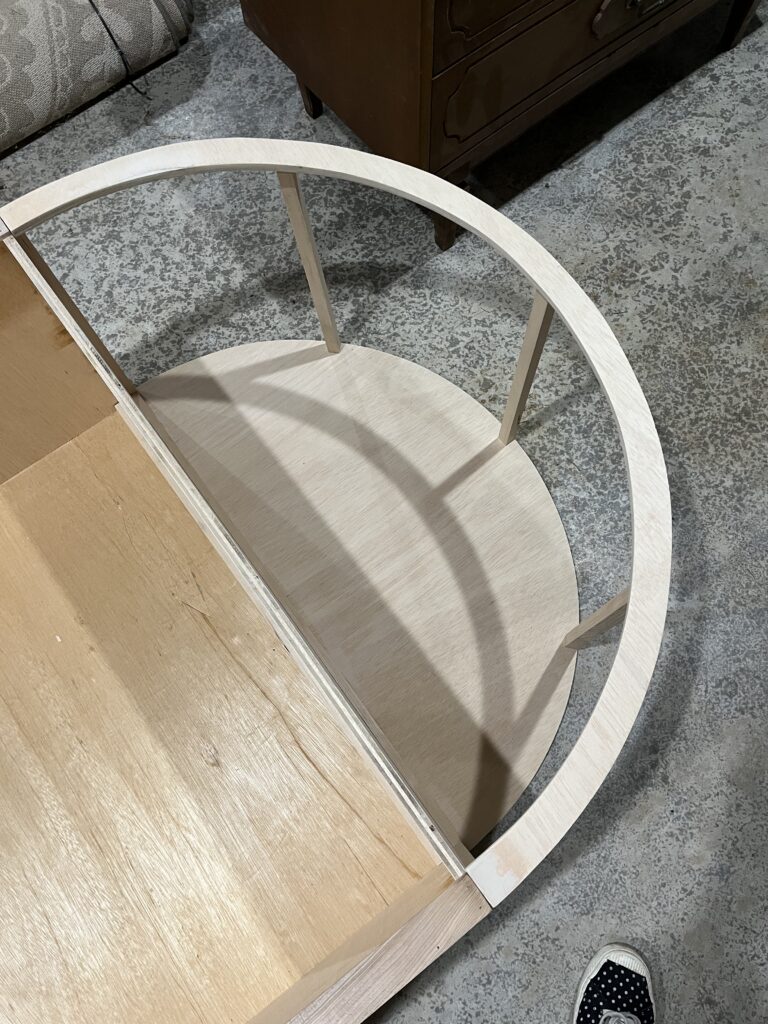
Once both front and back arch pieces were cut and sanded, it was time to mount them to the top shelf. First we attached a trim piece to the back arch so that it could easily attach to the top shelf.
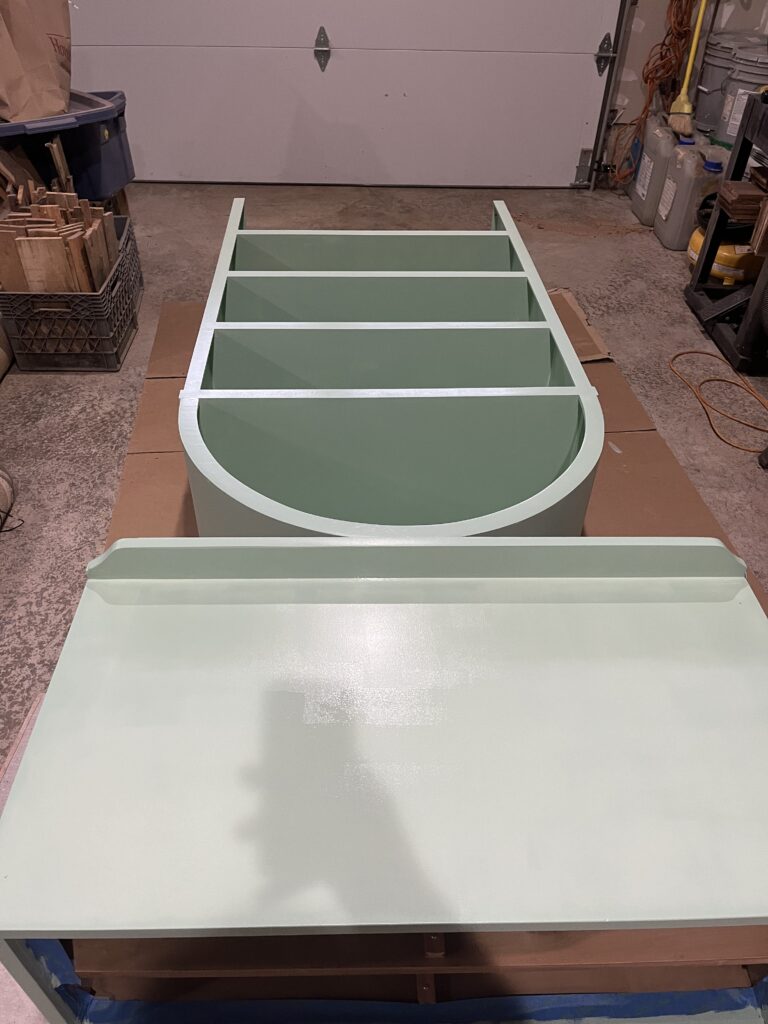
Then we laid the entire shelf down on the ground so that we could secure the back arch without it wobbling. I cut 5 supports (the bones) to help space the front arch and to secure the 1/8 inch sheeting to. We attached those to the back and front to create an arch skeleton.
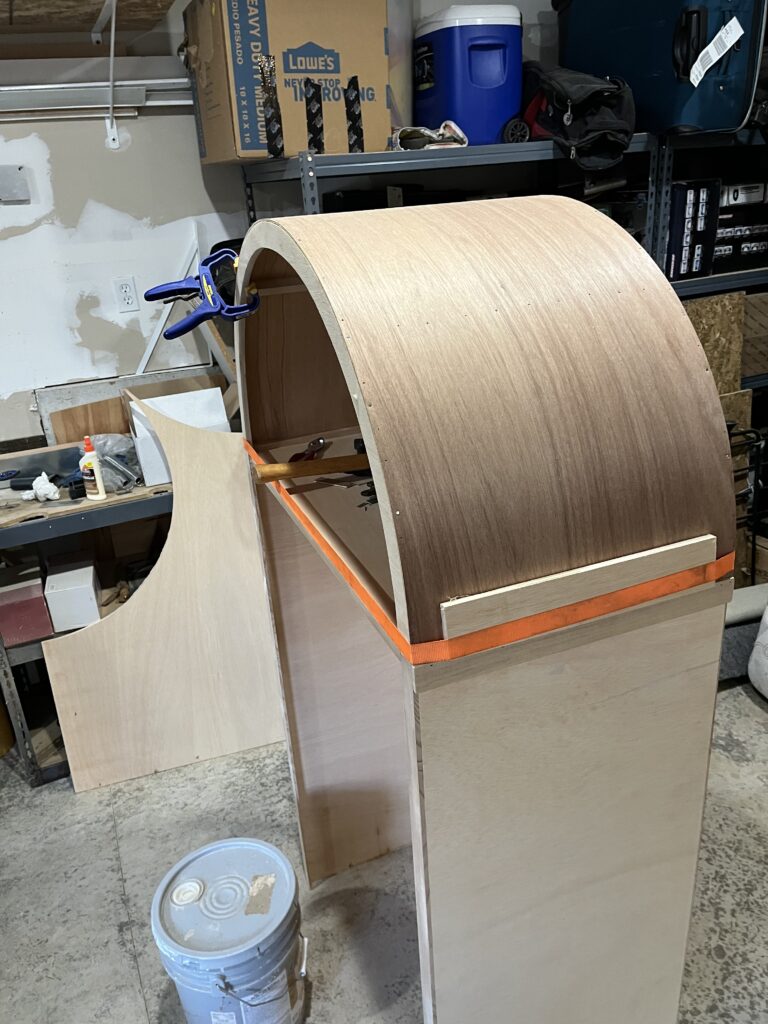
Now onto the “fun” part. Bending plywood is tough and a bit nerve-wracking to know if it’s actually going to hold. We started by laying towels soaked in hot water on the wood to help it bend a bit. Then we got impatient and brute forced it the rest of the way. We glued/nailed/clamped and strapped everything in place in the hopes that the plywood wouldn’t spring back. We had to use tiny nails with heads as the 1/8 inch plywood was too thin for finishing nails – they just popped right through. They weren’t ideal nor perfect, but if you squint…fiiiiine.

Moment of Truth
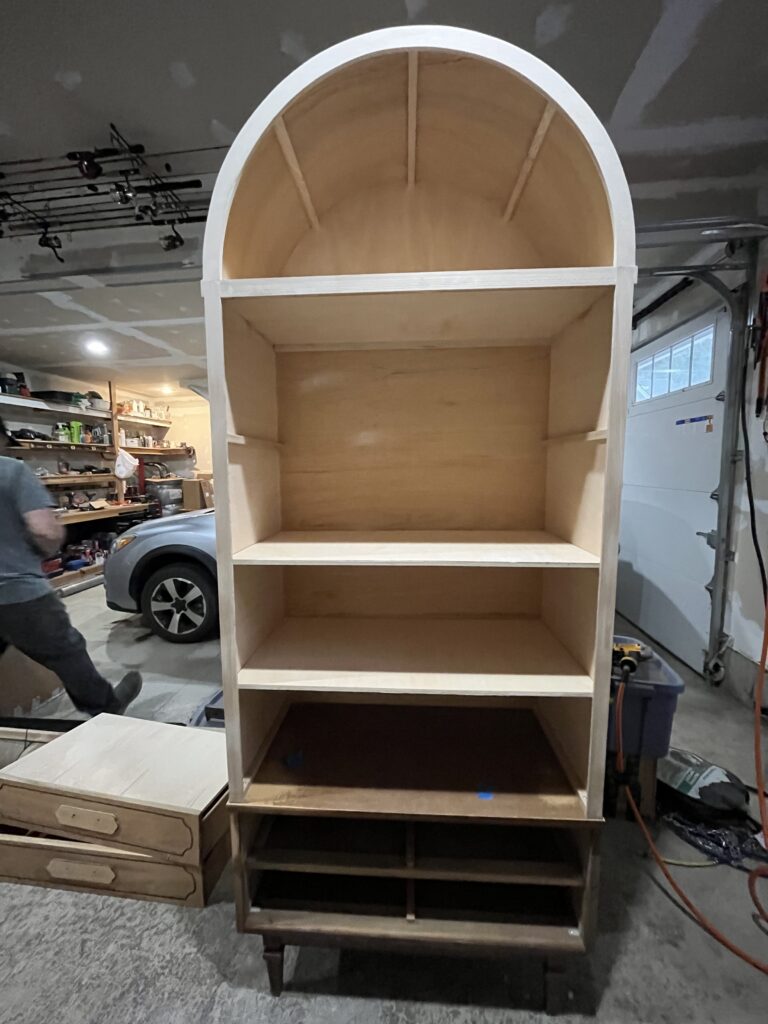
I took a deep breath and removed the strapping…and everything held in place! Phew! The next step was to add all of the shelves and trim. Which meant another trip to Home Depot! I needed one more sheet of plywood (~$50) for the shelves as the arches used about half of the first sheet. To mount the shelves, I added little 3/4 in square trim pieces to the sides and just placed each shelf on top of those – glue, nail, clamp, putty, repeat. To finish off the front edge of the unfinished plywood, I added a trim piece that was also used on the sides to match the thickness of the top arch. I also sanded the drawers and base while waiting for things to dry…multitasking, that’s my jam.
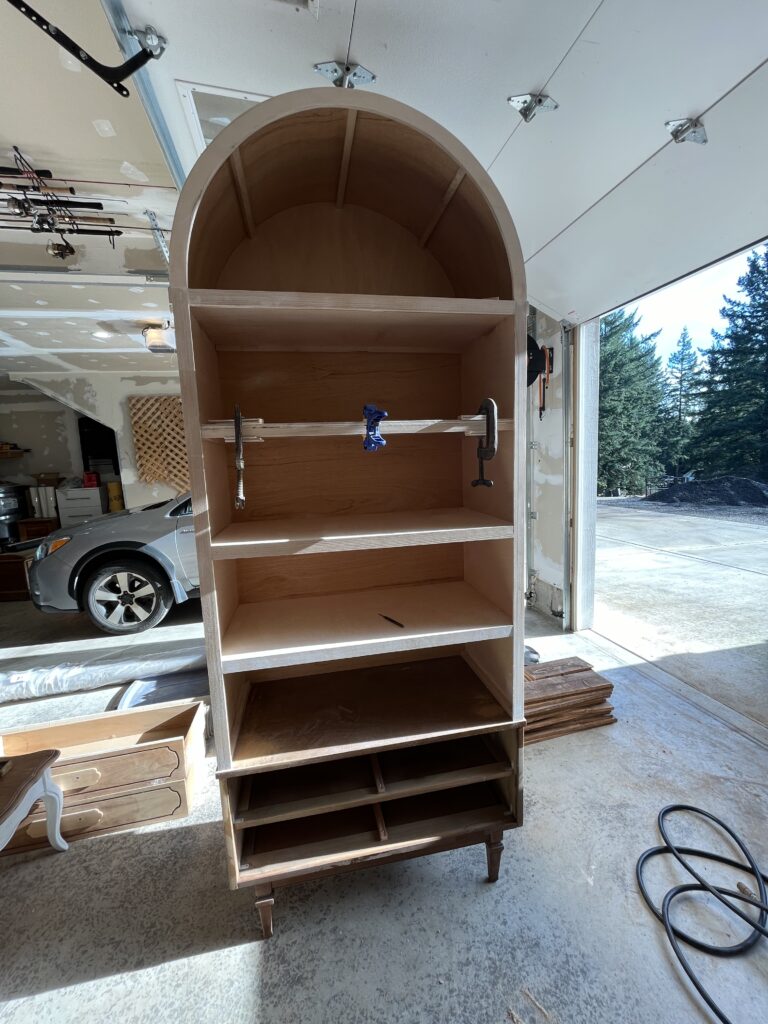
I kept the top piece separate from the bottom but pre-drilled holes so that it could be attached after moving it upstairs (this thing is HUGE). Once everything was puttied and sanded, it was…
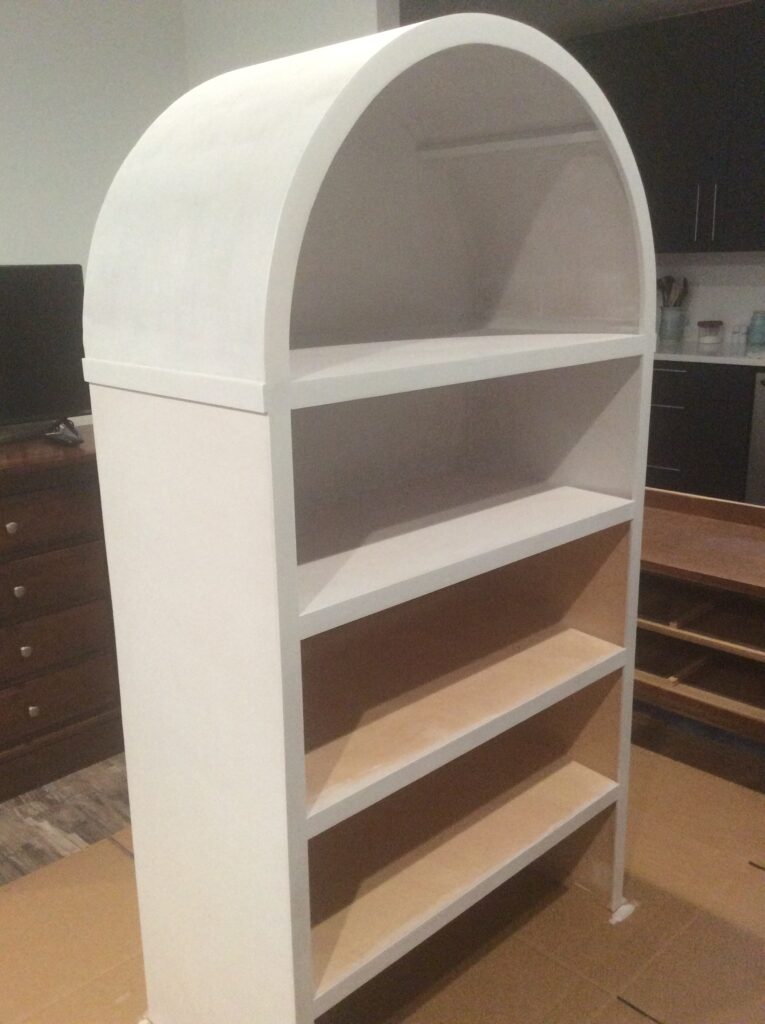
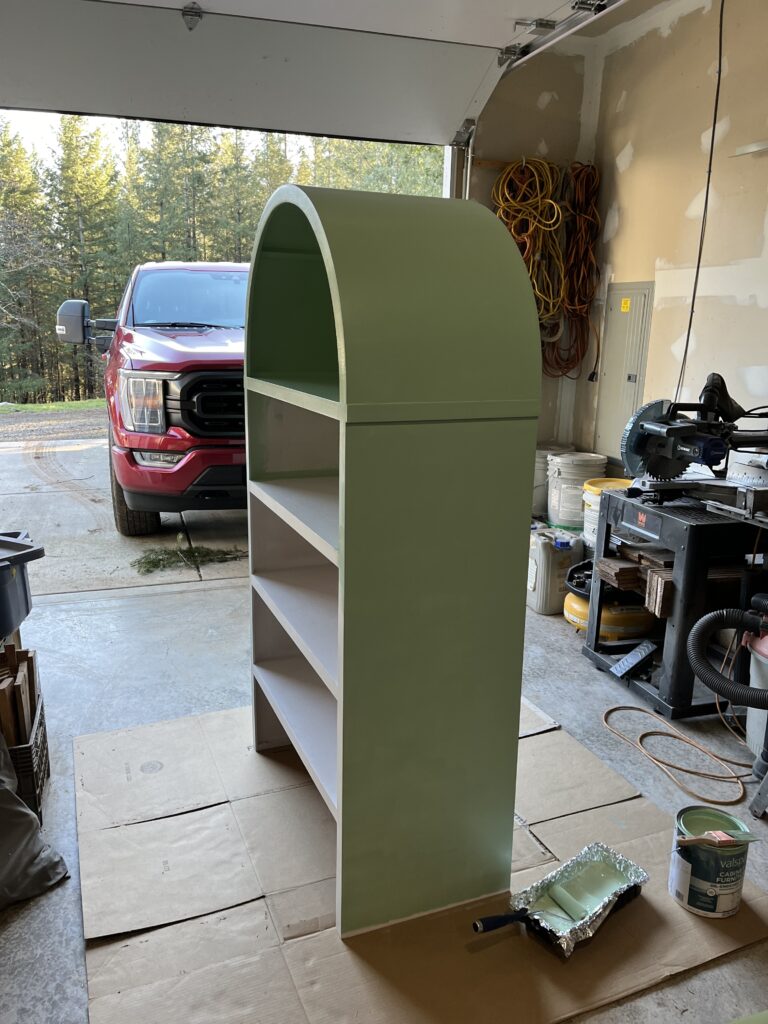
Prime Time!
I’ve discovered that painting deep shelves is the worst. I do need to invest in a paint sprayer at some point but this wasn’t the time.
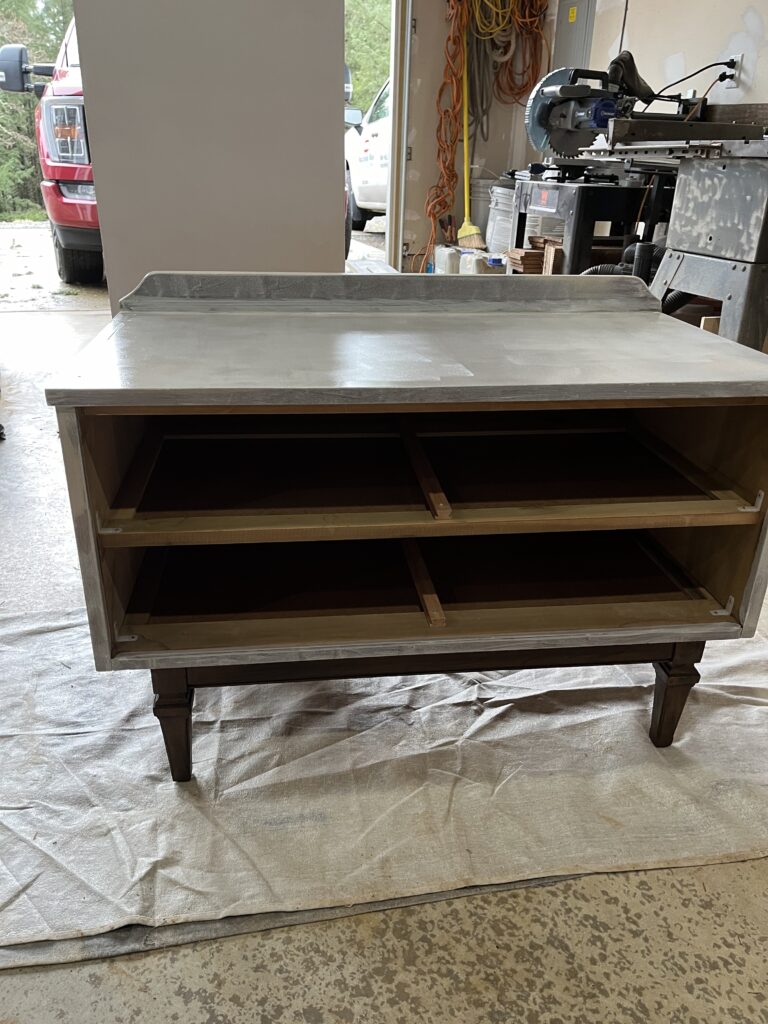
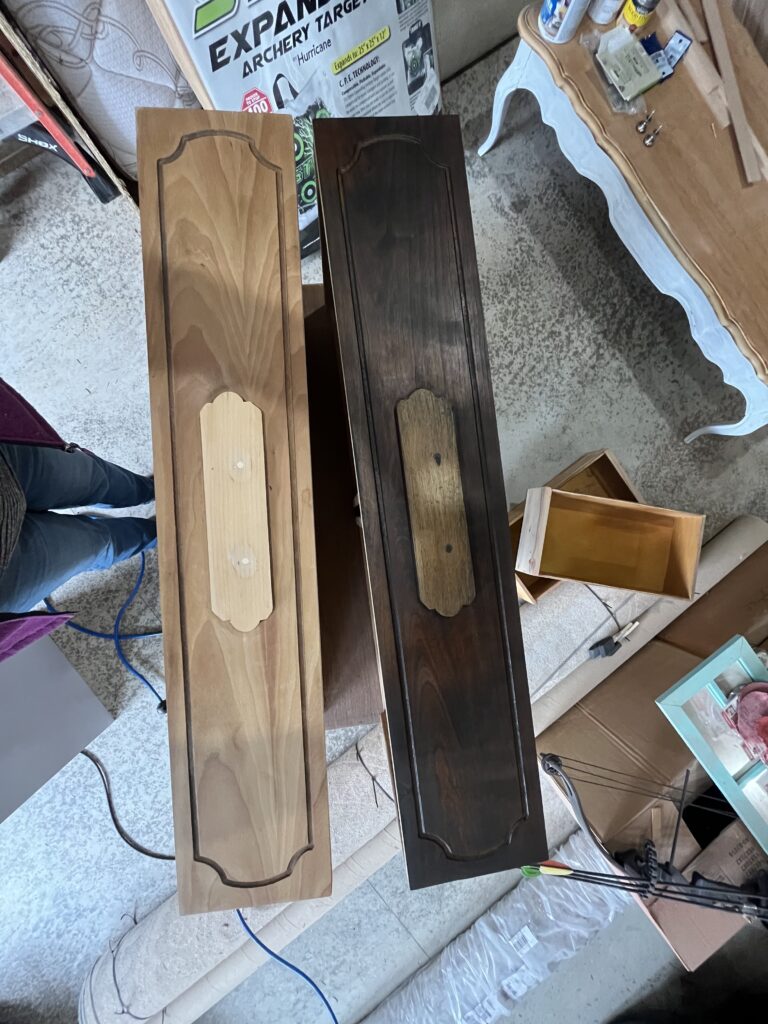
For the base, I wanted to keep some of the wood so I kept the legs and drawers wood with the plan to stain them. I figured that if it sucked, I could just paint over it anyways. But then I stained them and I mostly loved it! If I squint, it’s fiiiiine.
Decisions and Second Guesses
OMG, I don’t know why this paint color was sooooo hard to decide on. At first I thought I wanted a pink cabinet. But then I wanted my desk to be pink. And I really loved the green in the $2,000 inspiration cabinet so I attempted to find a green that would match my already purchased rug and chair. And the fact that the colors looked so different in different kinds of lighting was killing me.
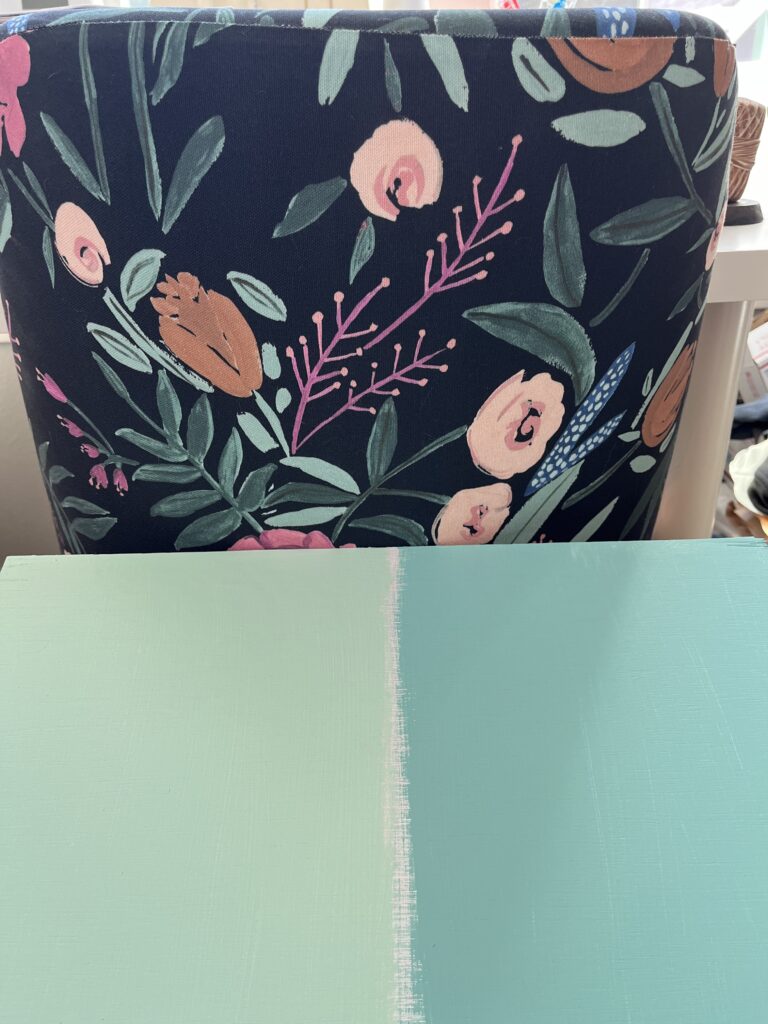
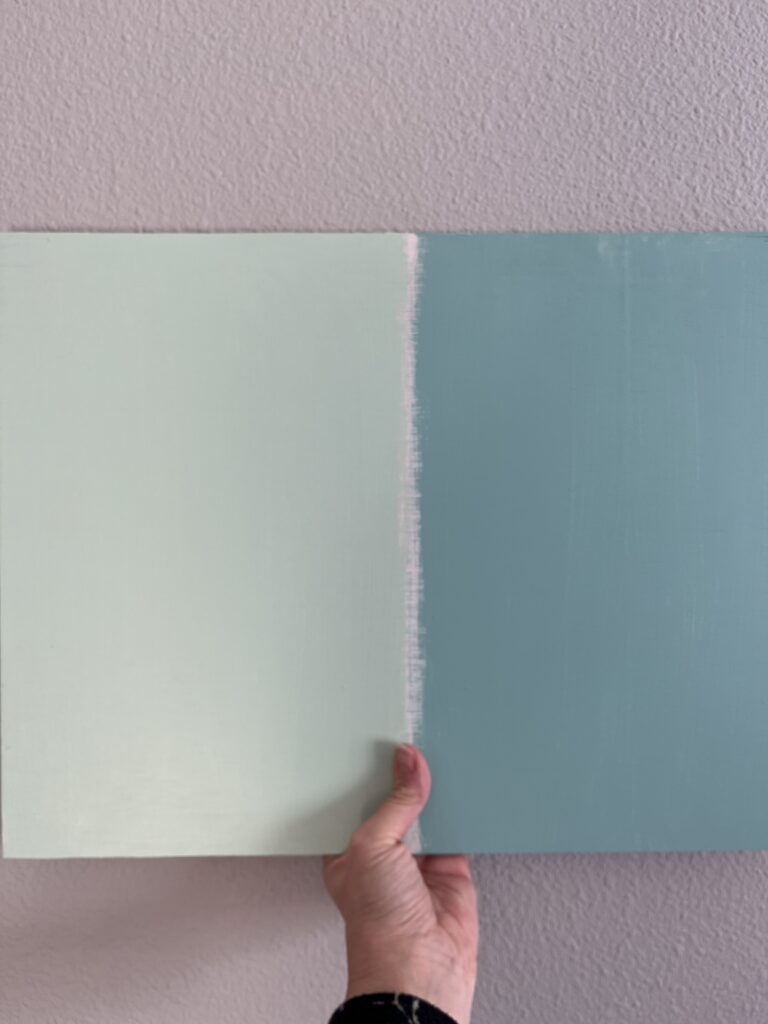
5 zillion paint swatches and too many paint samples, later…I finally decided. And started painting. And about died with the lighting changes…see? Died. Like why?
But I persisted!
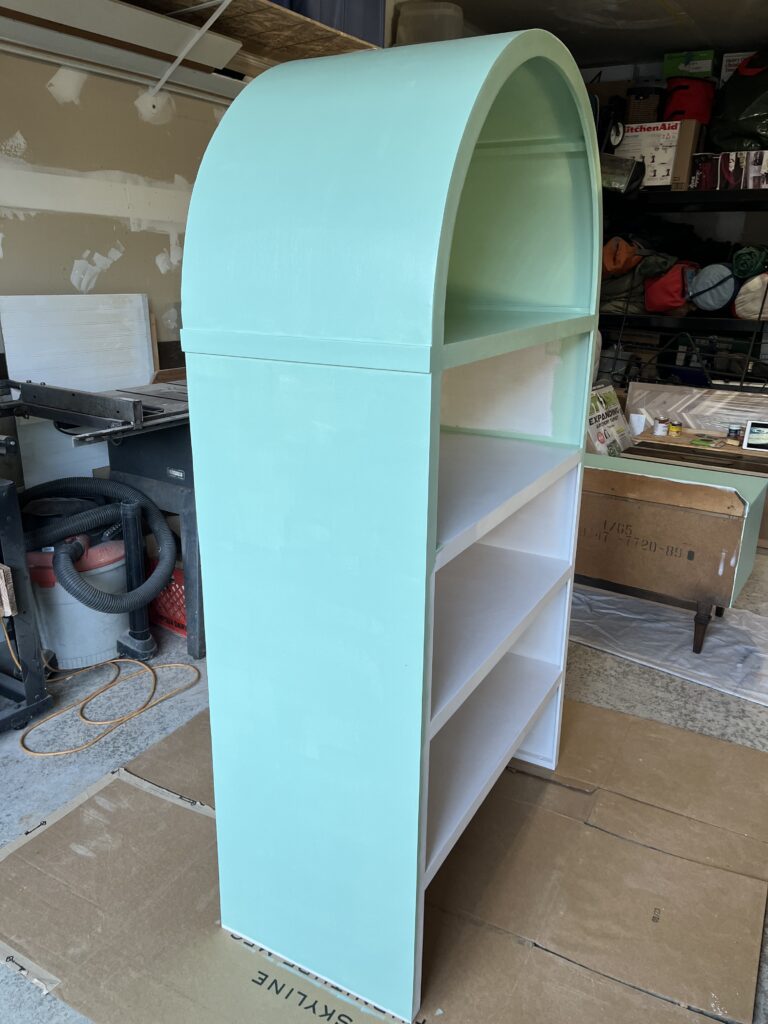
I was committed at this point. And could always (cry) repaint it (with a paint sprayer) if I had to. I finished two coats, let everything dry nicely, and then finished up the drawers with new brushed gold hardware.
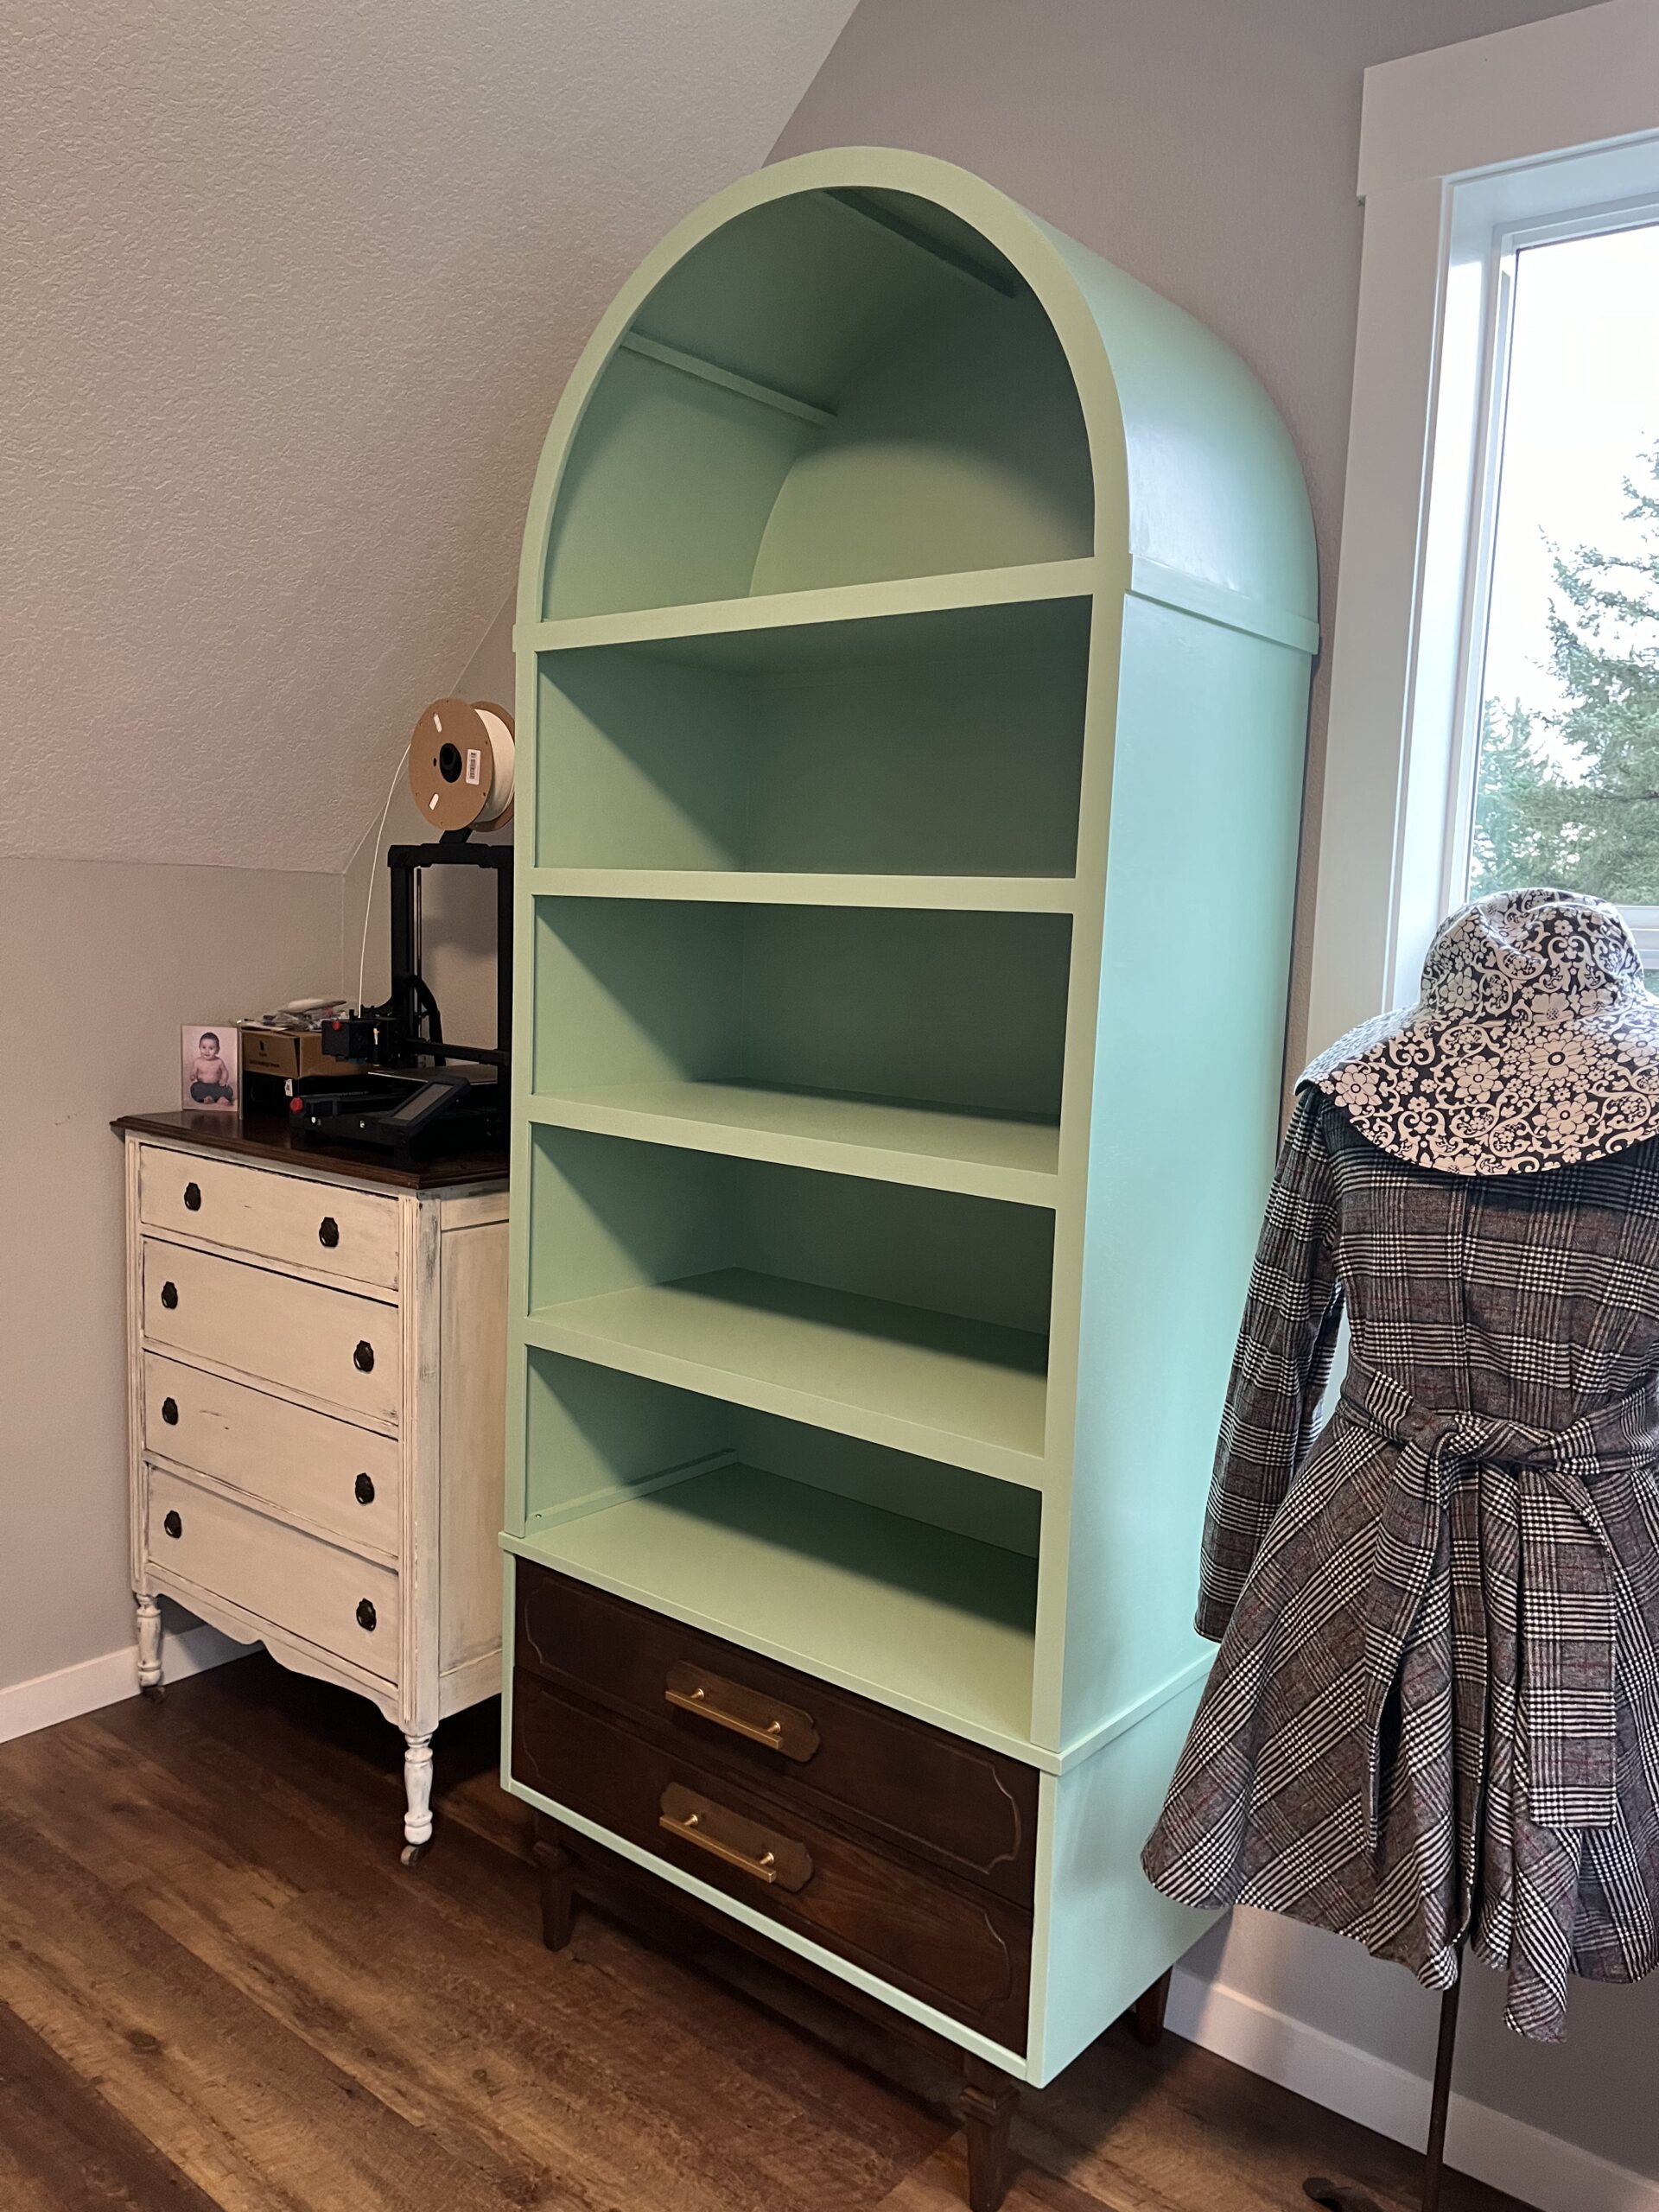
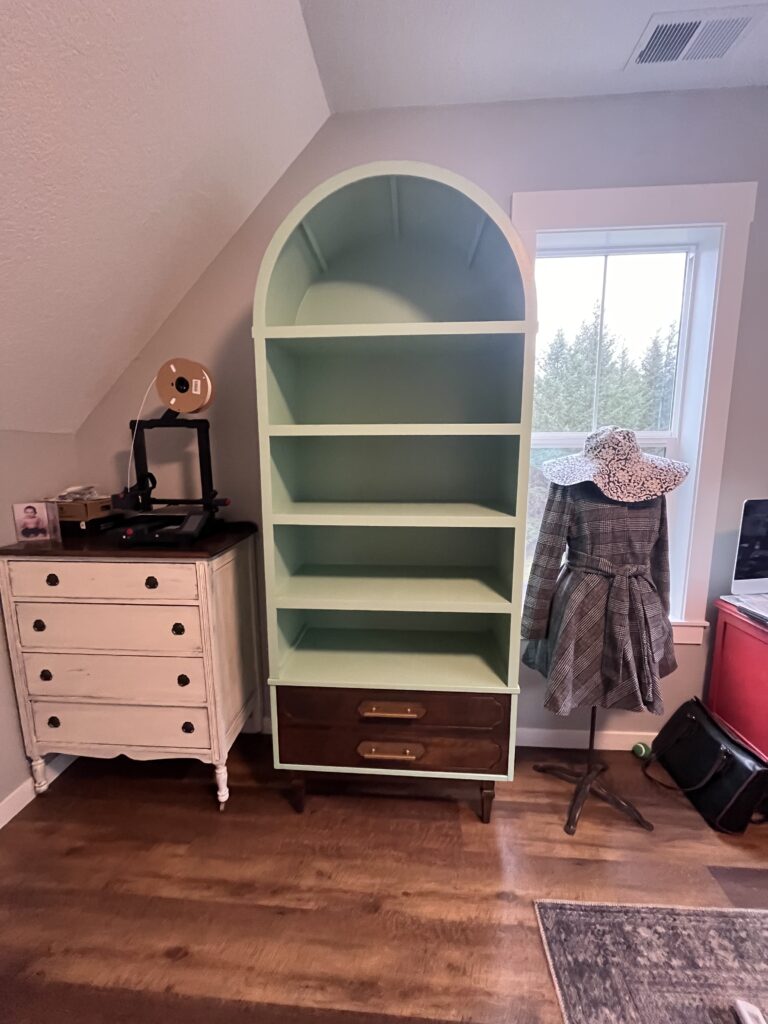
Its new home
Once I got it up into the (now officially) sewing room though…I was much better. We put the cabinet together with the base and I’m so in love. And did I mention how big this thing is? Eight feet tall! Thank goodness for 10 foot ceilings! And squinting!
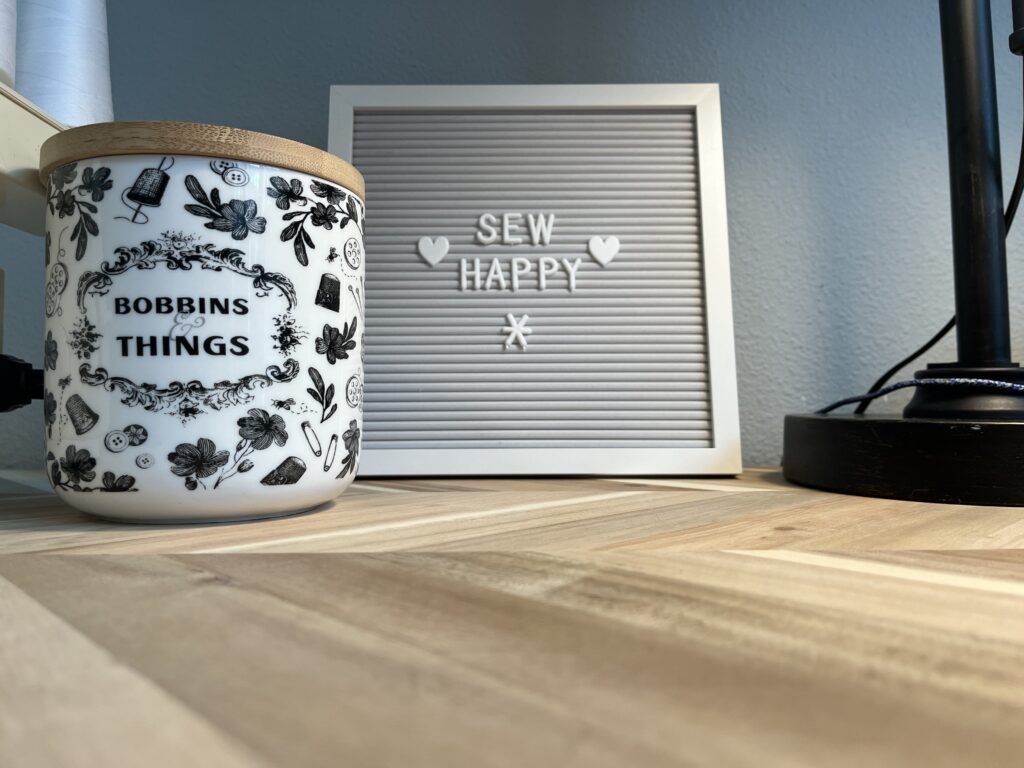
Onto the rest of the sewing room transformation!
You are amazing!
Thanks, sister!
It’s perfect! 👏🏻 love it!