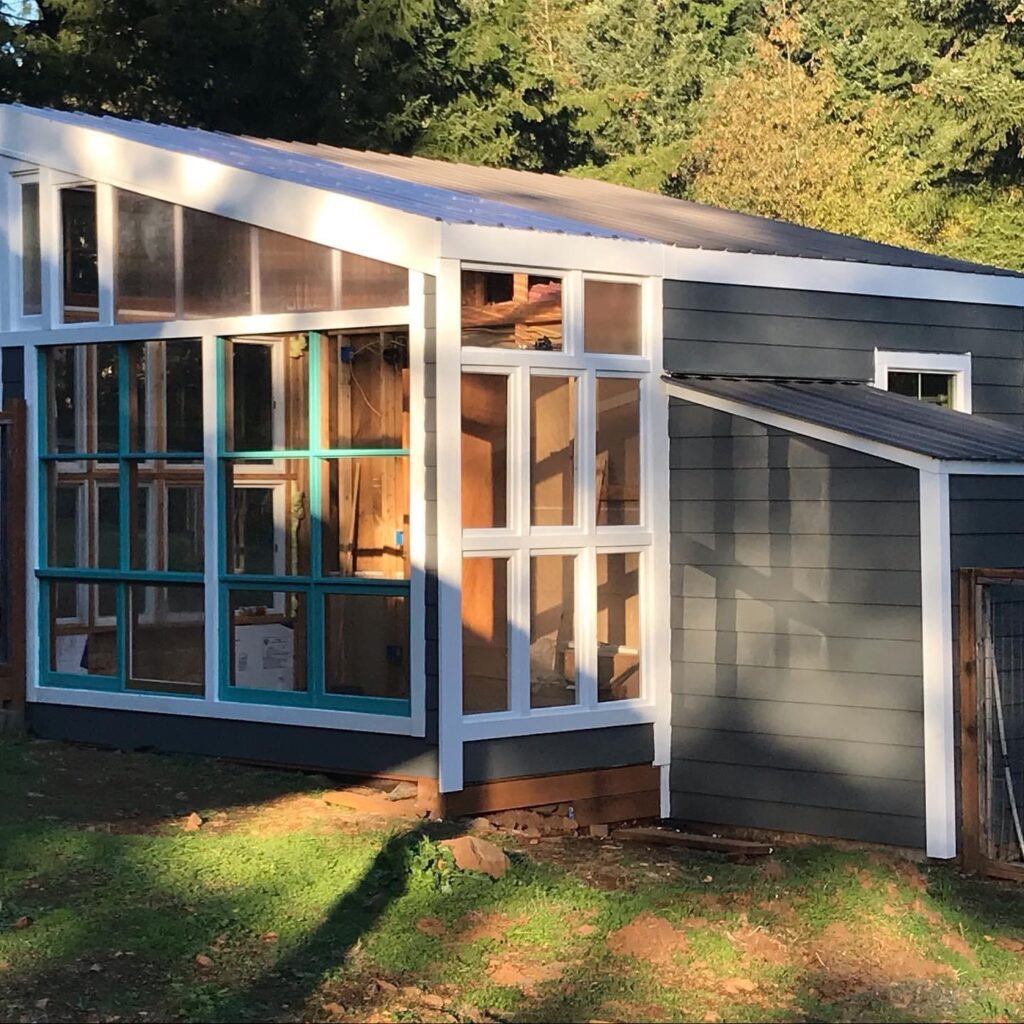
We made a lot of progress inside during the wet months (all 9 of them) and just had a handful of things to finish up in the guest space.
Bathroom Door
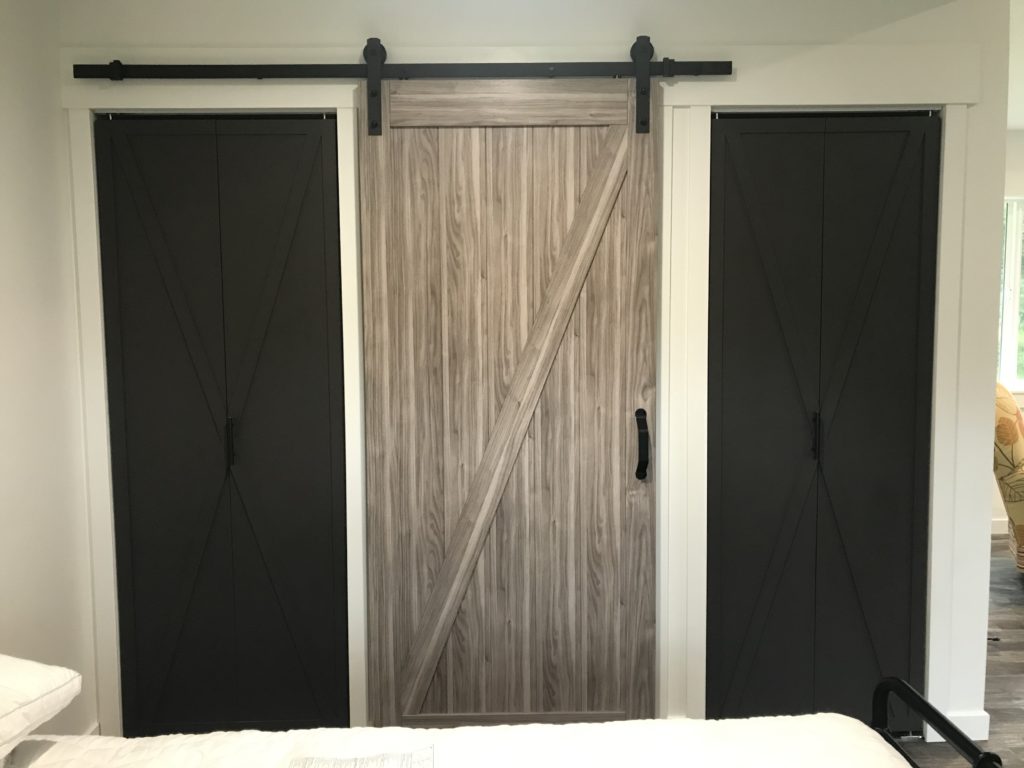
Always important. Probably would have been nice to have up before the in-laws visited. But at least they had more amenities since their last visit. They sure are troopers. Anywho….as we were framing things, well after we framed things, we realized that the door opening for the bathroom wasn’t quite wide enough. So we decided that a barn door would work perfectly instead. We found a grey faux barn wood door at Home Depot that matched the flooring quite well. We had installed a header across the top already so install went pretty easily.
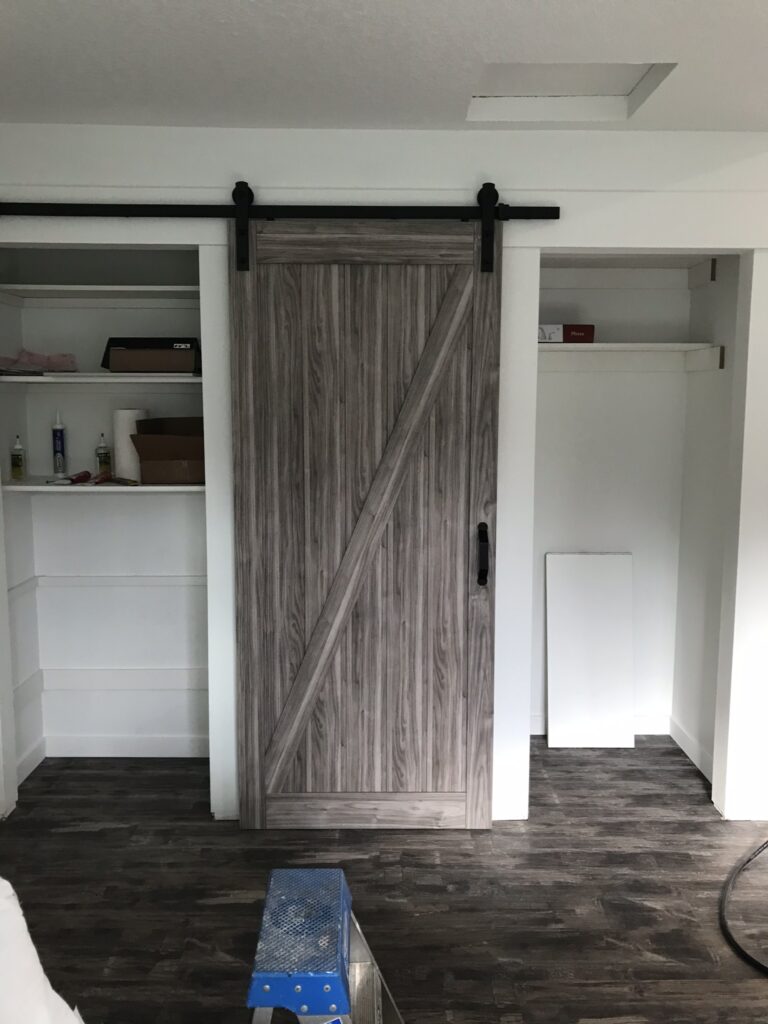
Now onto closet doors to match. I tapped into my Pinterests and searched for the perfect junk to turn into something useful.
Another woman’s failed project plans…becomes mine?
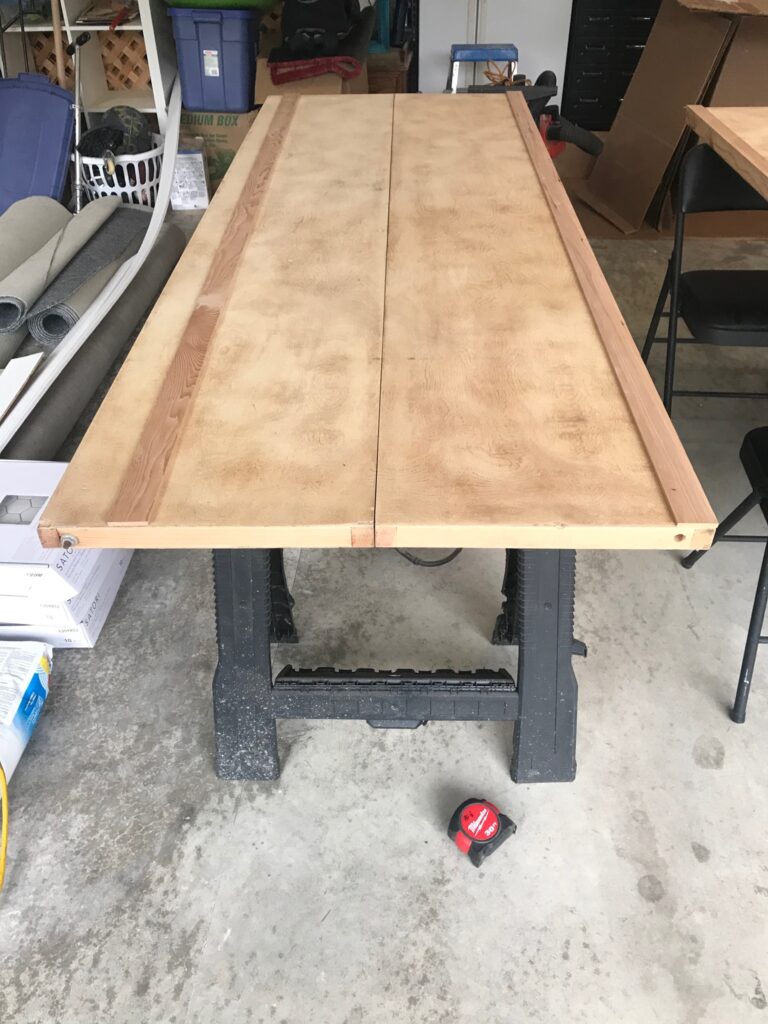
I found these super cheap plain closet doors (probably from 1970) on the marketplace…she had intentions to repurpose but didn’t have the room to keep around. Ha! (Thank goodness I have so much space to spread around my projects…shh don’t tell Jim.) Two doors for $20 (apparently they were so ugly I didn’t take a picture). Not bad considering that each door is $60 new. And I was just going to paint and transform these anyways.
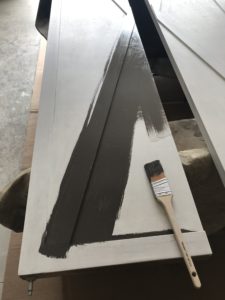
The first step was to sand the doors down…they looked much better after that. Then we had to trim them down a bit on each side so that they’d fit nice and snug. I had bought some quarter inch hemlock boards to transform the plain doors into something more farmhousey and started playing around with a design.
We decided on an X for each door to go with the center barn door. We glued, nailed, puddied and sanded…

Then primed and painted! I had a gallon of this brand spanking new grey paint for an accent wall in my bedroom….in California…so maybe I don’t always get around to every project. Or I just plan waaay ahead! Either way, the grey was a perfect compliment to all of the wood grain.
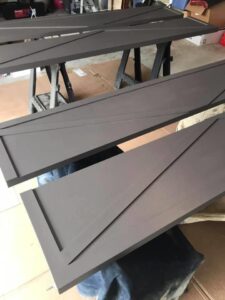
Just a reminder to all readers to measure twice, cut once. Then measure again before you finish and paint everything. Sigh. Eventually we got the doors to fit…not perfect but that’s our signature.
We added cabinet pulls and all done!
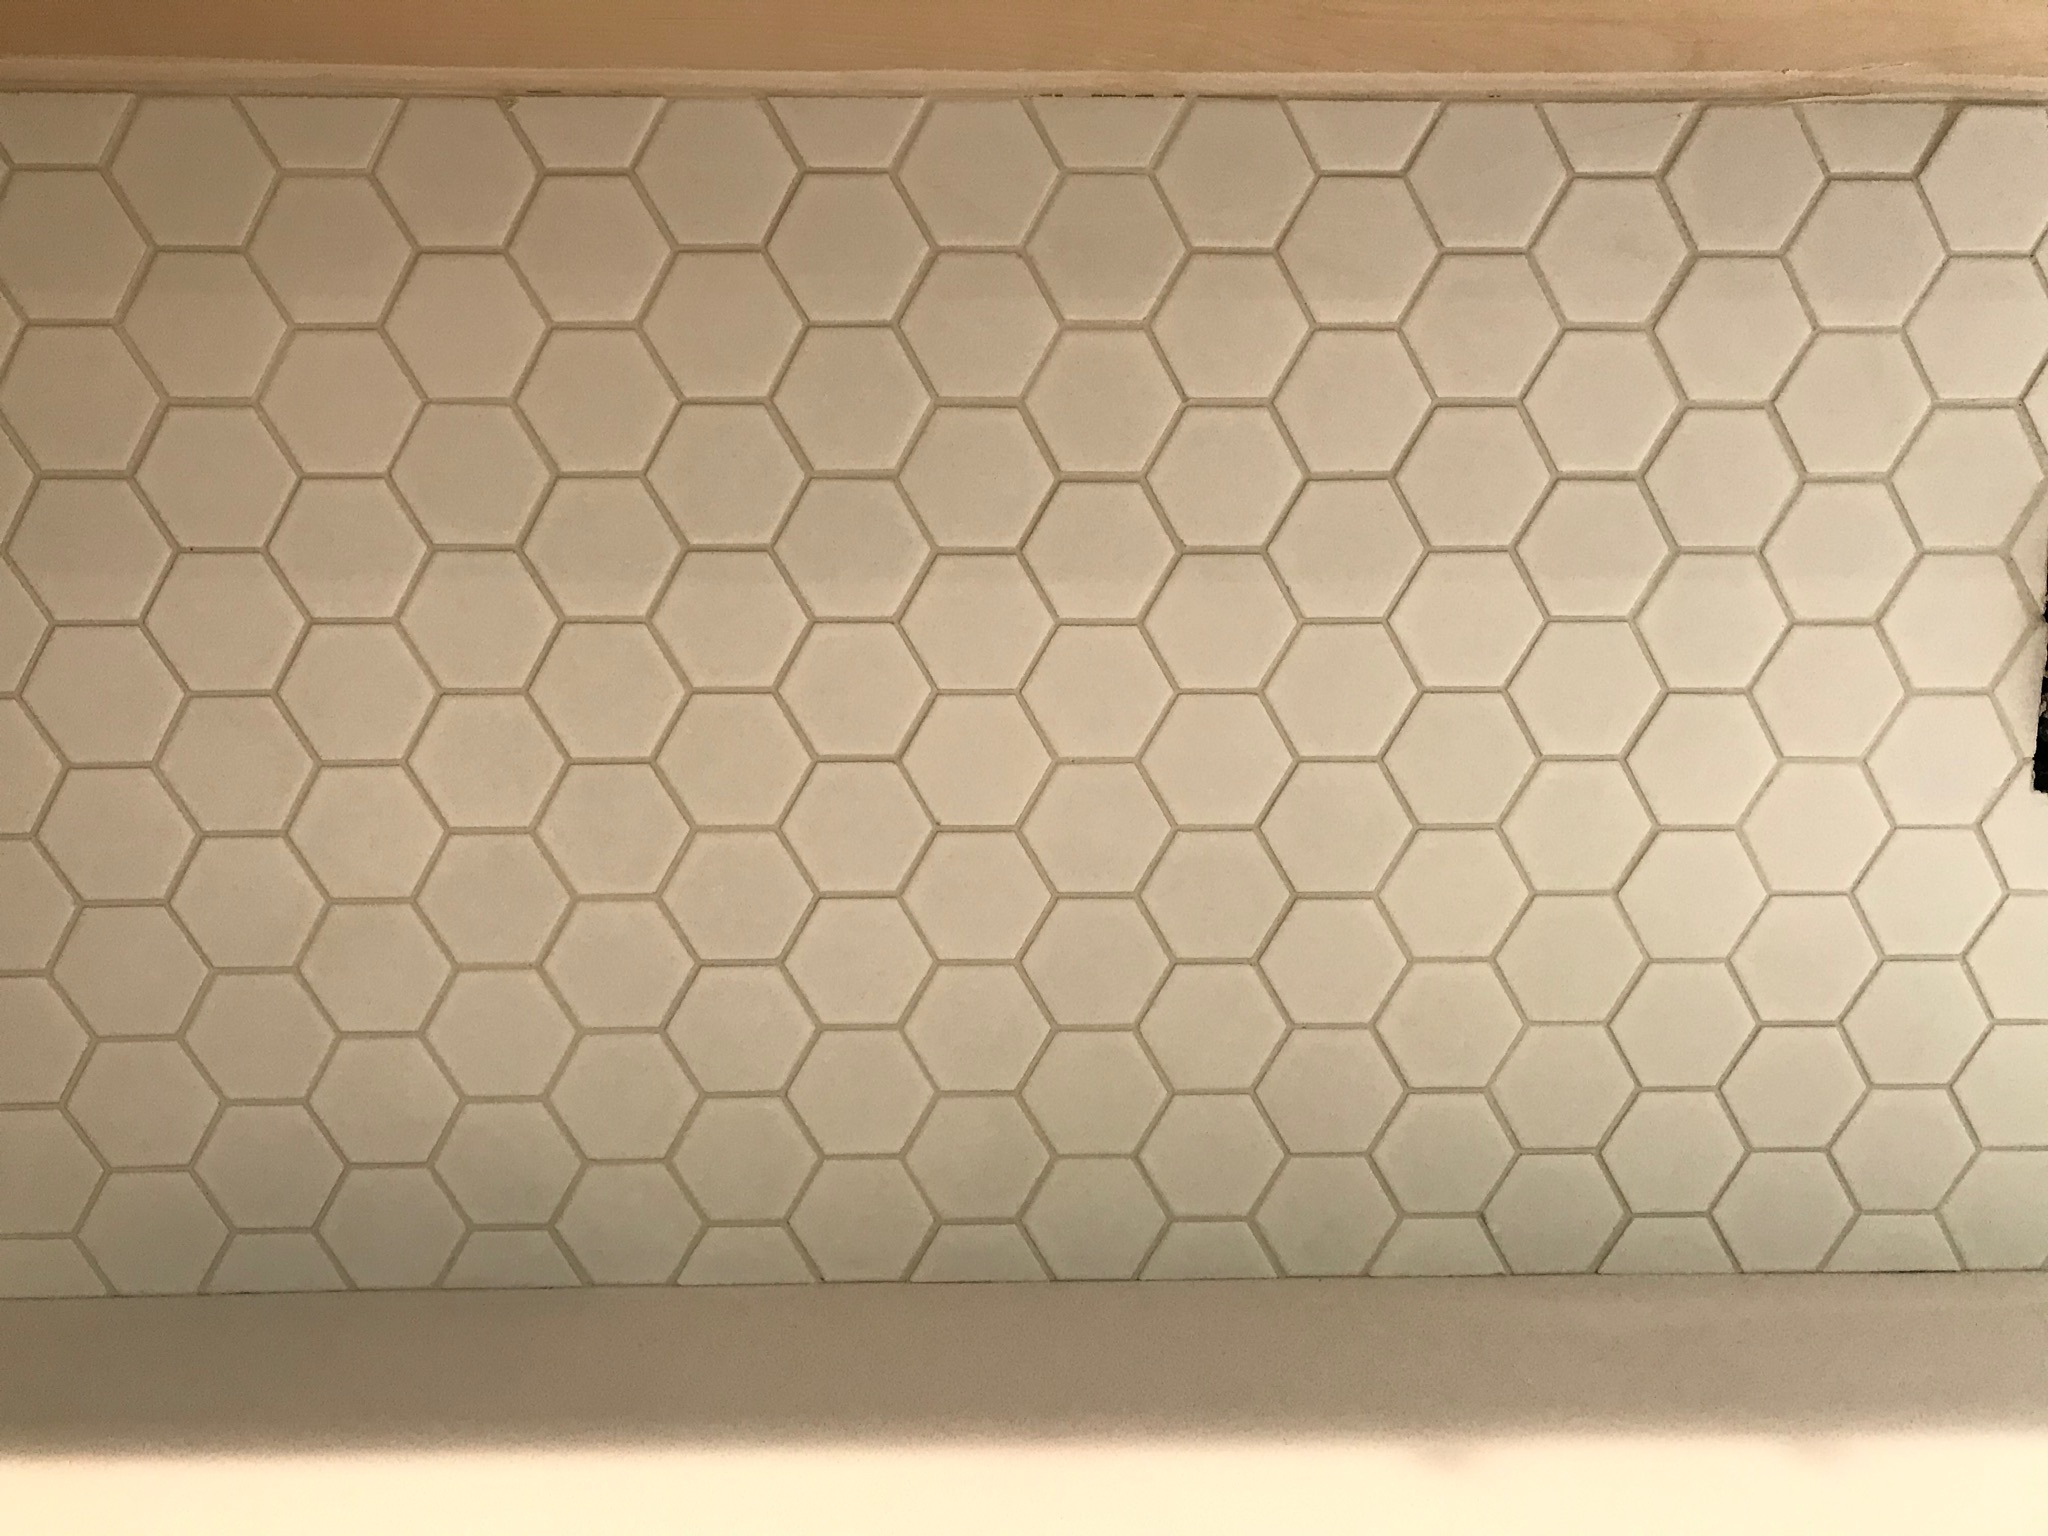
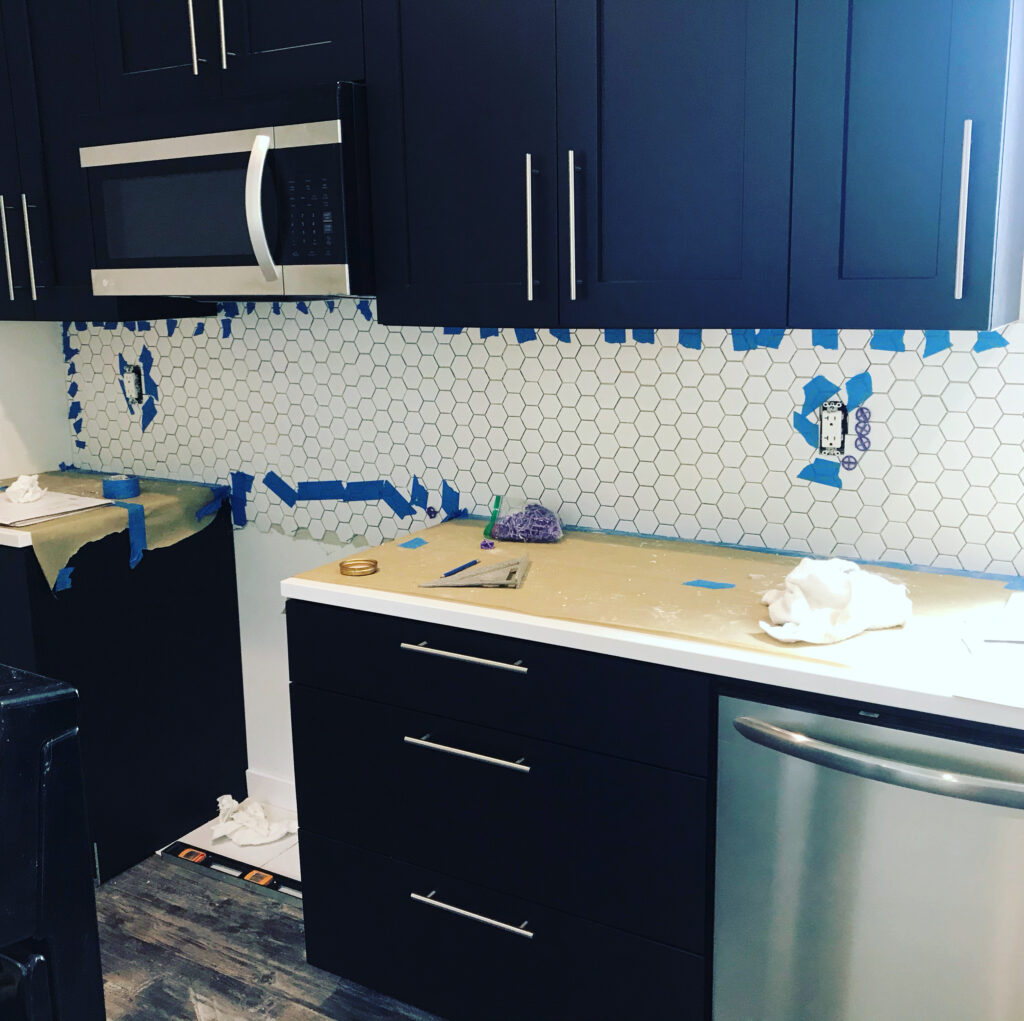
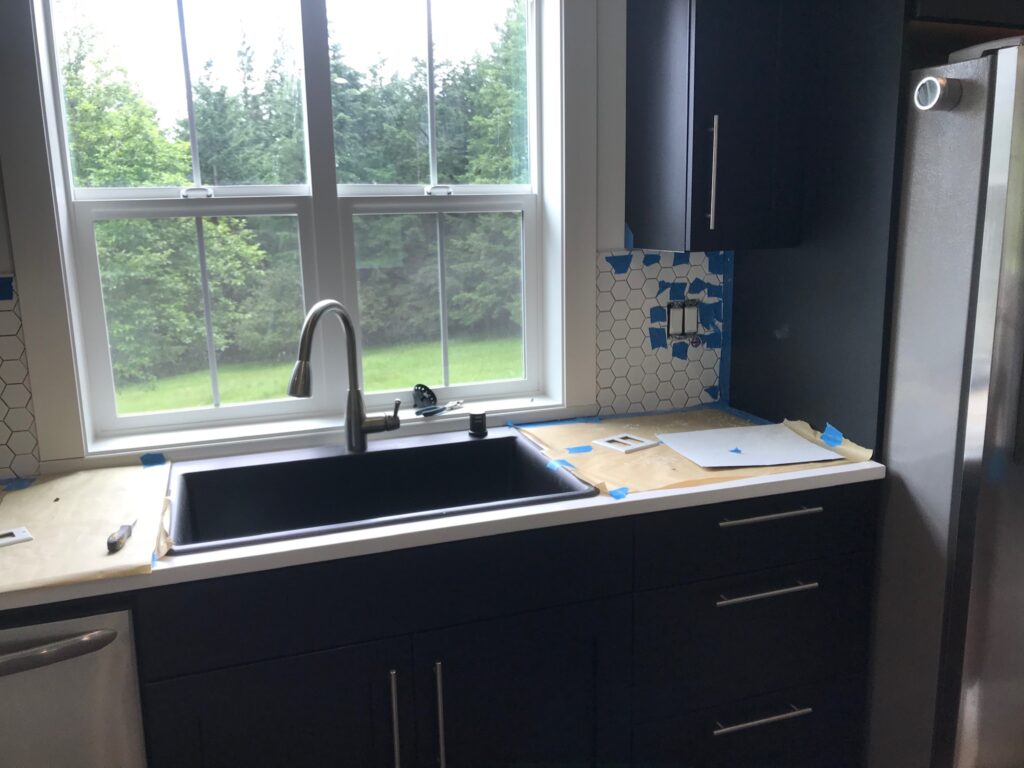
The backsplash I’ve always dreamed of
I’ve been drooling over hexi tiles ever since we were shopping for our kitchen finishes. But they were so ridiculously priced at the vendor, we had to go simpler to stay within budget. So when I found some hexi sheets at Lowe’s for a great price, I was sold!
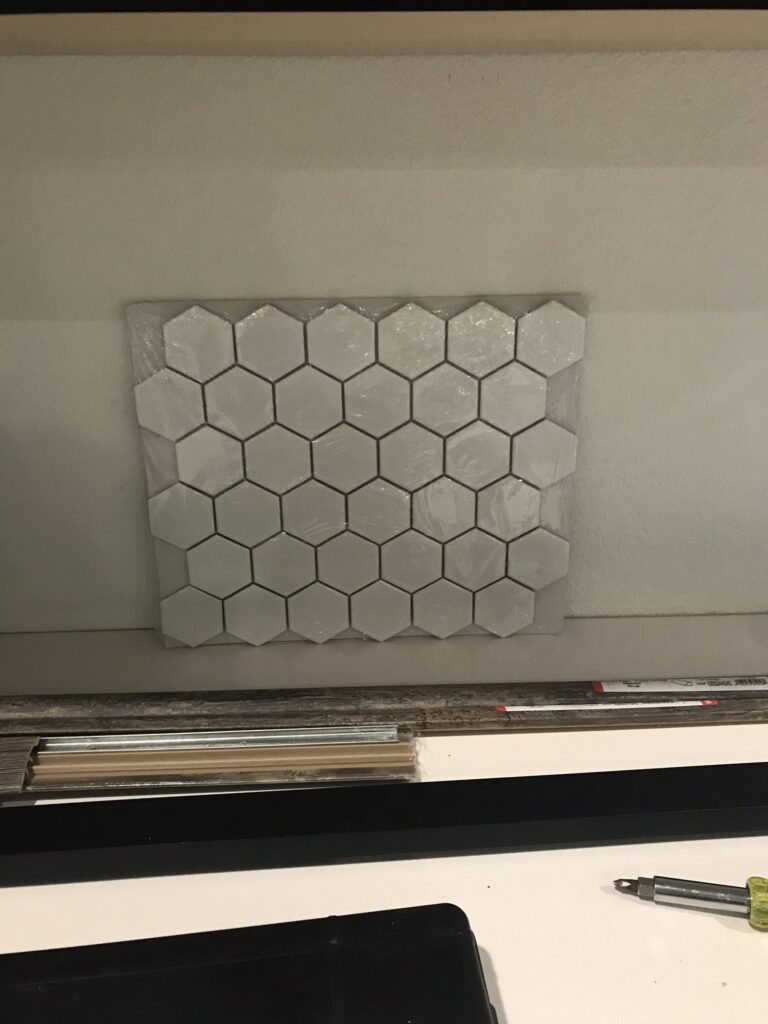
I won’t disclose how long the tile sat but eventually we started on it. BUT we did finish it in two weekends…IN A ROW! Here are some in progress pics…because…hexi!
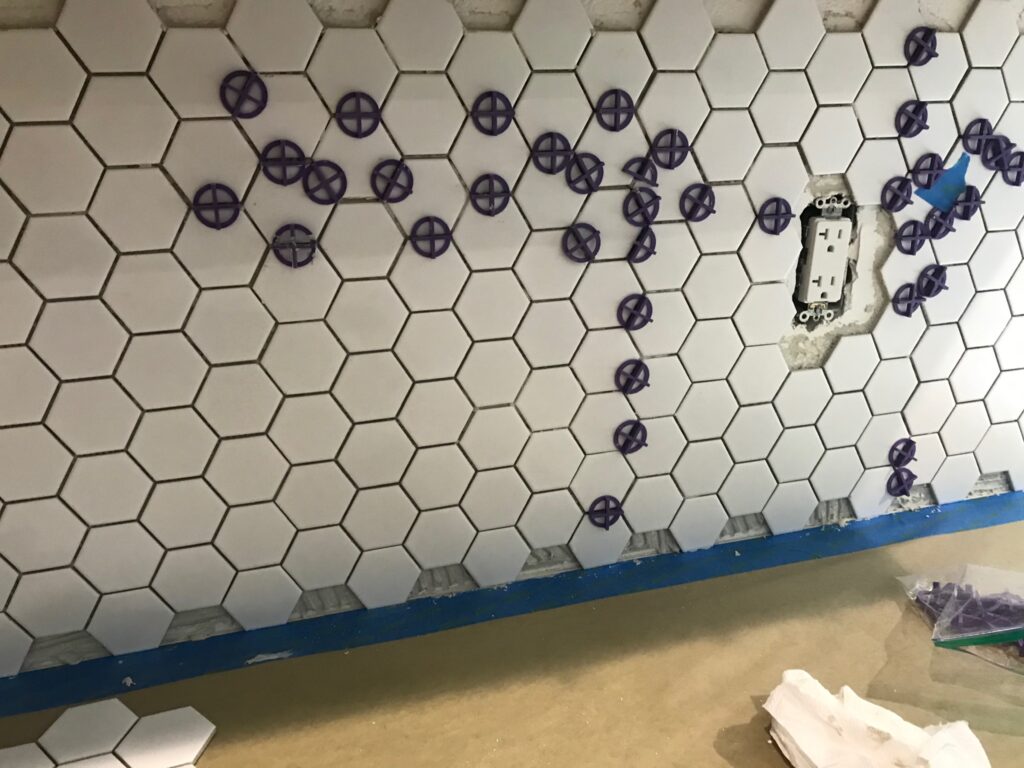
Grouted and then done. Viola!
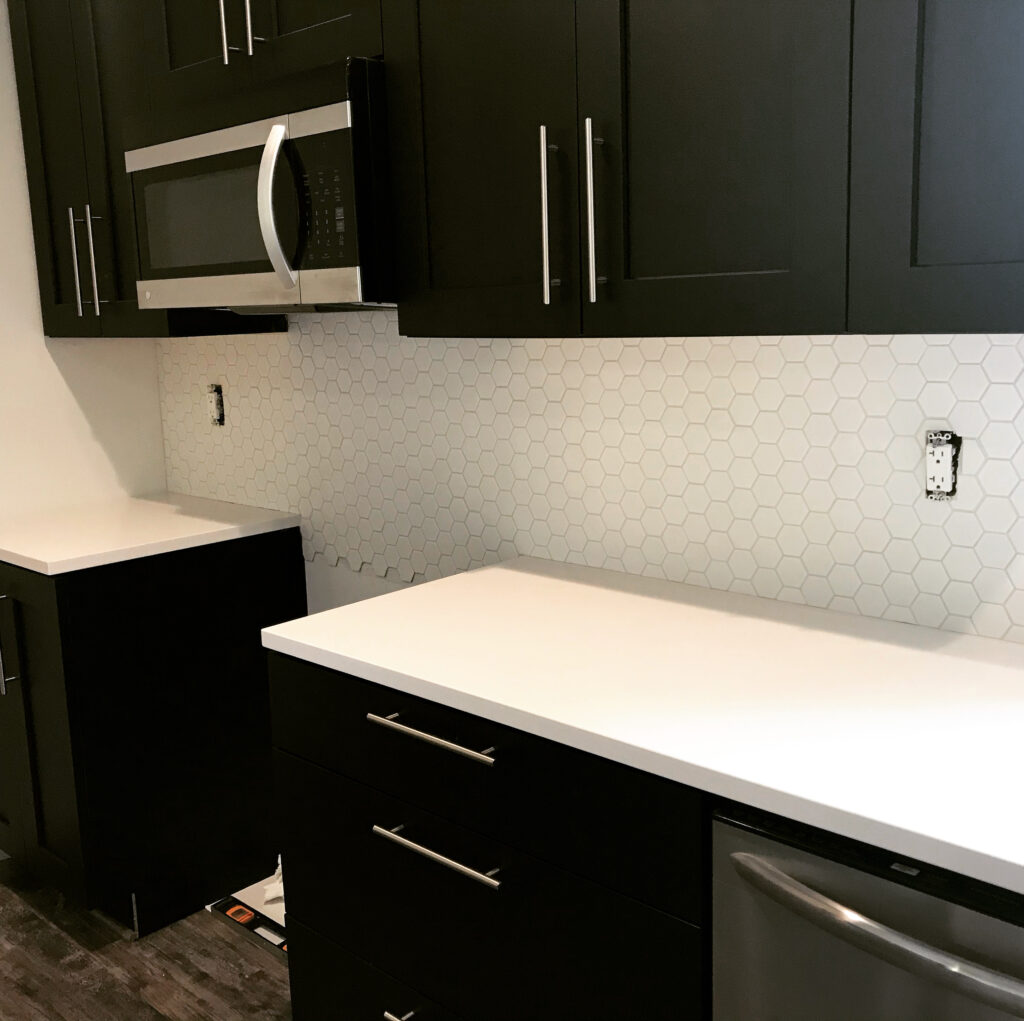
Isn’t the hexi perty?
We still need to touch up some paint, add a couple of baseboards, and another small project that I’ll probably make bigger…because why not? Oh and the decorating! Stay tuned for more!