Just like when when I started buying greenhouse windows years ago, I may have starting buying decor about the same time. And it was finally time! Fill the greenhouse with all the things! I suppose we still needed to wrap up some small stuff. Like water. And walls. Easy peasy.
All the walls
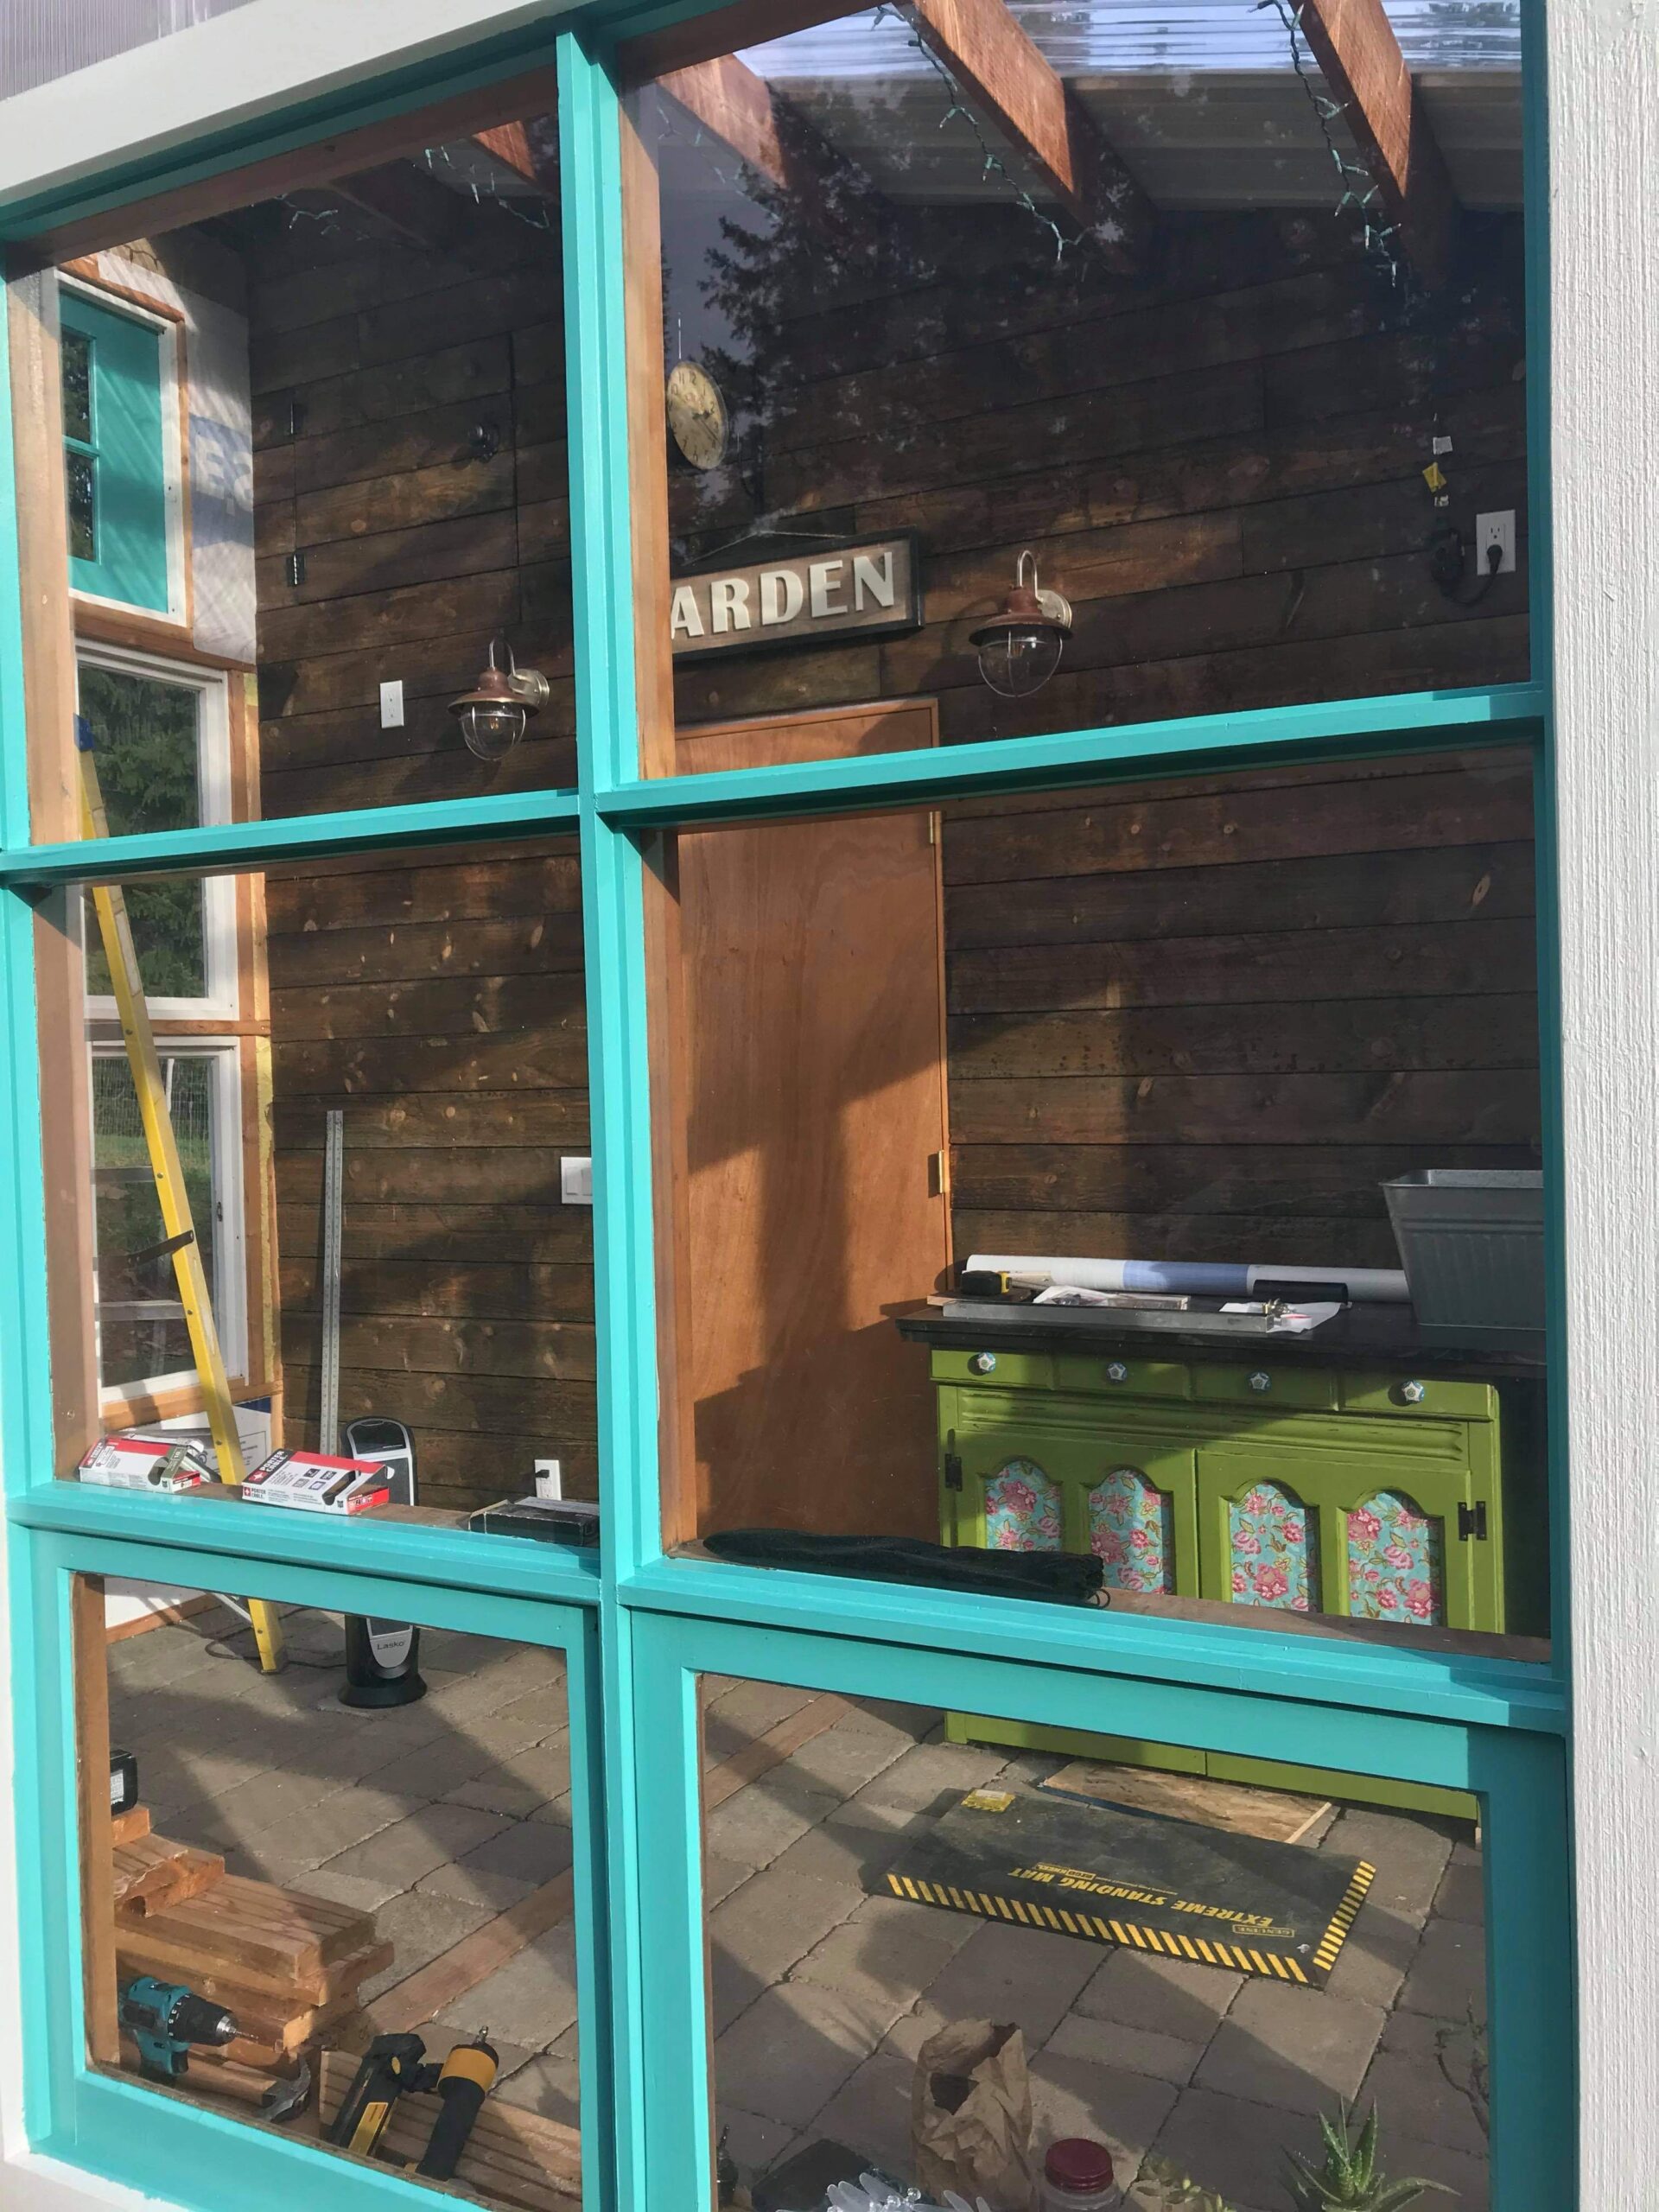
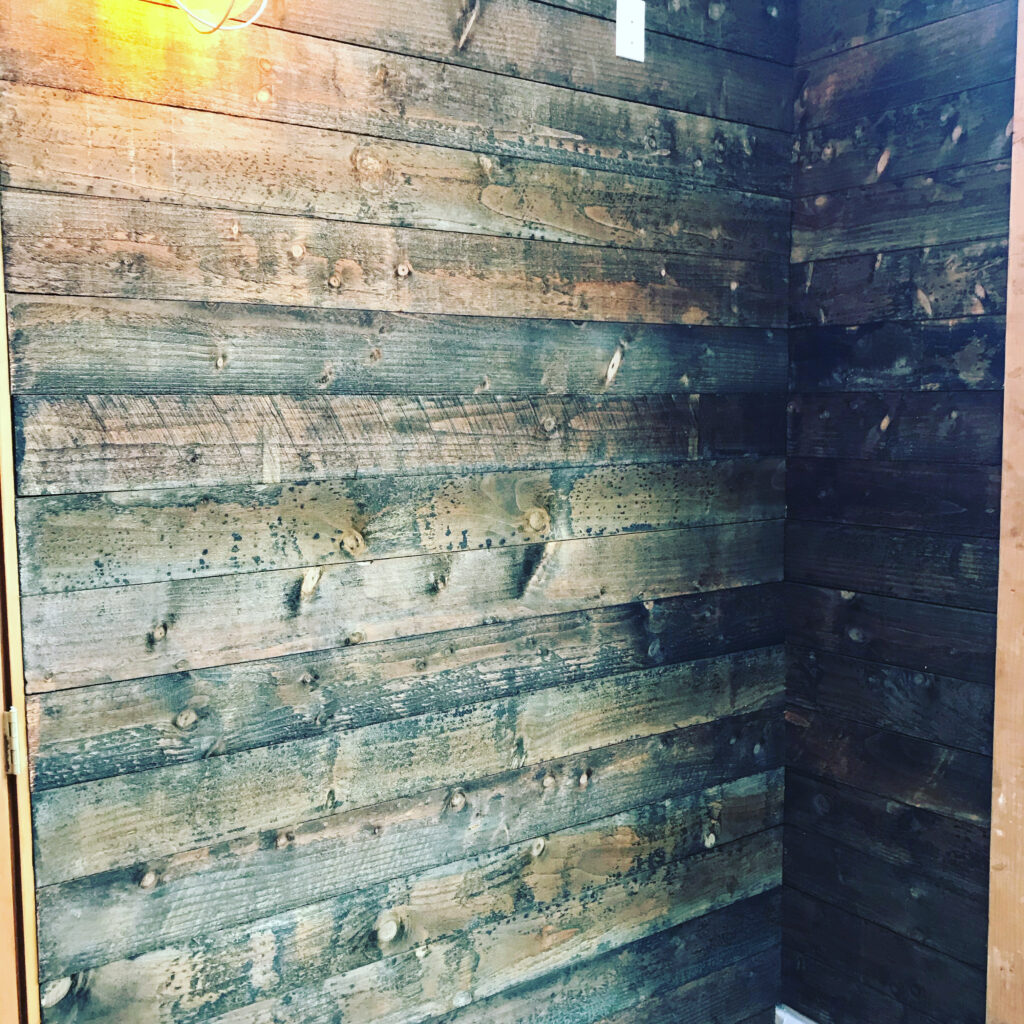
Ok, just one wall…because the rest are windows. Originally my plan was the put up white shiplap. Because shiplap! I priced it all out and even went to the store to go get it. Then we browsed. And came across some stained cedar fence boards. They were one-third the cost of the shiplap. And pretty rustic. I felt rustic that day. And frugal. So we went for it.
Before putting the boards up we covered the wall in plastic as a moisture barrier. The install was pretty straight forward with some cutouts around lights and switches.
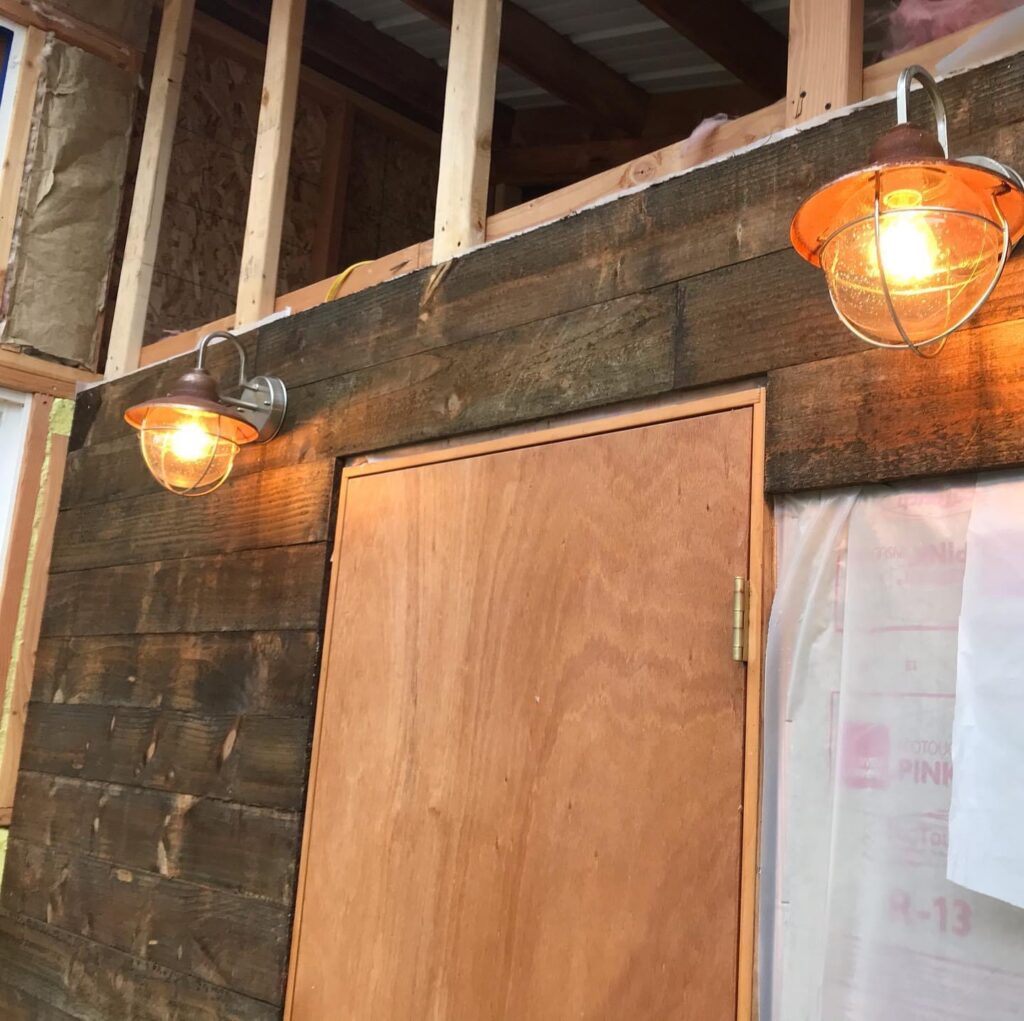
At the top corner we made an access door to the space above the storage room. We still have to install a fan and venting system so this will make it much easier. And I found a cool fake doorknob to use there (but apparently forgot a picture). But the bestest part of finishing this wall? I could finally add all the decor I’ve been saving!
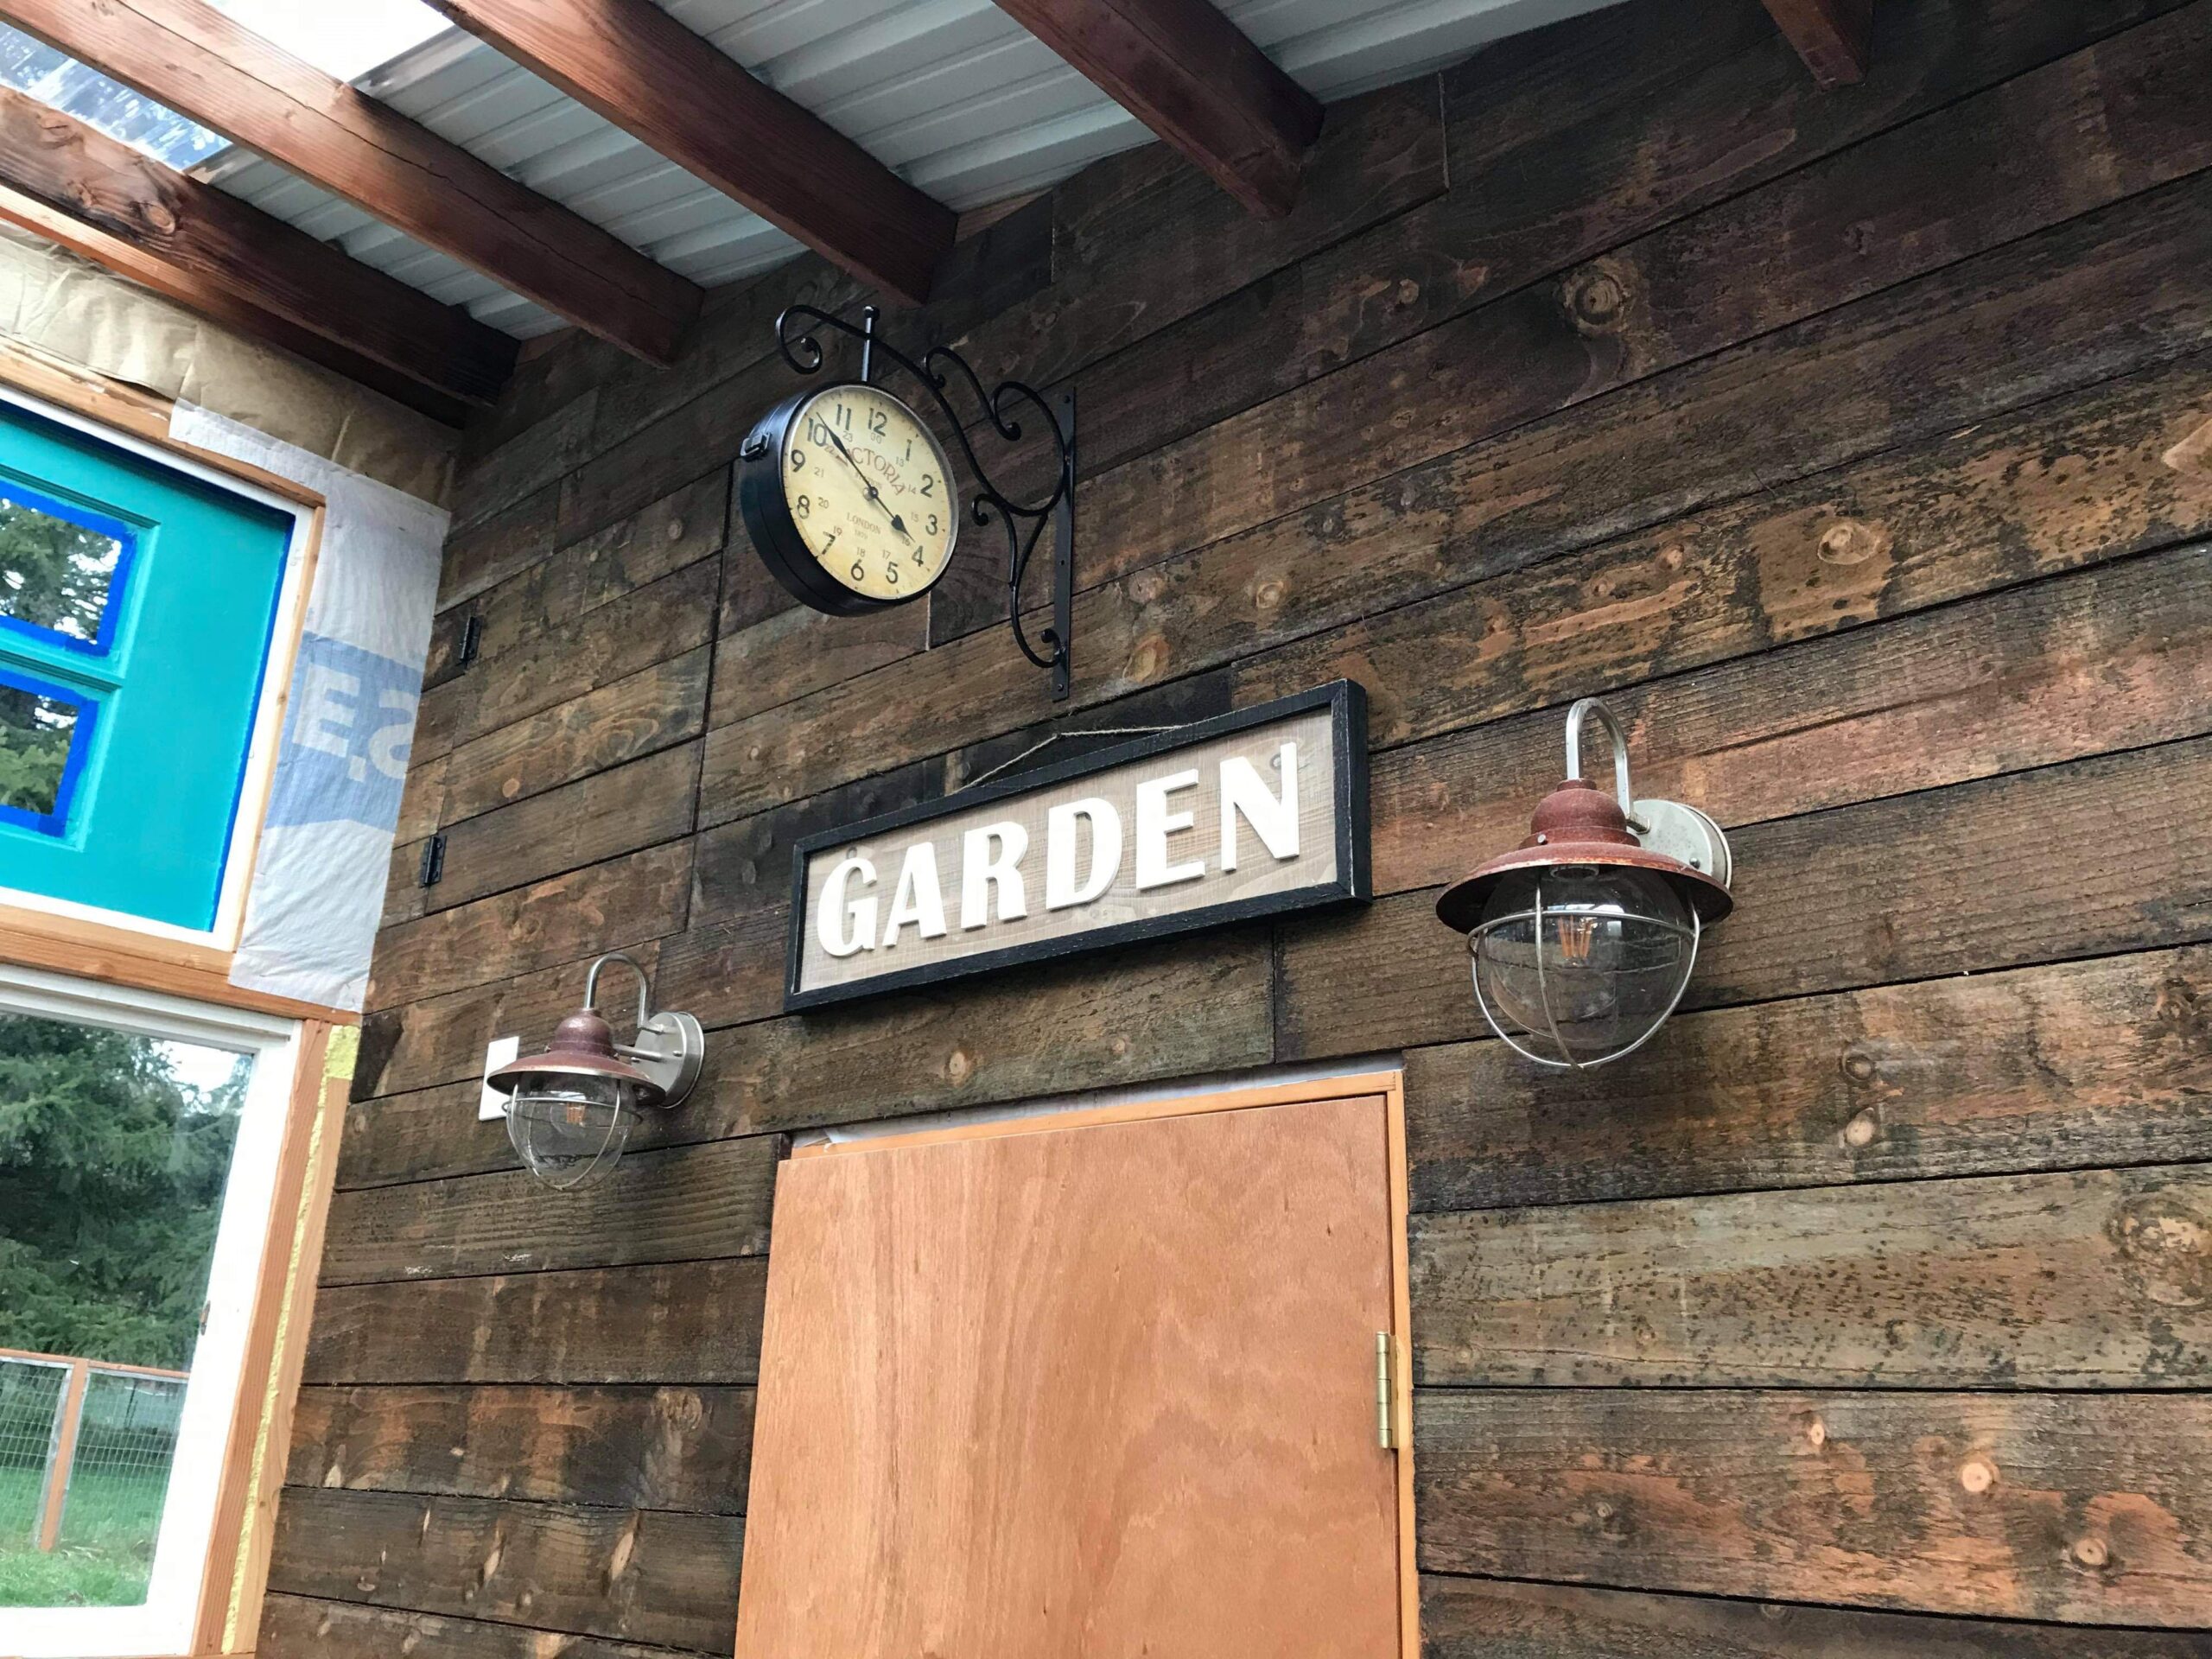
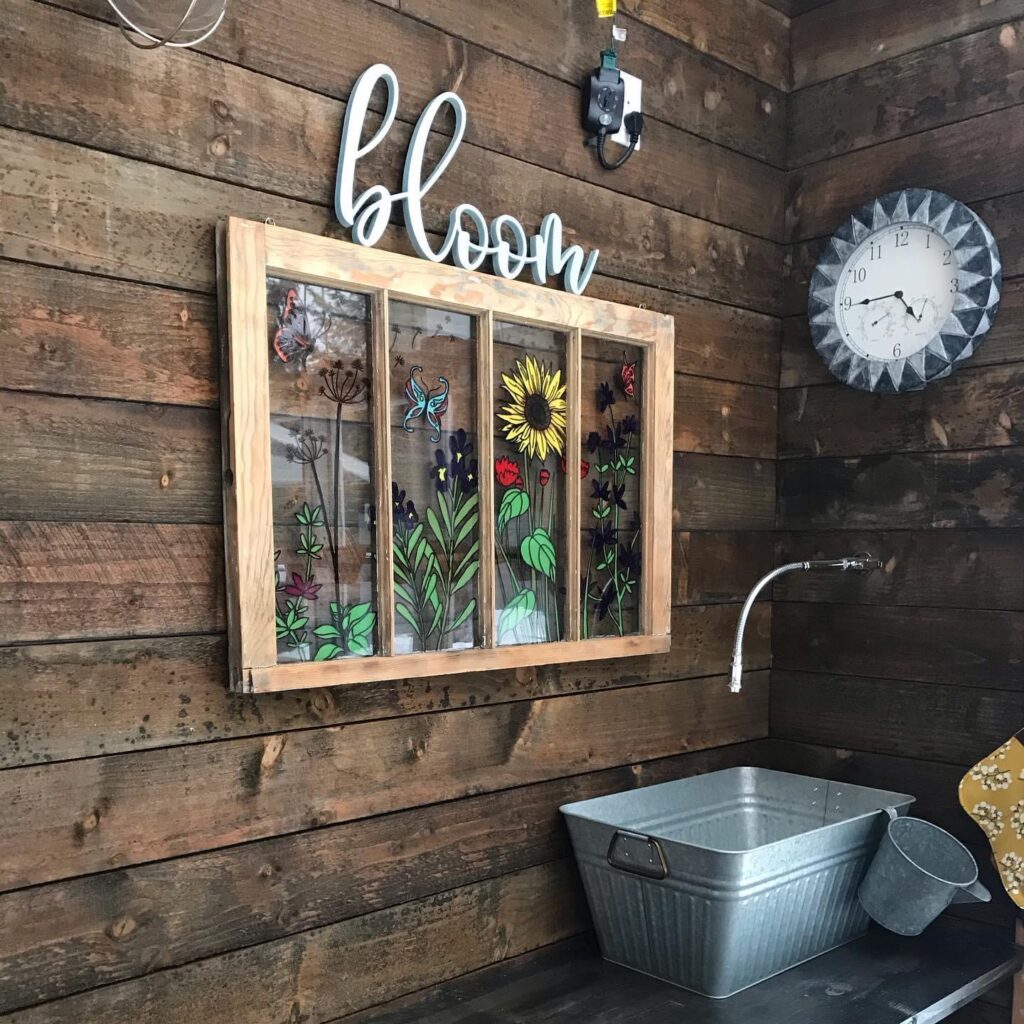
The rusty lights were free from a local group! They work perfectly with the rustic vibe. And the two-sided clock I bought locally years ago just for this greenhouse. The garden sign has been hanging out on my piano just waiting. Welcome home all the cute things. Welcome home.
But wait, there’s more!
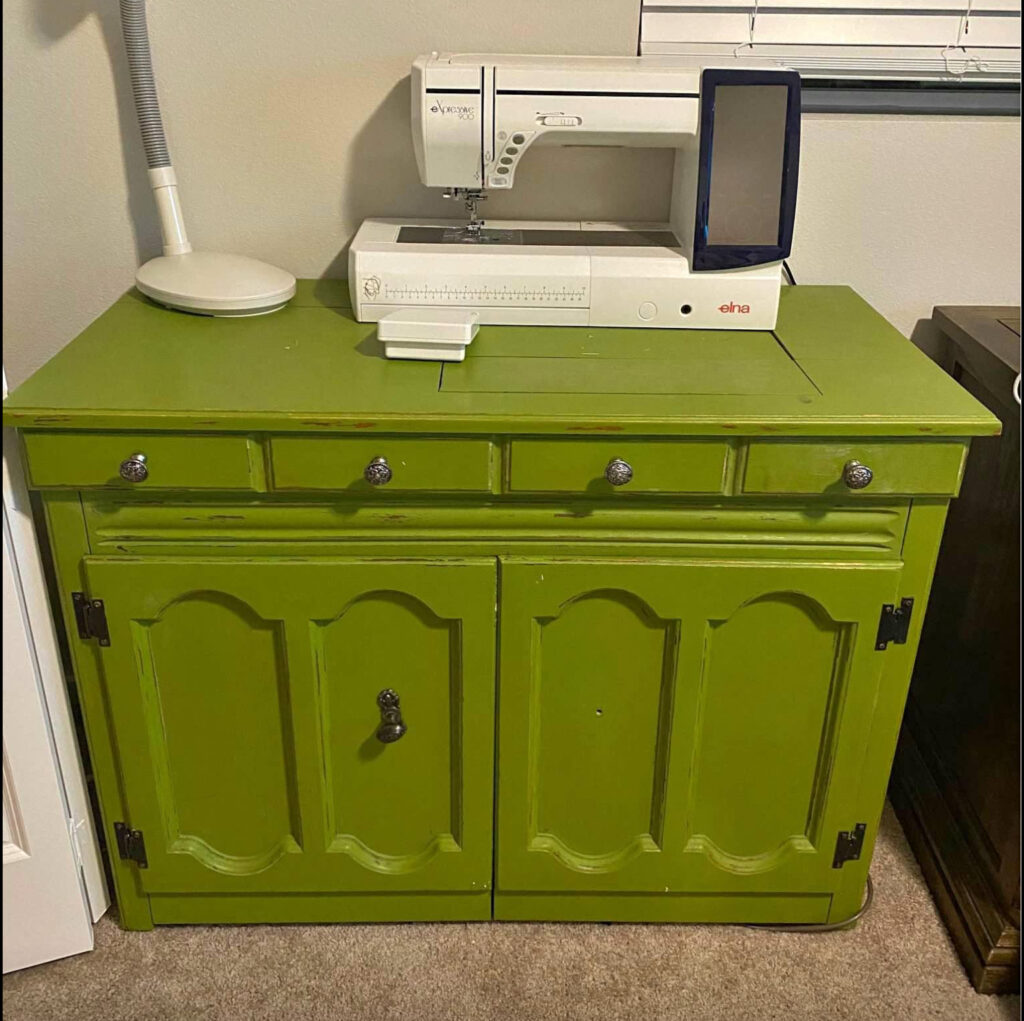
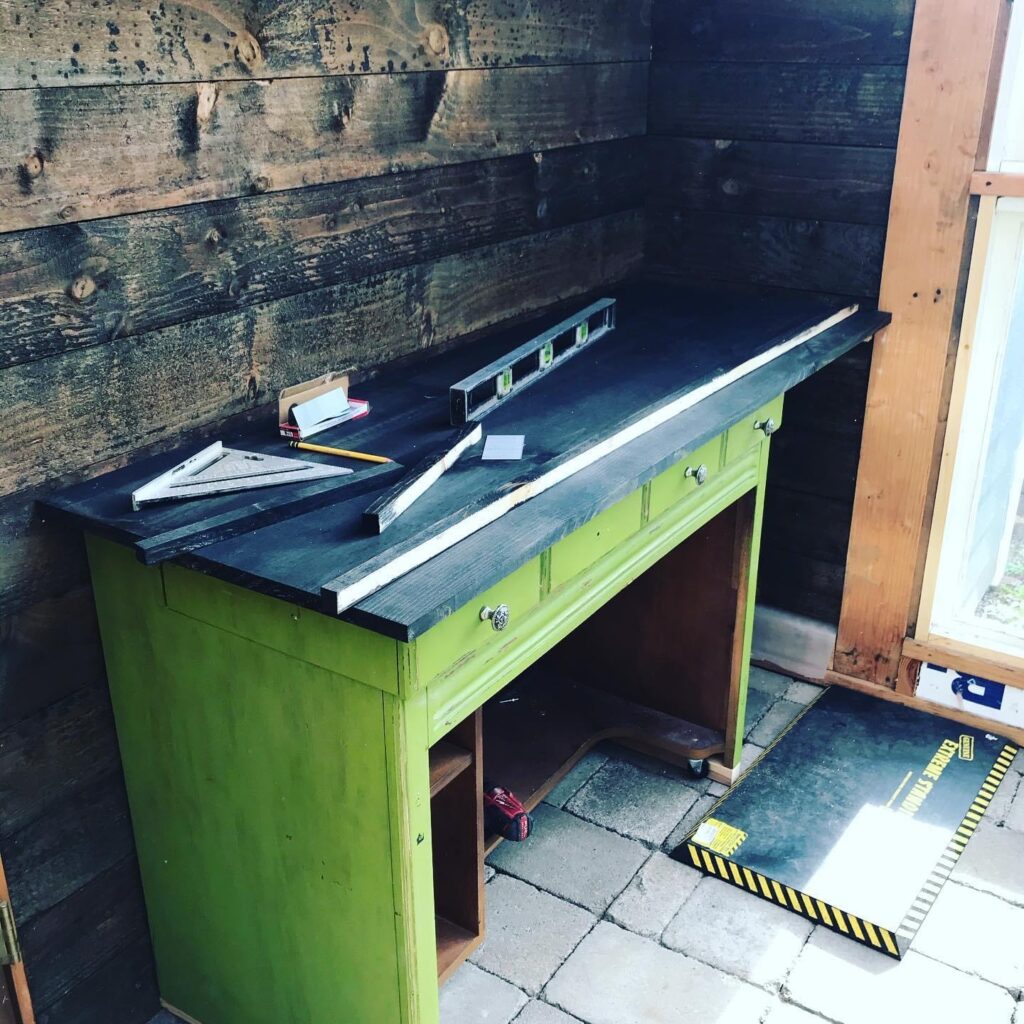
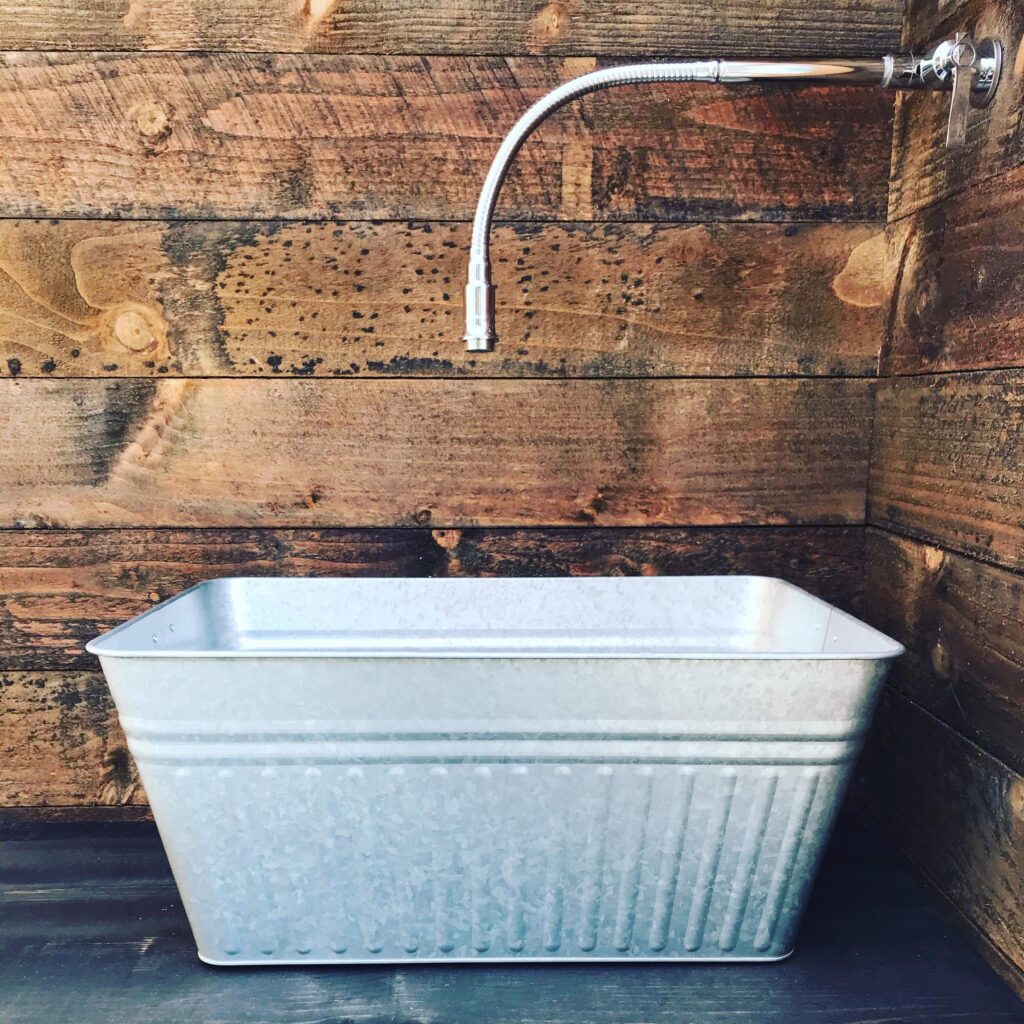
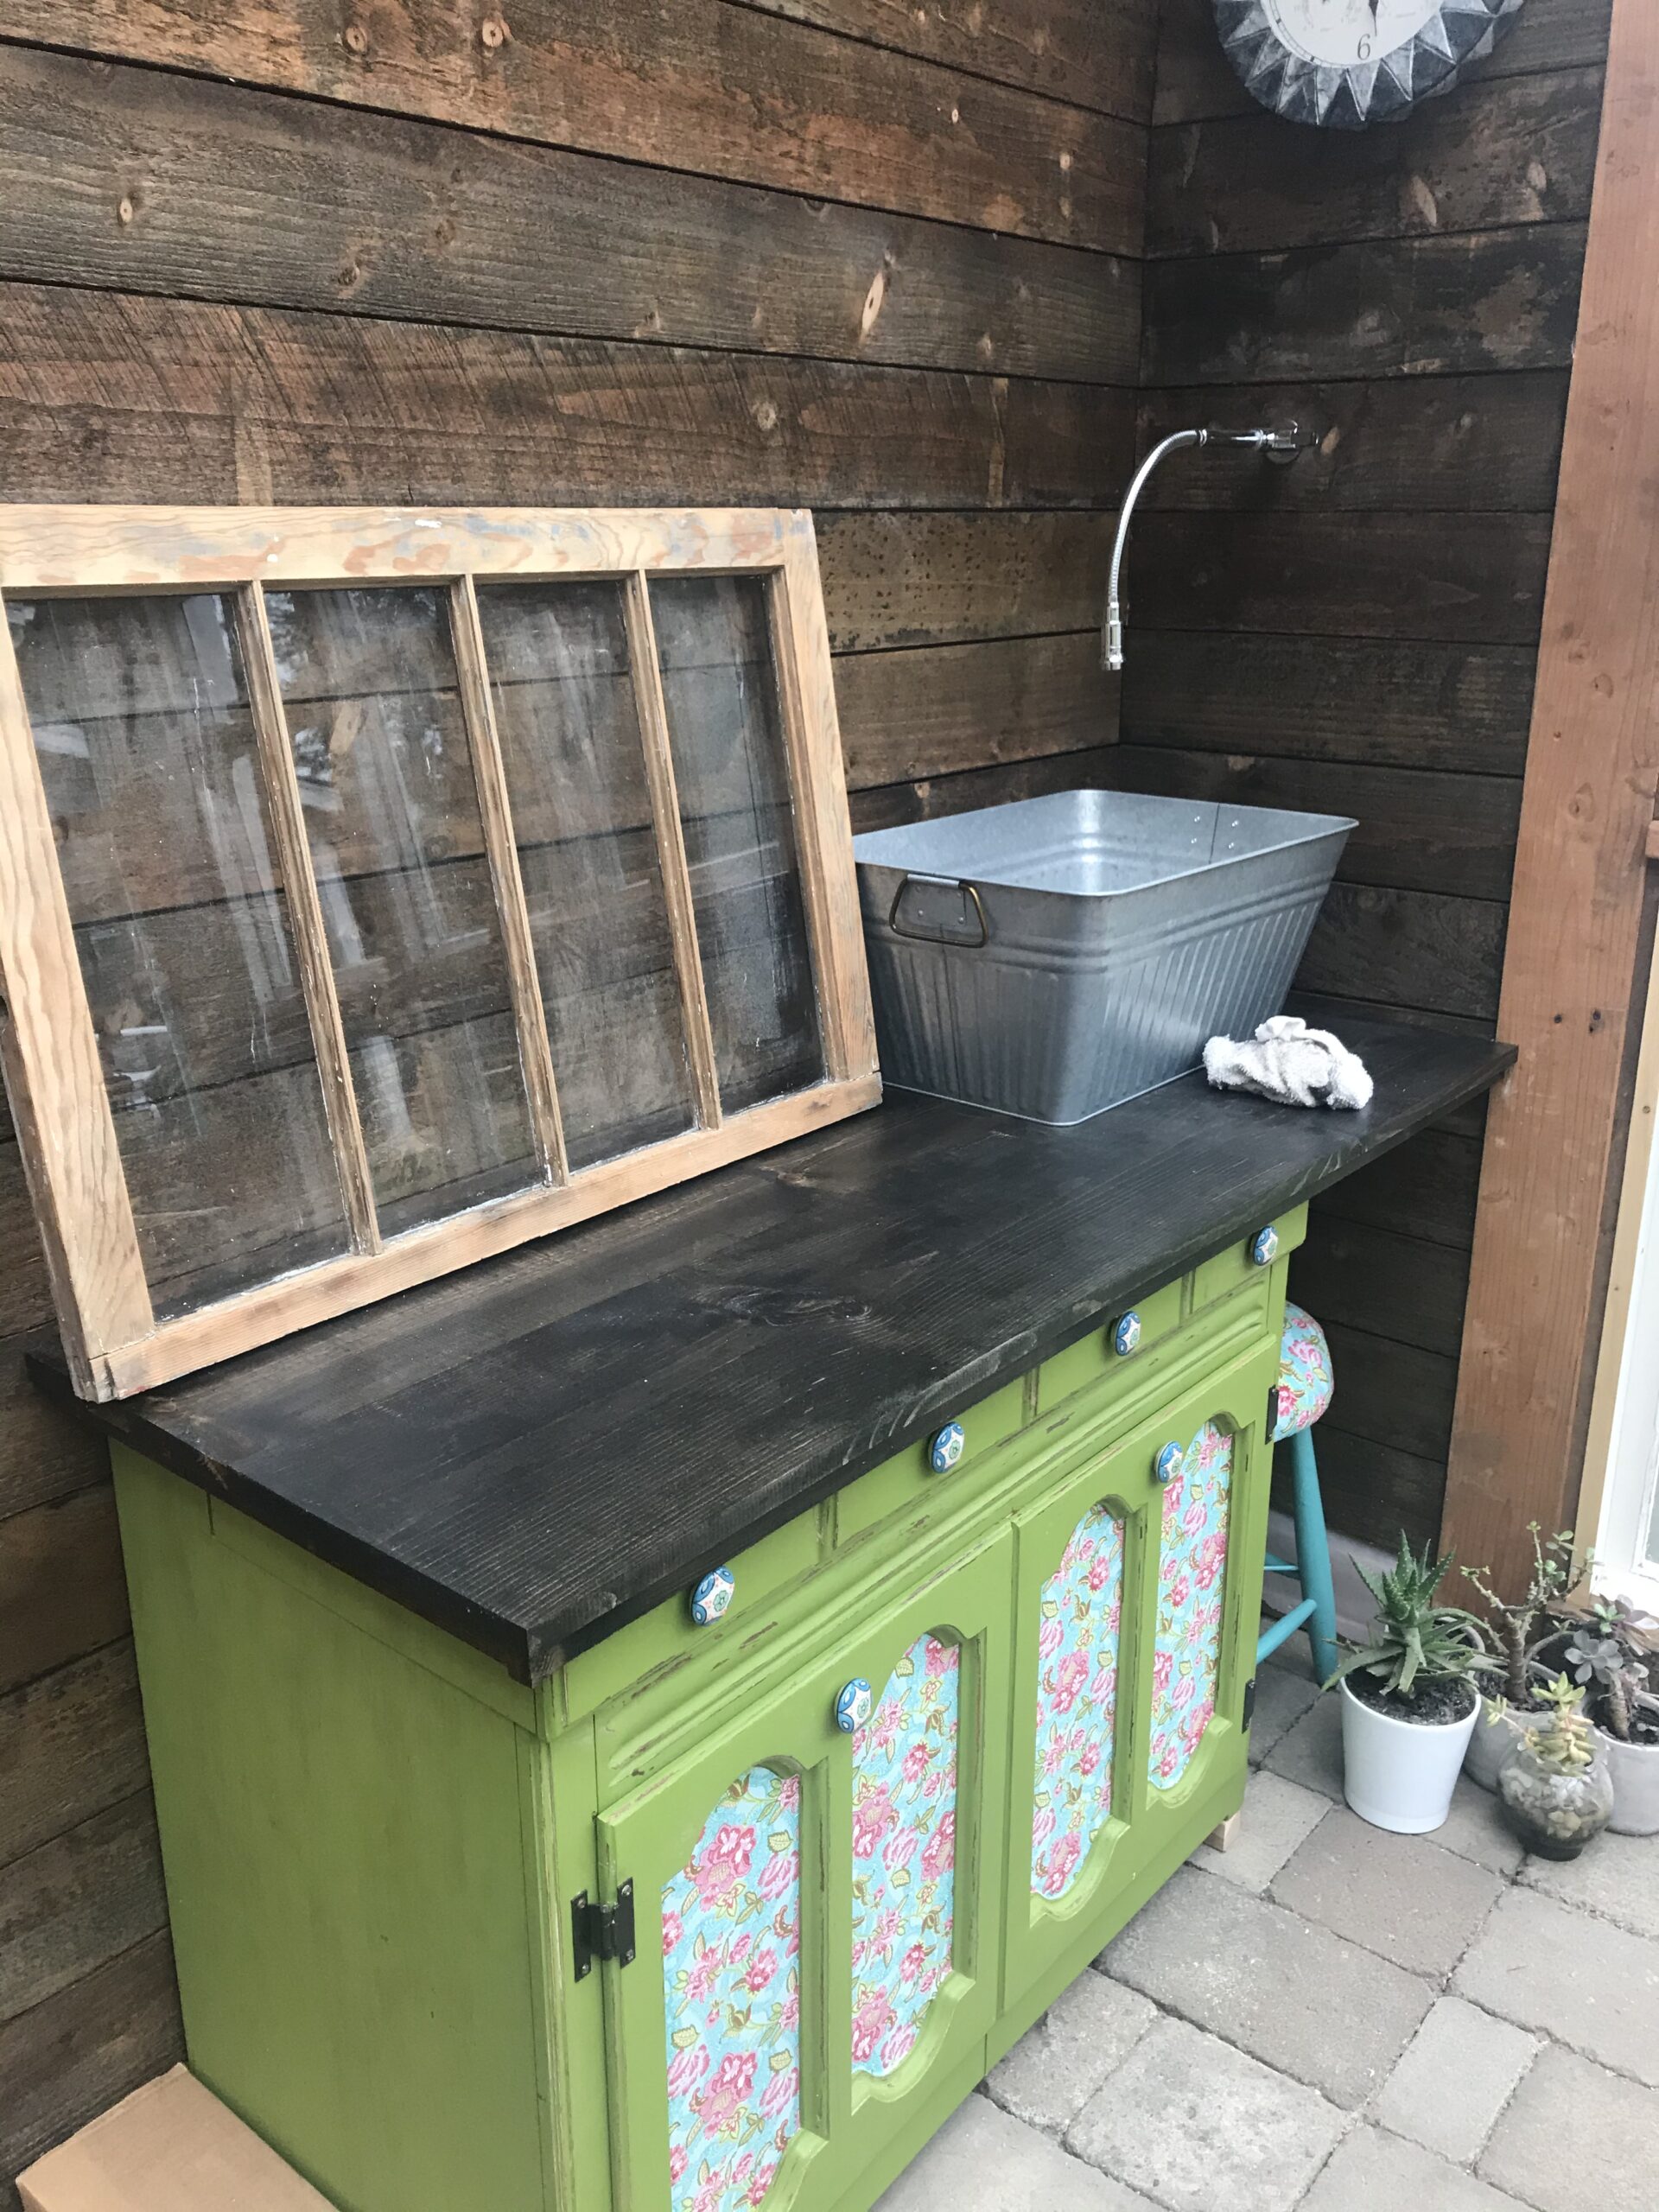
It wouldn’t be a greenhouse without water. And an awesome sink…that I might have bought off of Etsy when we started the project (See? I have self-restraint..). So we ran the water (there’s going to be a dog shower on the other side of the wall-stay tuned) and a drain which will just be grey water out to a planter bed. After buying the sink, I searched and searched for a gardening bench or something storage-wise to set it on. I finally came across the perfect piece…a vintage sewing cabinet!
We tried to fit the sink in the sewing machine opening but we would have had to cut it a little bigger and make room for the drain. I really didn’t want to cut this awesome piece up so instead we decided to make a wood top and fit the sink to the right. This would give me more counter space and keep everything pretty much in tact.
Of course I still needed to add some flair. So I took the cabinet doors and added fair! With fabric and modge podge.
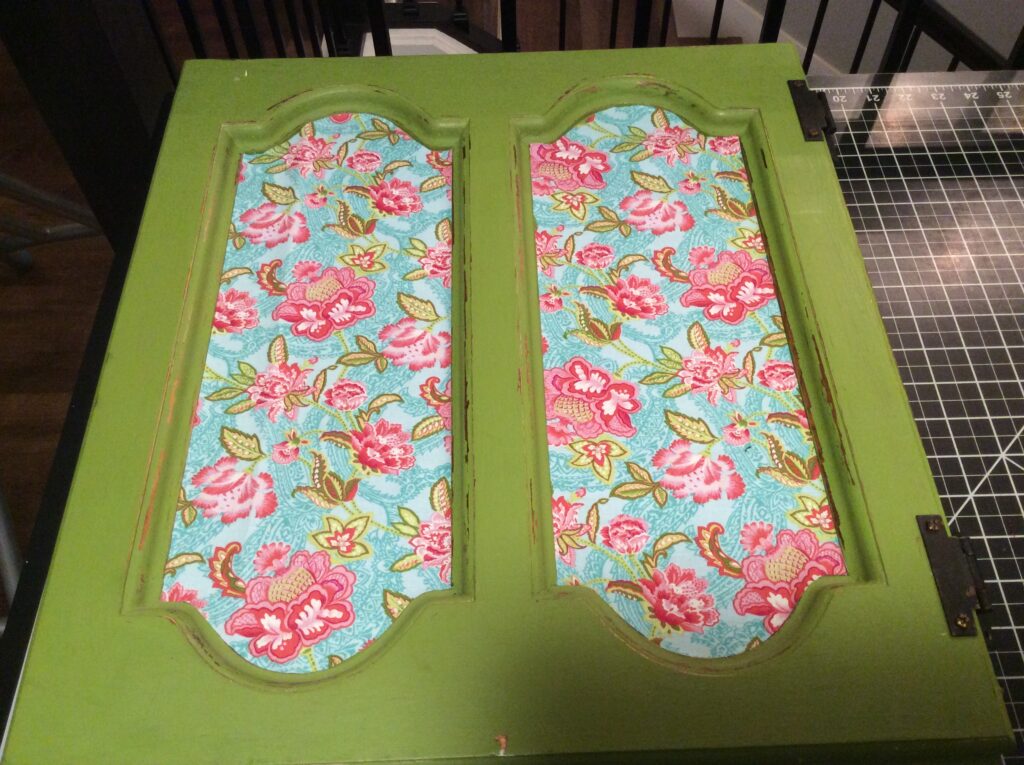
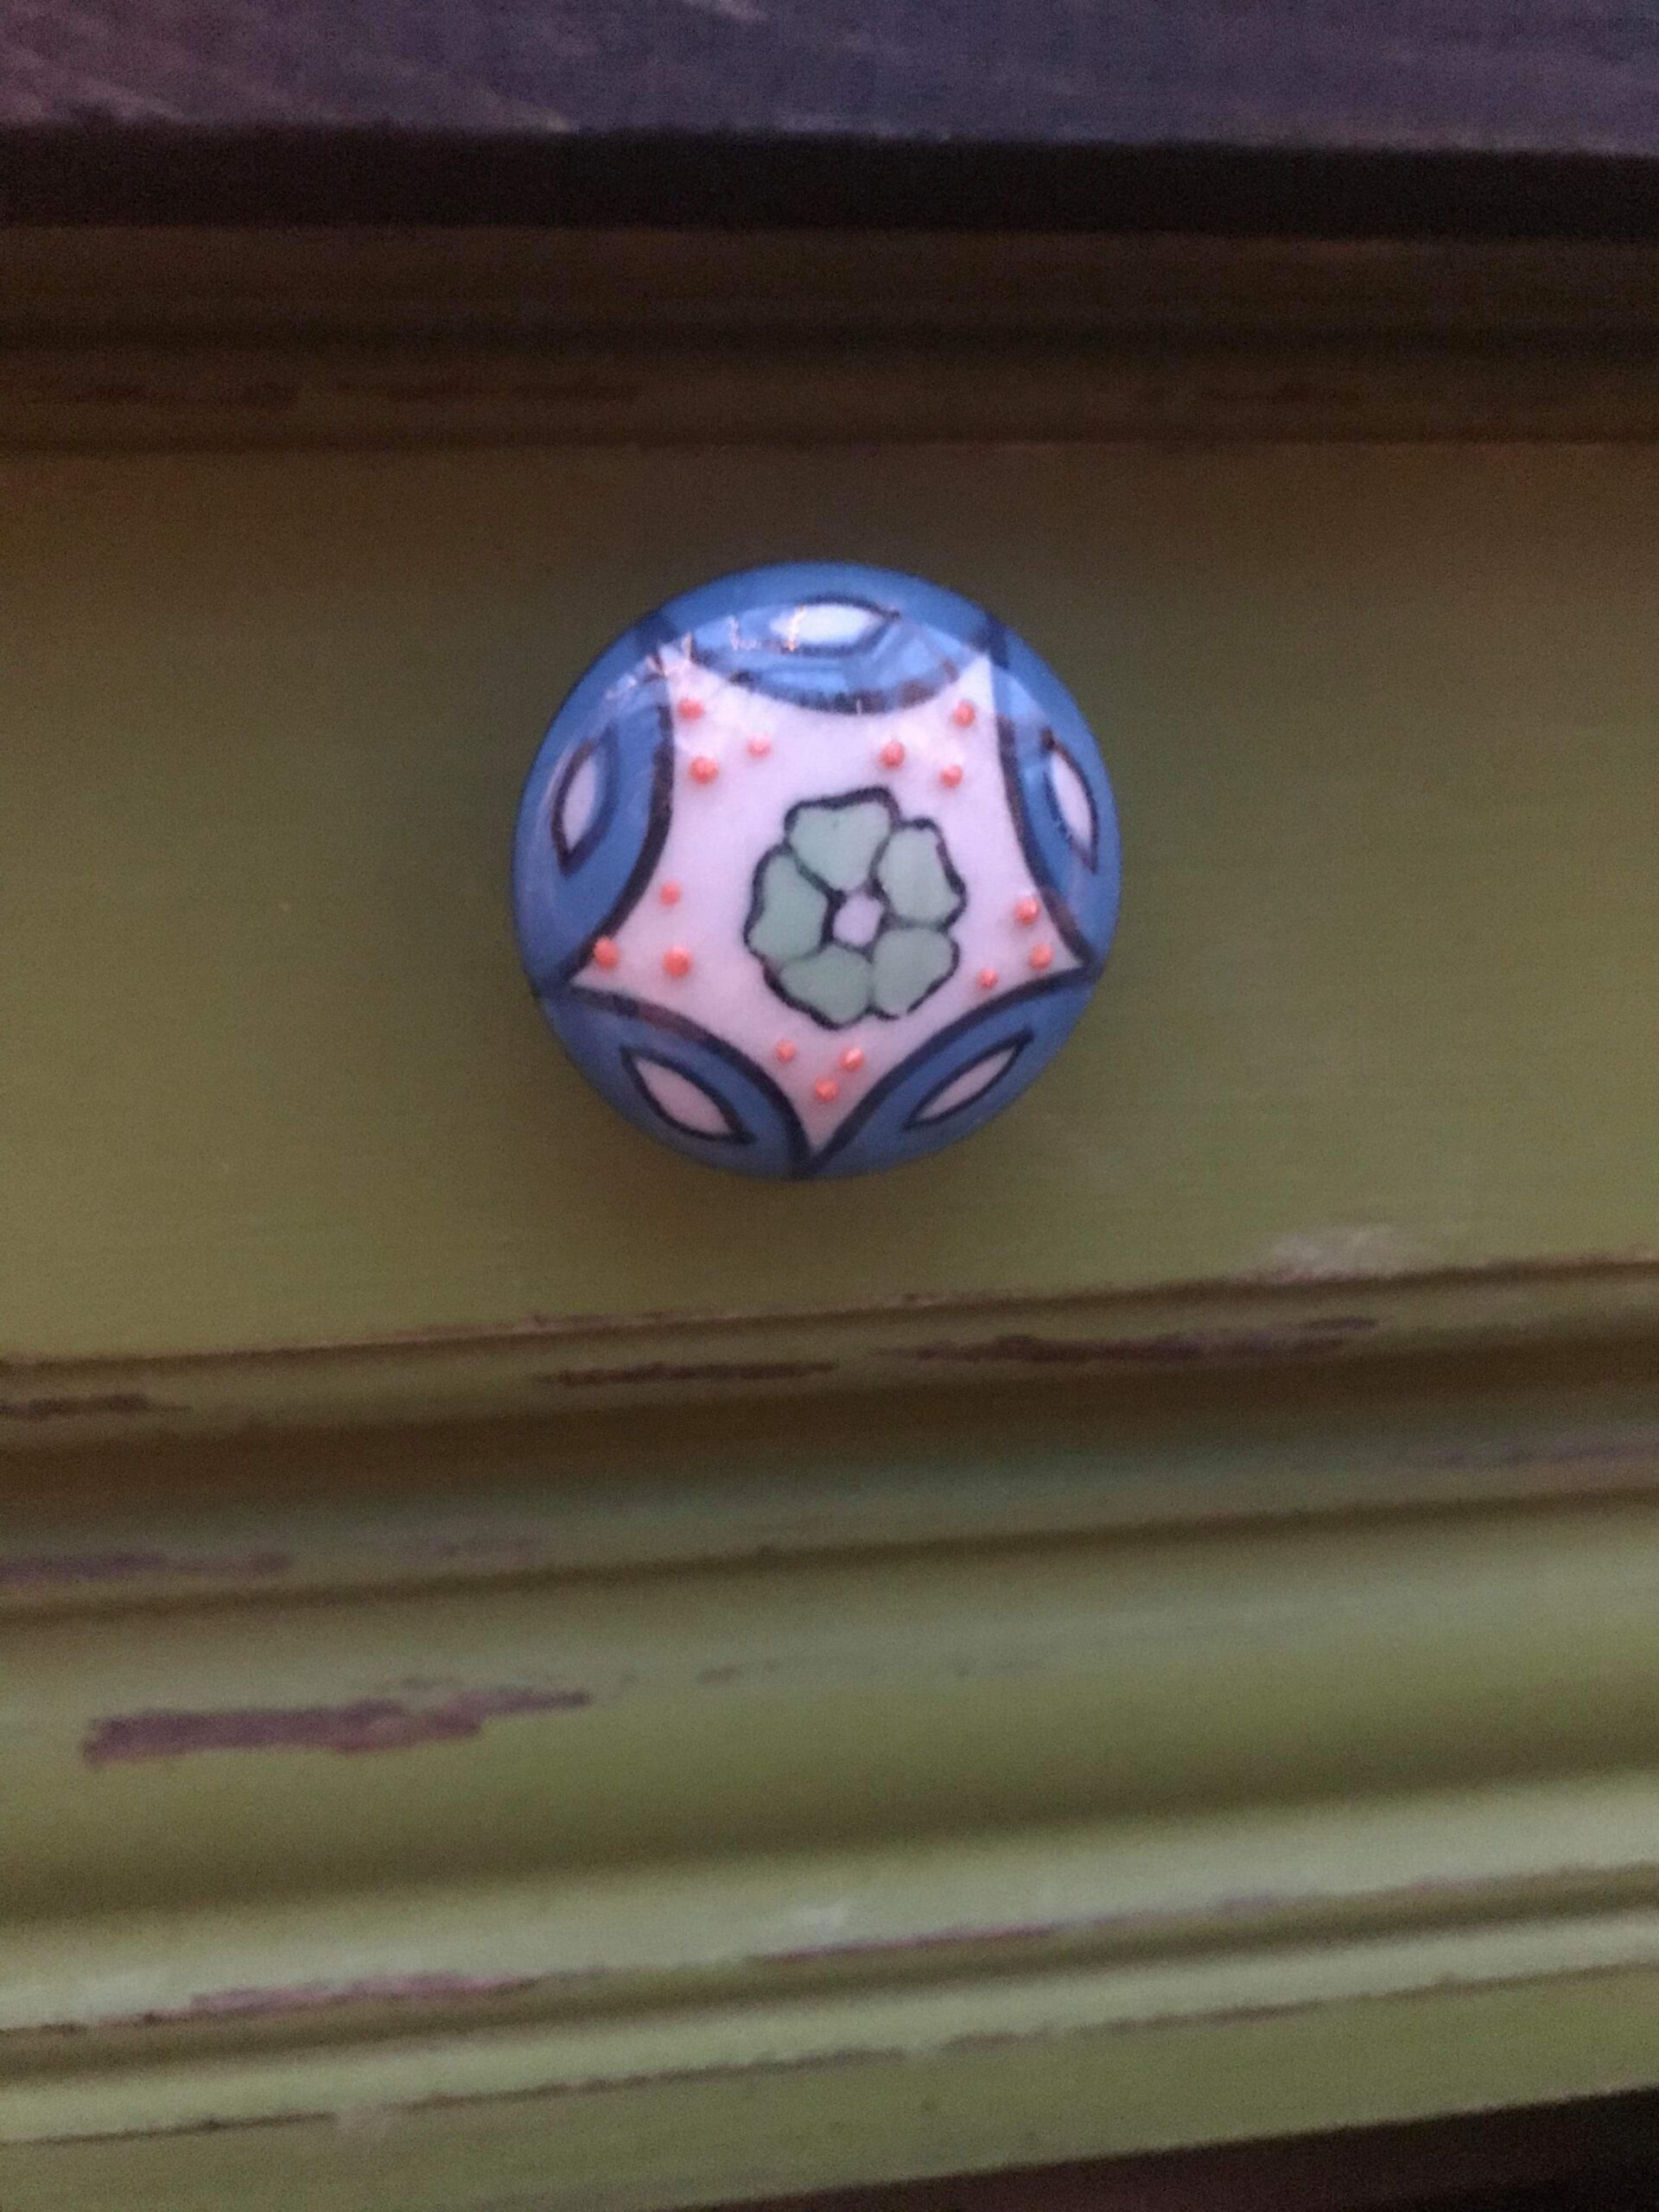
And finished it off with some super cute knobs.
And how cute I forget the awesome sink! It really is the best.
But wait, there’s even more!
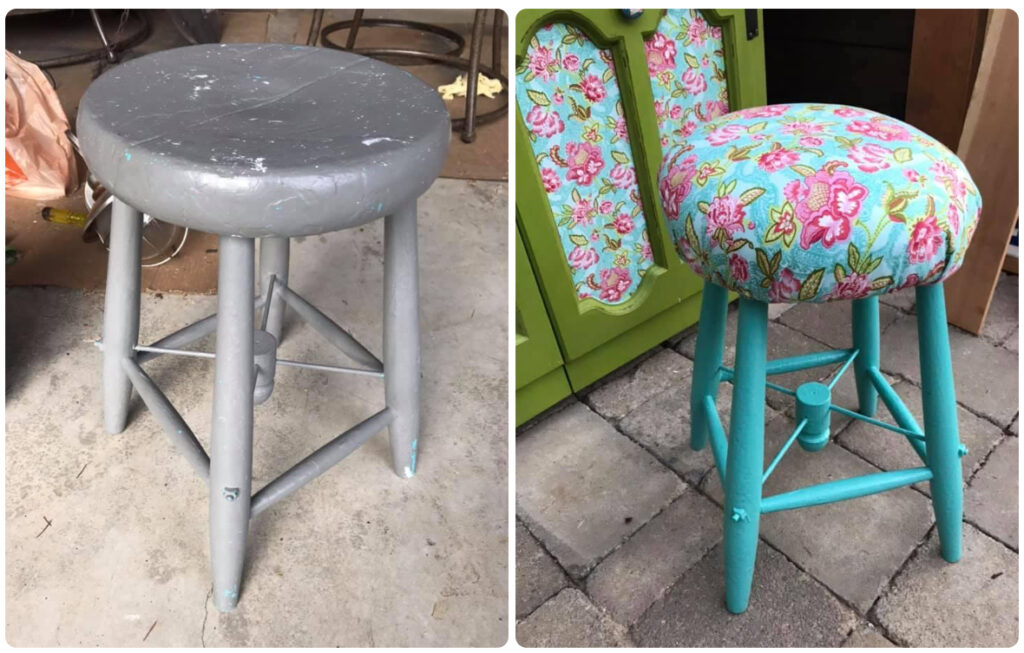
Another free gift from a local…this lovely stool just needed some matching flair. Some paint, a cushion, and matching fabric = a happy place to sit.
Ta da!
But where will all the plants go, you ask? There’s much more to come!