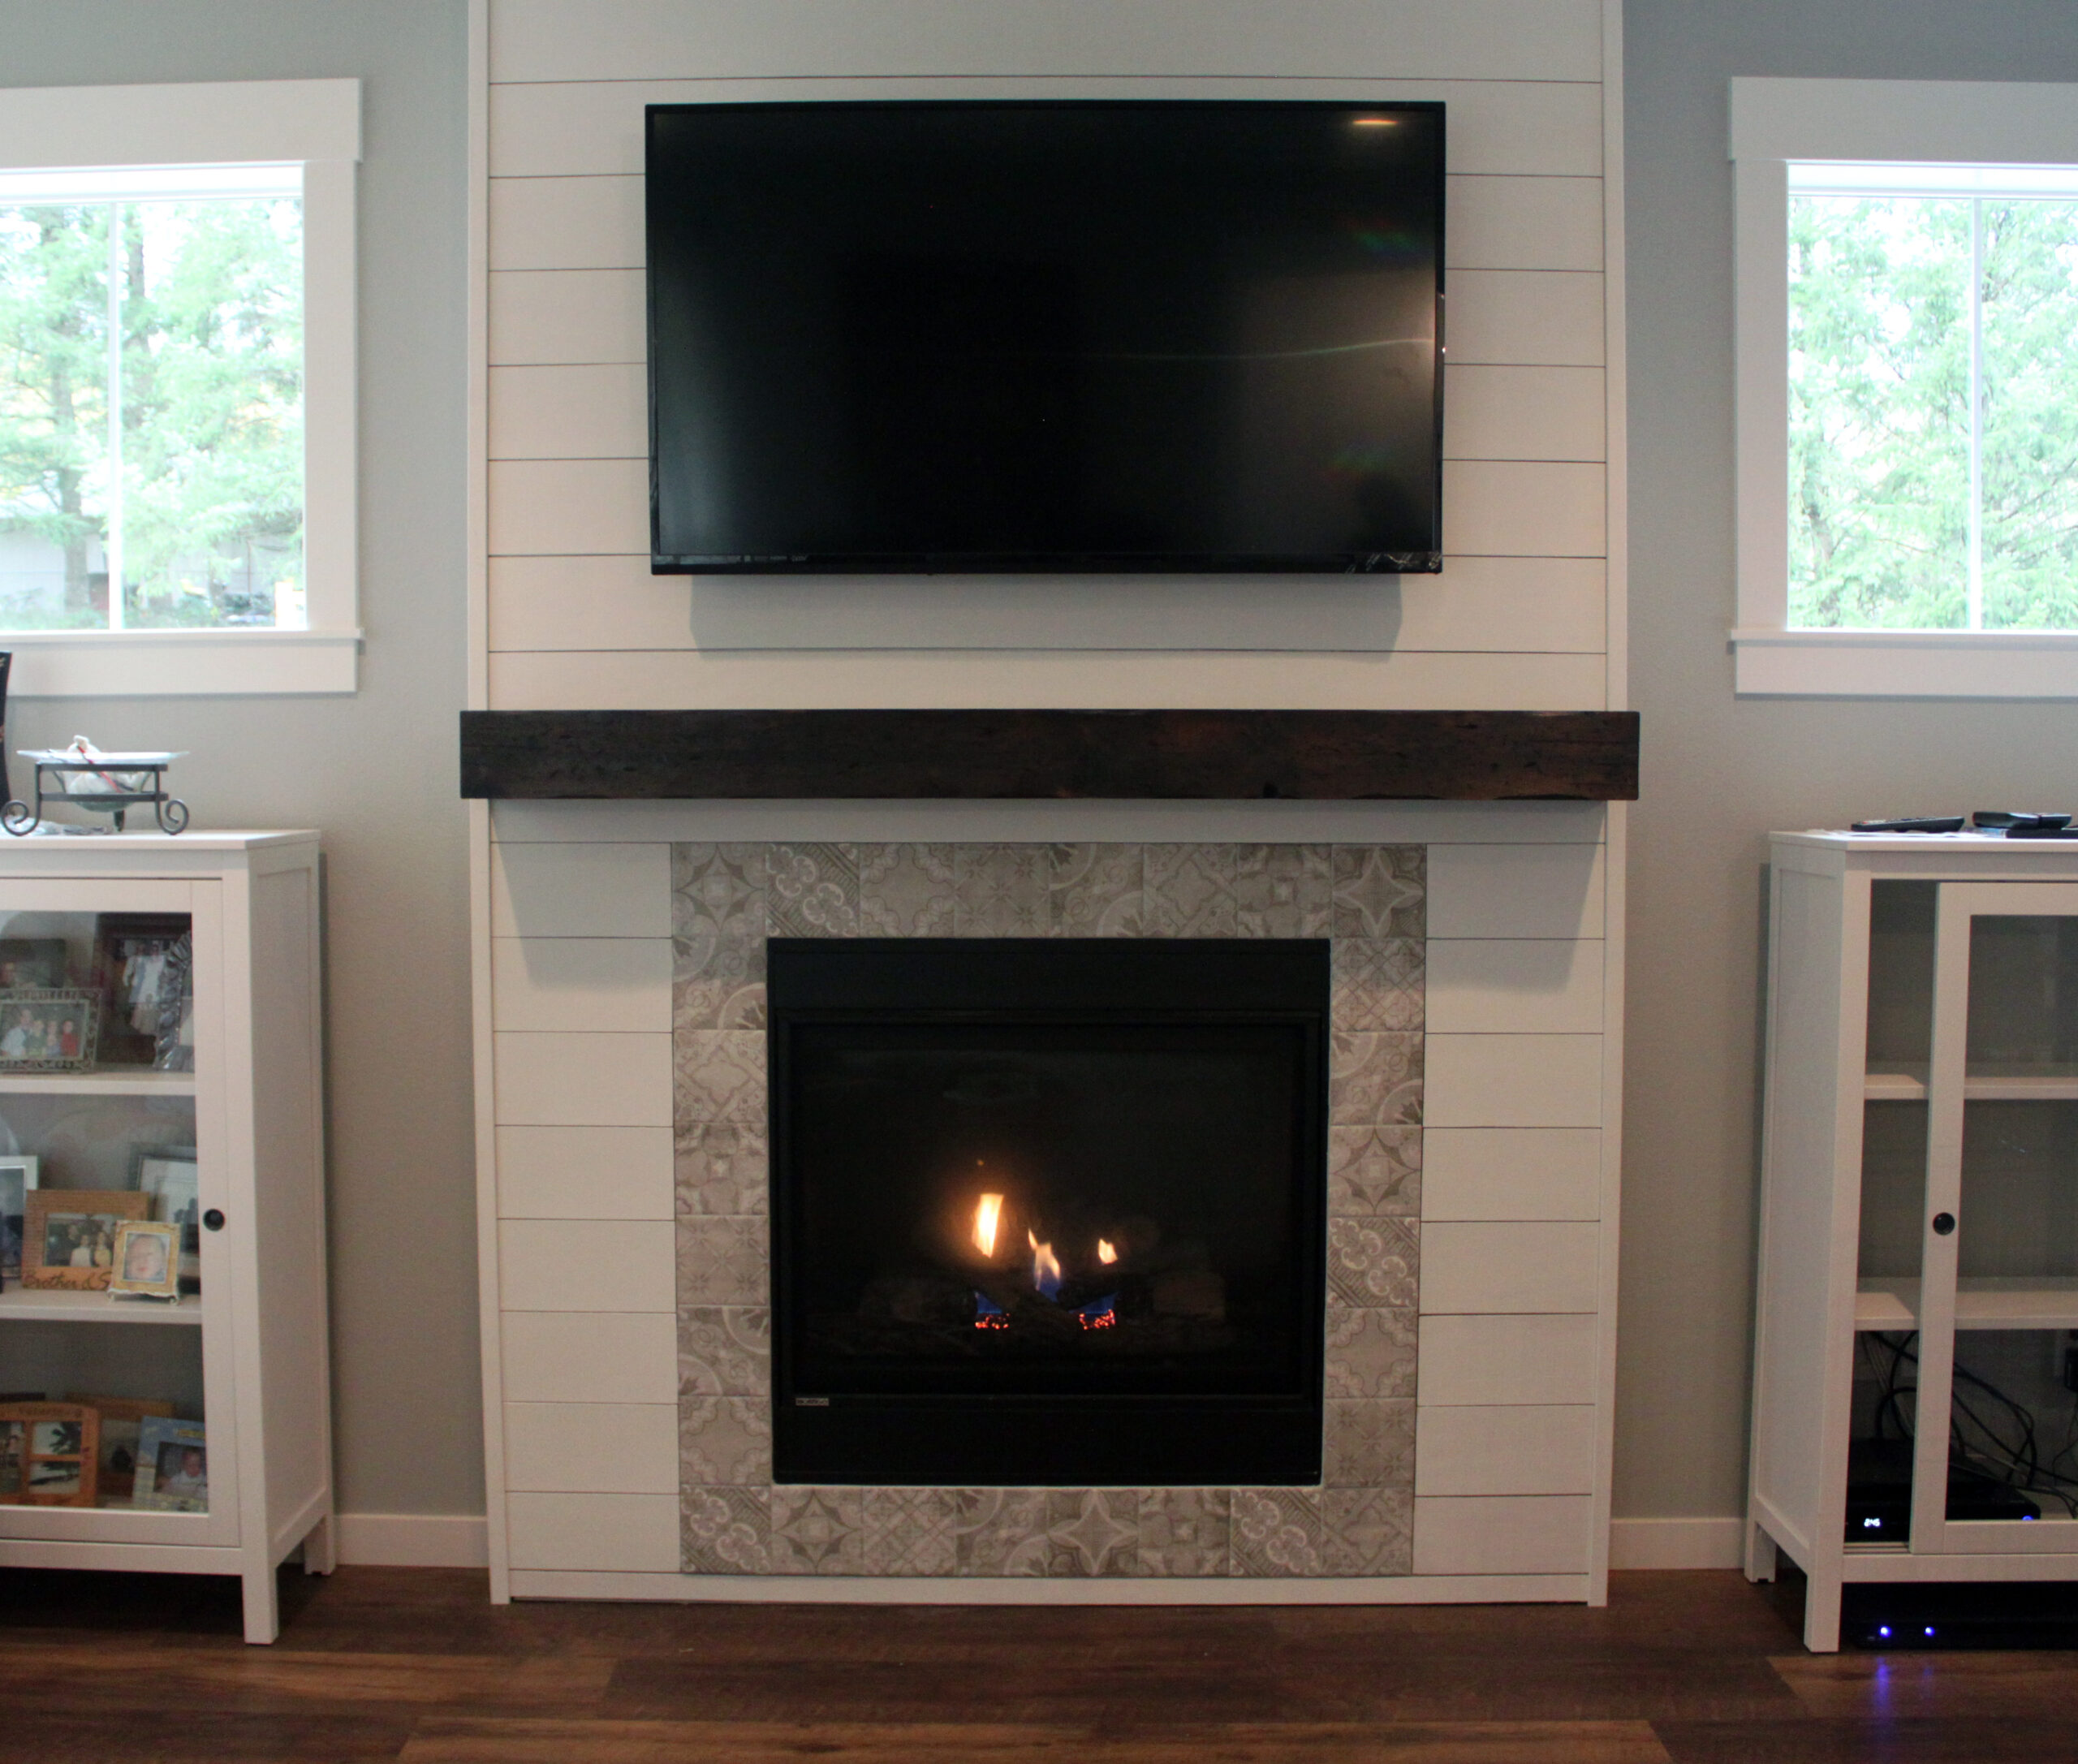
We are big Fixer Upper fans and consider ourselves pretty much like Chip and Joanna. We could totally have our own show. So needless to say, yep…we are doing the shiplap thang. Well not the real shiplap thing. But the fake shiplap thing. Believe me…it’s a thing. Pinterest says so. And before we shiplap all the things (because there will be more), we started with the fireplace.
Materials & Tools Needed:
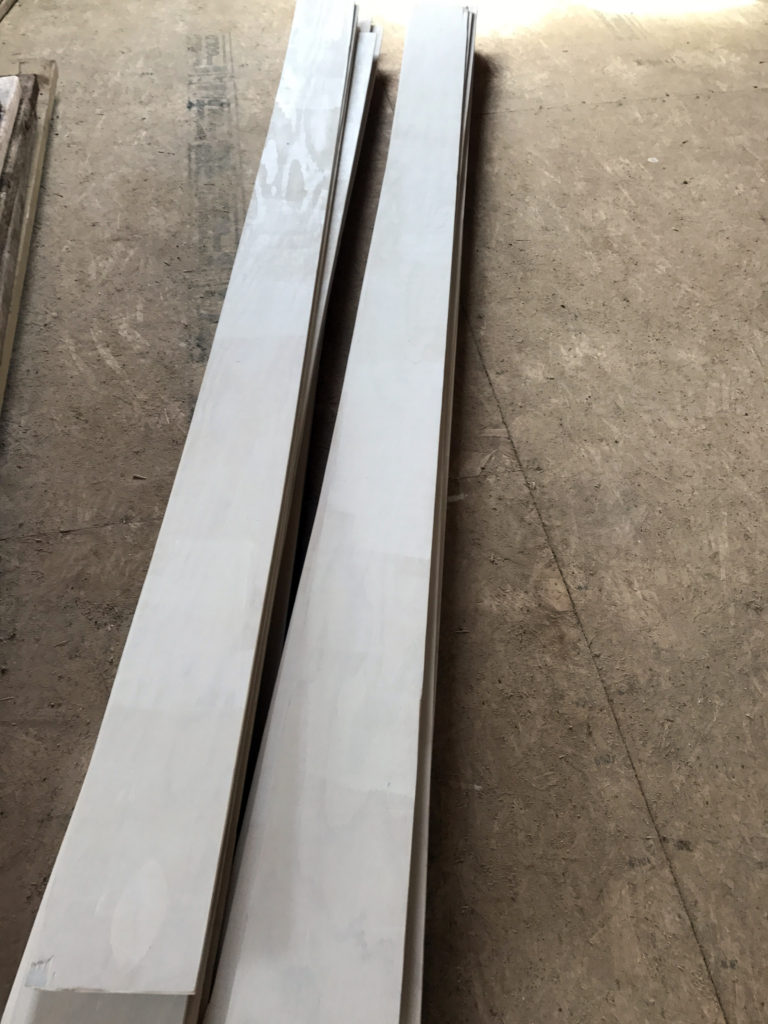
- 1/4 inch plywood cut down to 6 inch strips (we had the lumber place we bought from rip these down)
- Fine Grit Sand paper
- Primer
- Wood puddy
- Paint
- Caulk
- Nail gun
- Skill saw
- Paint brush/roller
Pinterest Lies (Some)
So I always think everything will go as smoothly as Pinterest tells me…because the internet doesn’t lie, right? Sigh. Anywho…it mostly went as expected. I wish we had a table saw to have been able to cut down the plywood ourselves. We did notice while installing things that the boards weren’t cut 100% straight making some of our gaps a bit wonky in places. Secondly…it definitely took more than a couple of hours to hang all of the boards. We did finish the installation part of the work in the majority of a weekend though. But I’d make sure to have a few weekends if you’re like me and have other things to get done too.
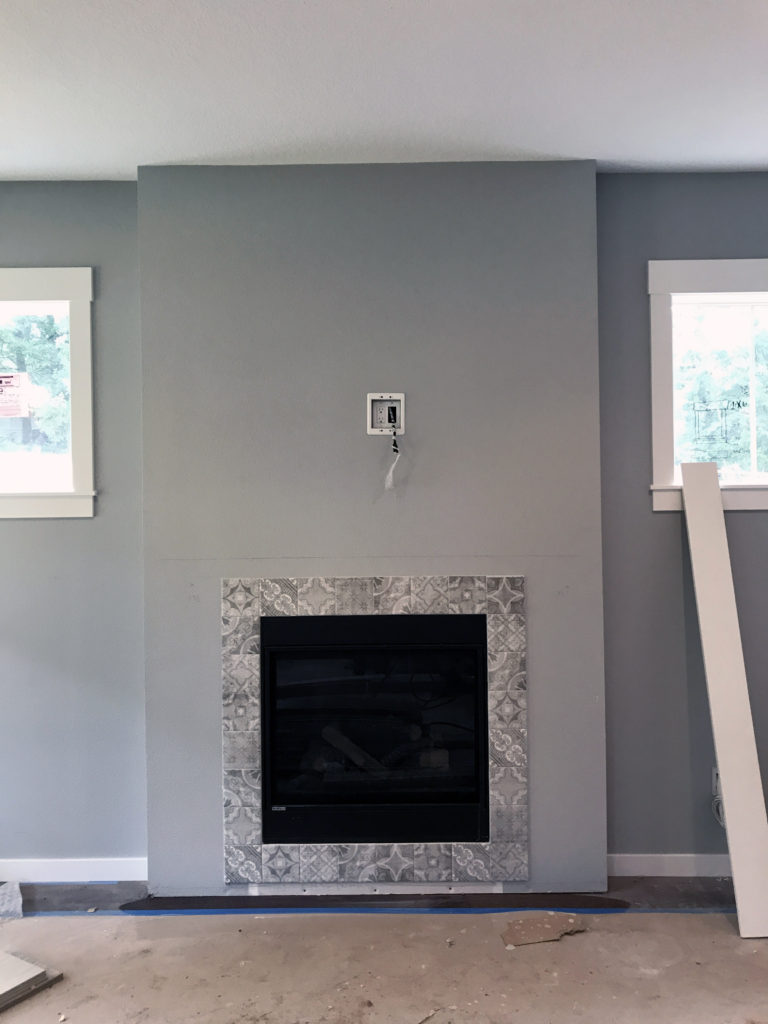
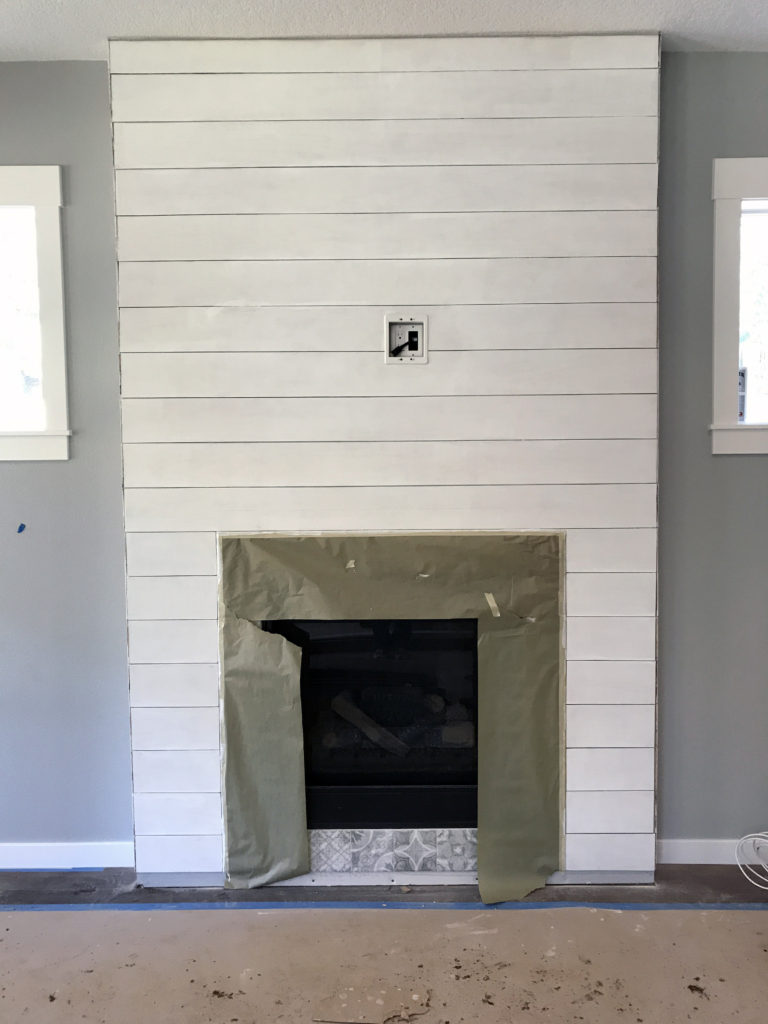
Before
Because you always need a before photos! It was totally fine…we just wanted a bit more character.
What We Did
As I mentioned, we had the boards ripped by the lumber place resulting in many close to 6 inch boards and ends that were about 5 inches. I then sanded the tops and sides of each and every board since they were rather rough. Matthew helped with a few:
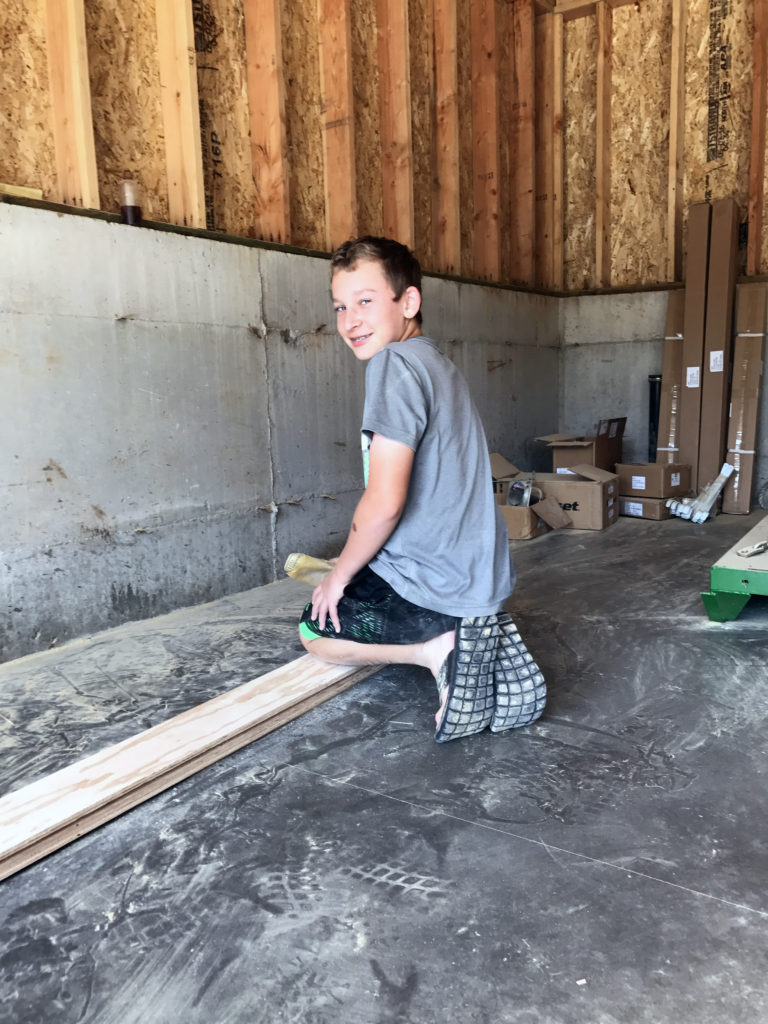
Once everything was nice and smooth, Jim primed all of the boards. Then I sanded them all again.
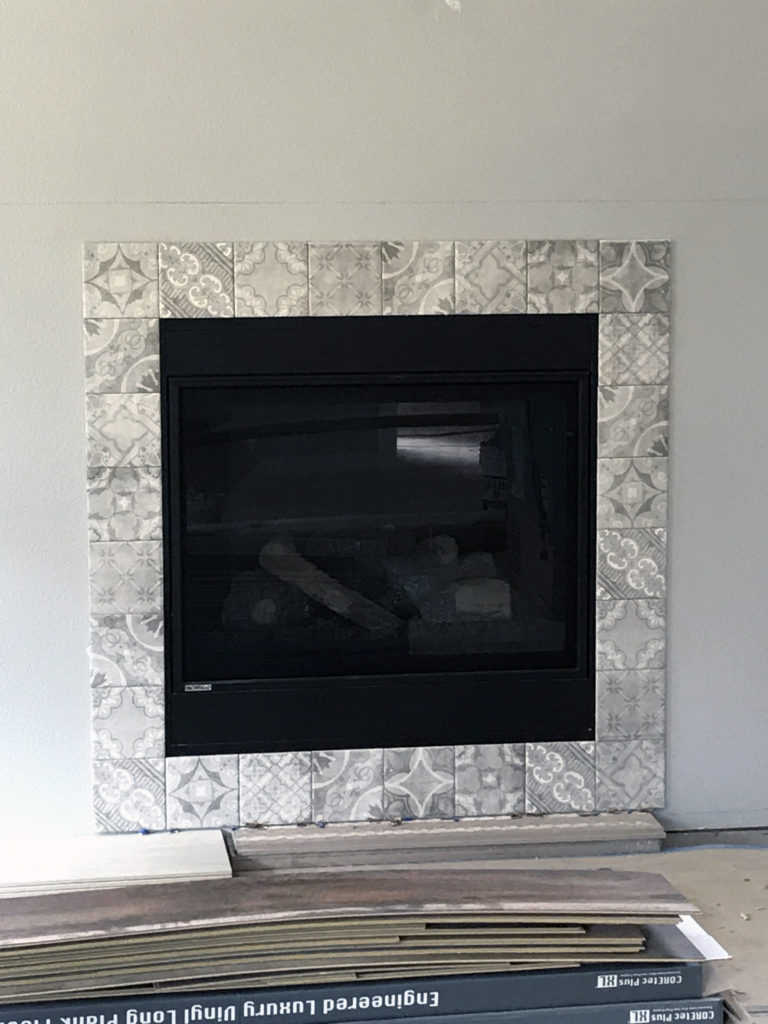
Next was installation time! The flooring place installed a row of tile around the fireplace giving us a “to code” fire resistant border. I really wanted to shiplap right up to the edge but apparently that’s frowned upon. After lots of searching we were able to find these awesome tiles from Home Depot.
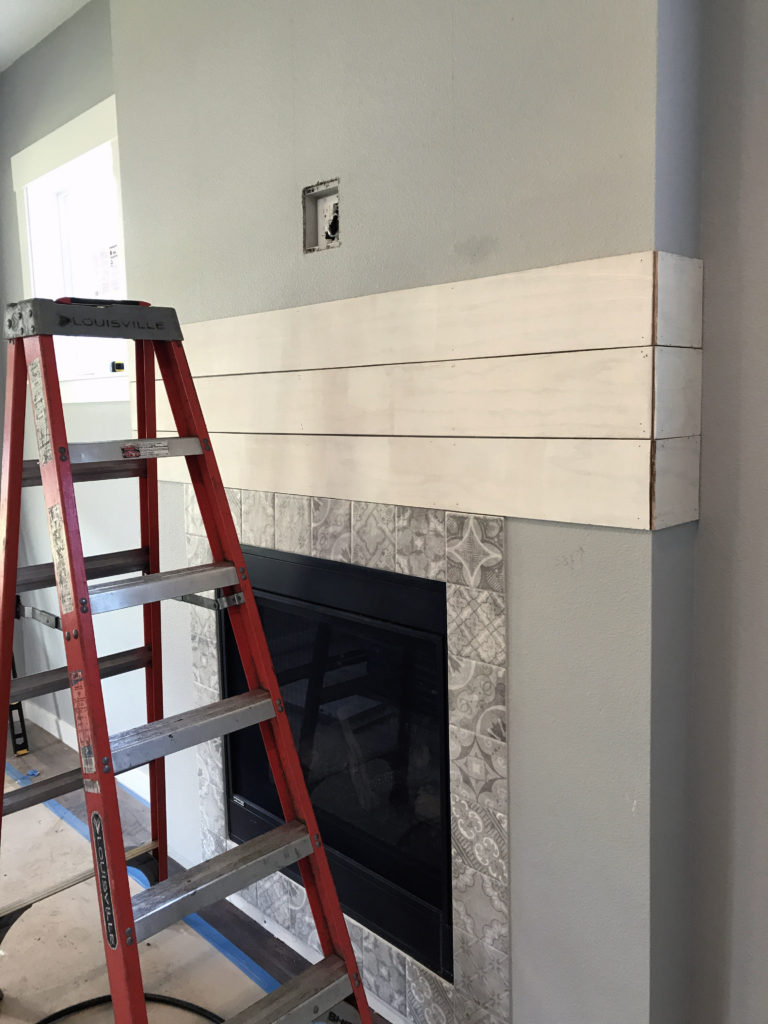
We started placing the boards directly on top of the tile so that we didn’t have to cut around it. We attempted using nickels as spacers but the boards were all over the place so we did a combo of leveling and eye balling. Each board was long enough that we could cut the front and the sides with the same board.
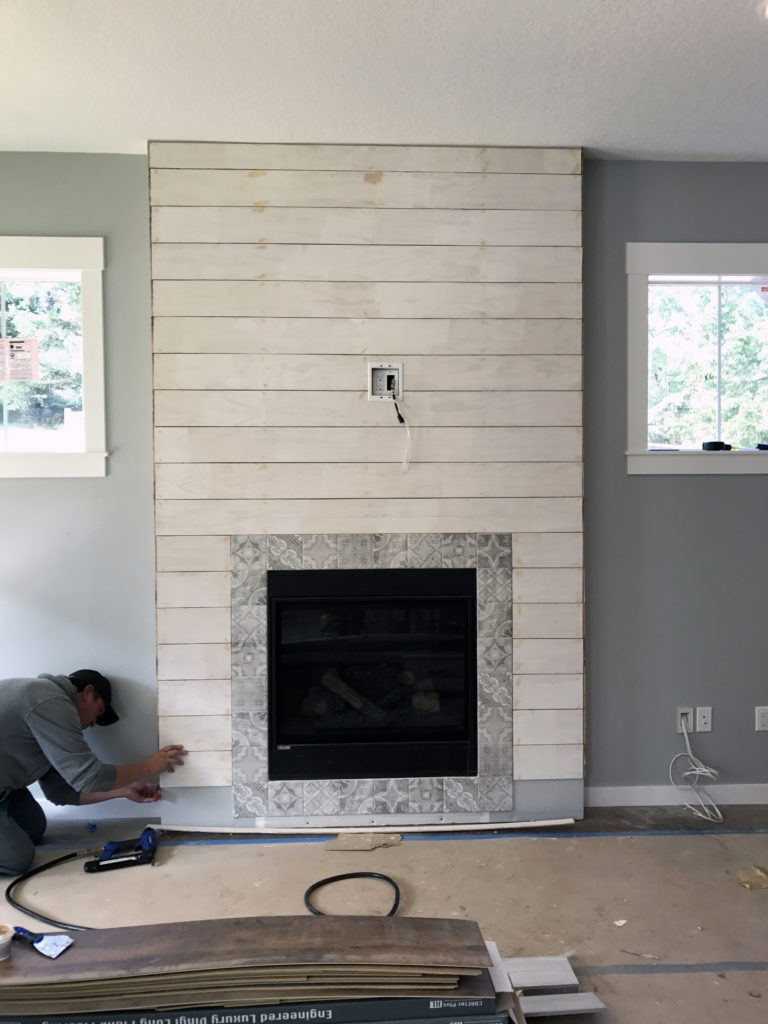
We were able to get the rest of the boards up pretty quickly after having to cut around the tv plug. Then at the top and bottom we had to rip down the board which was tons of fun with just a skill saw (anyone selling a table saw?).
Next step:spackle the nail holes. You don’t think you need to but you should. Spackle then sand. And even better if you have a 13 year old to help (thanks Matthew)!
We came back the next day and put another coat of primer to cover the spackle. Now this is where we noticed that we should have painted the walls behind the same white color. Because the brush was NOT getting in between the cracks no matter how hard I tried. So before you put up your shiplap, paint the wall the same color. Pinterest told me I didn’t need to but it LIES.
Queue the mantel guy
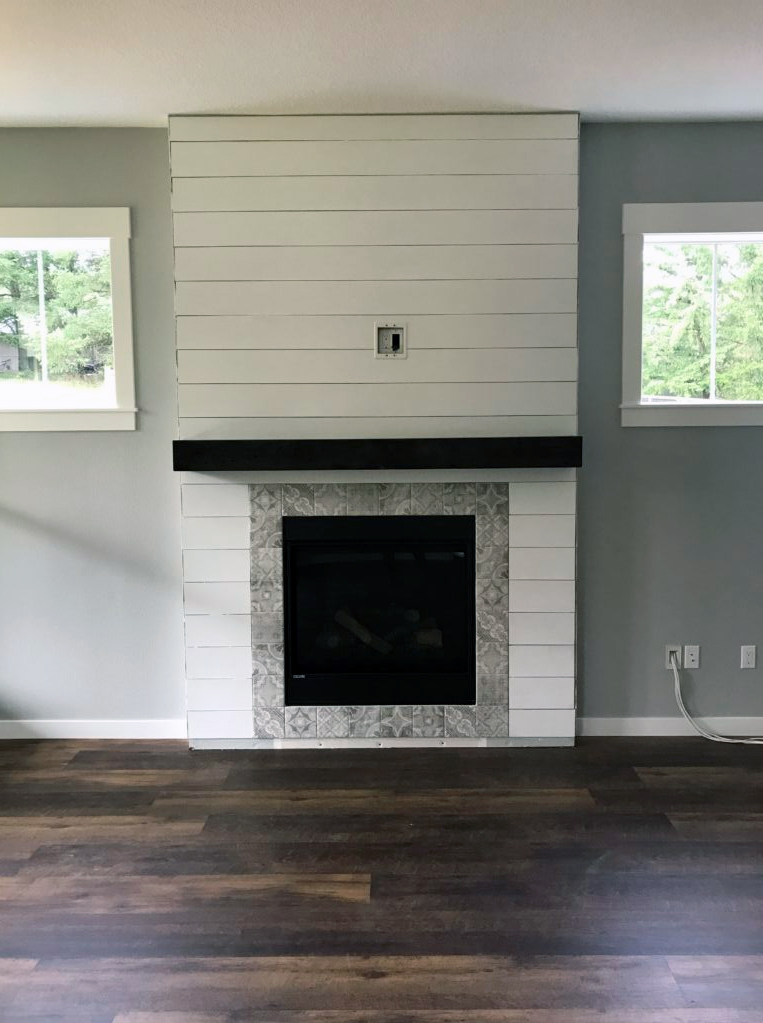
We didn’t want the standard MDF white mantel (though there’s nothing wrong with that!) so we shopped around for a solid wood/rustic mantel that would go with the floor and shiplap. We found the perfect mantel locally from Mr. Mantel. And our trim guys offered to install it which turned out way better than if we installed it ourselves. It’s actually mounted on brackets so that we can remove it…which came in handy for the painters.
Queue the painters
The painters were busy touching up the walls and ceilings throughout the house and offered to paint the final coats for us. Win! So they put on two coats and viola!
Trim Trim Trim
Of course we needed to finish out the corners, top and bottom so we went trim shopping. We bought corner trim for the front edges next to the mantel and then some 1/2 inch trim for against the wall. FYI there is no 2 inch baseboard anywhere (well at Home Depot and Lowes in Vancouver, WA). 1 1/2 inch? Check. 2 1/2 inch? Check. 2 inches? Newp. So we just ended up cutting another piece of shiplap and will finish off with some trim that we had leftover from the kitchen.
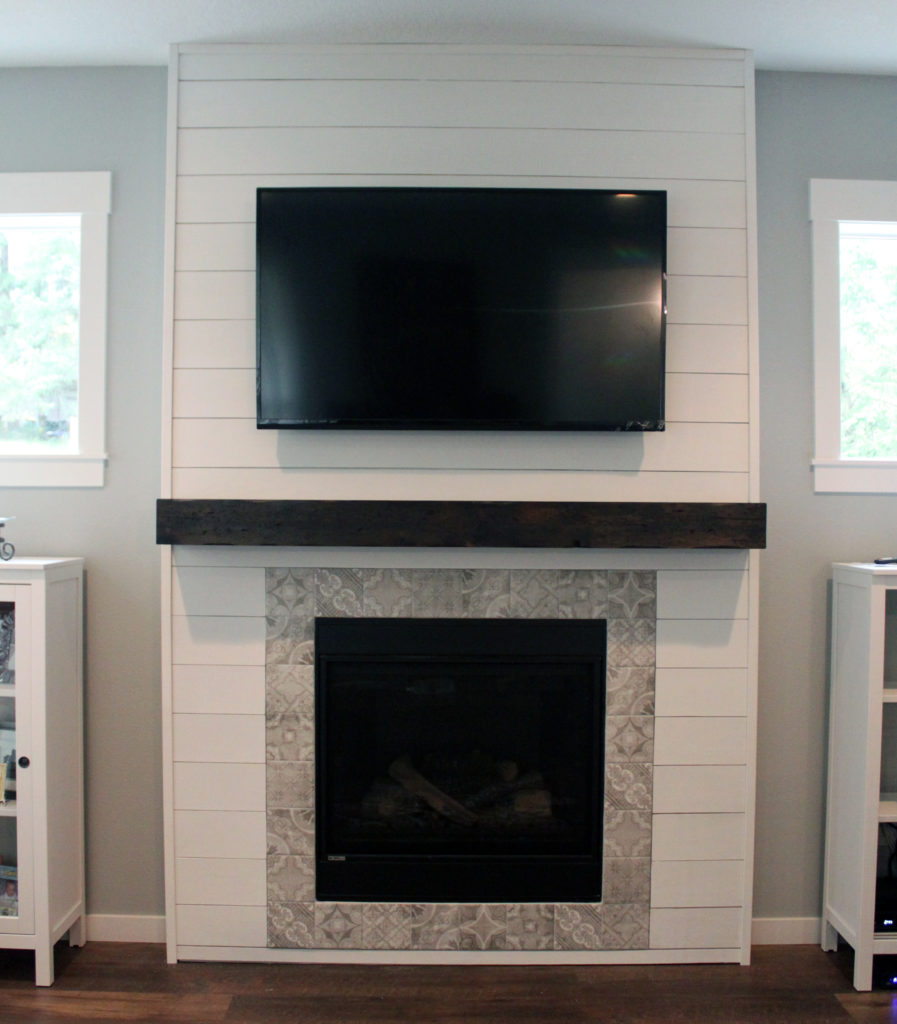
Finally, Viola!
Complete with mounted TV and working fireplace! (That’s a whole other story).
I cannot wait to decorate and hang the stockings for Christmas. Thank goodness Thanksgiving is so early this year!
