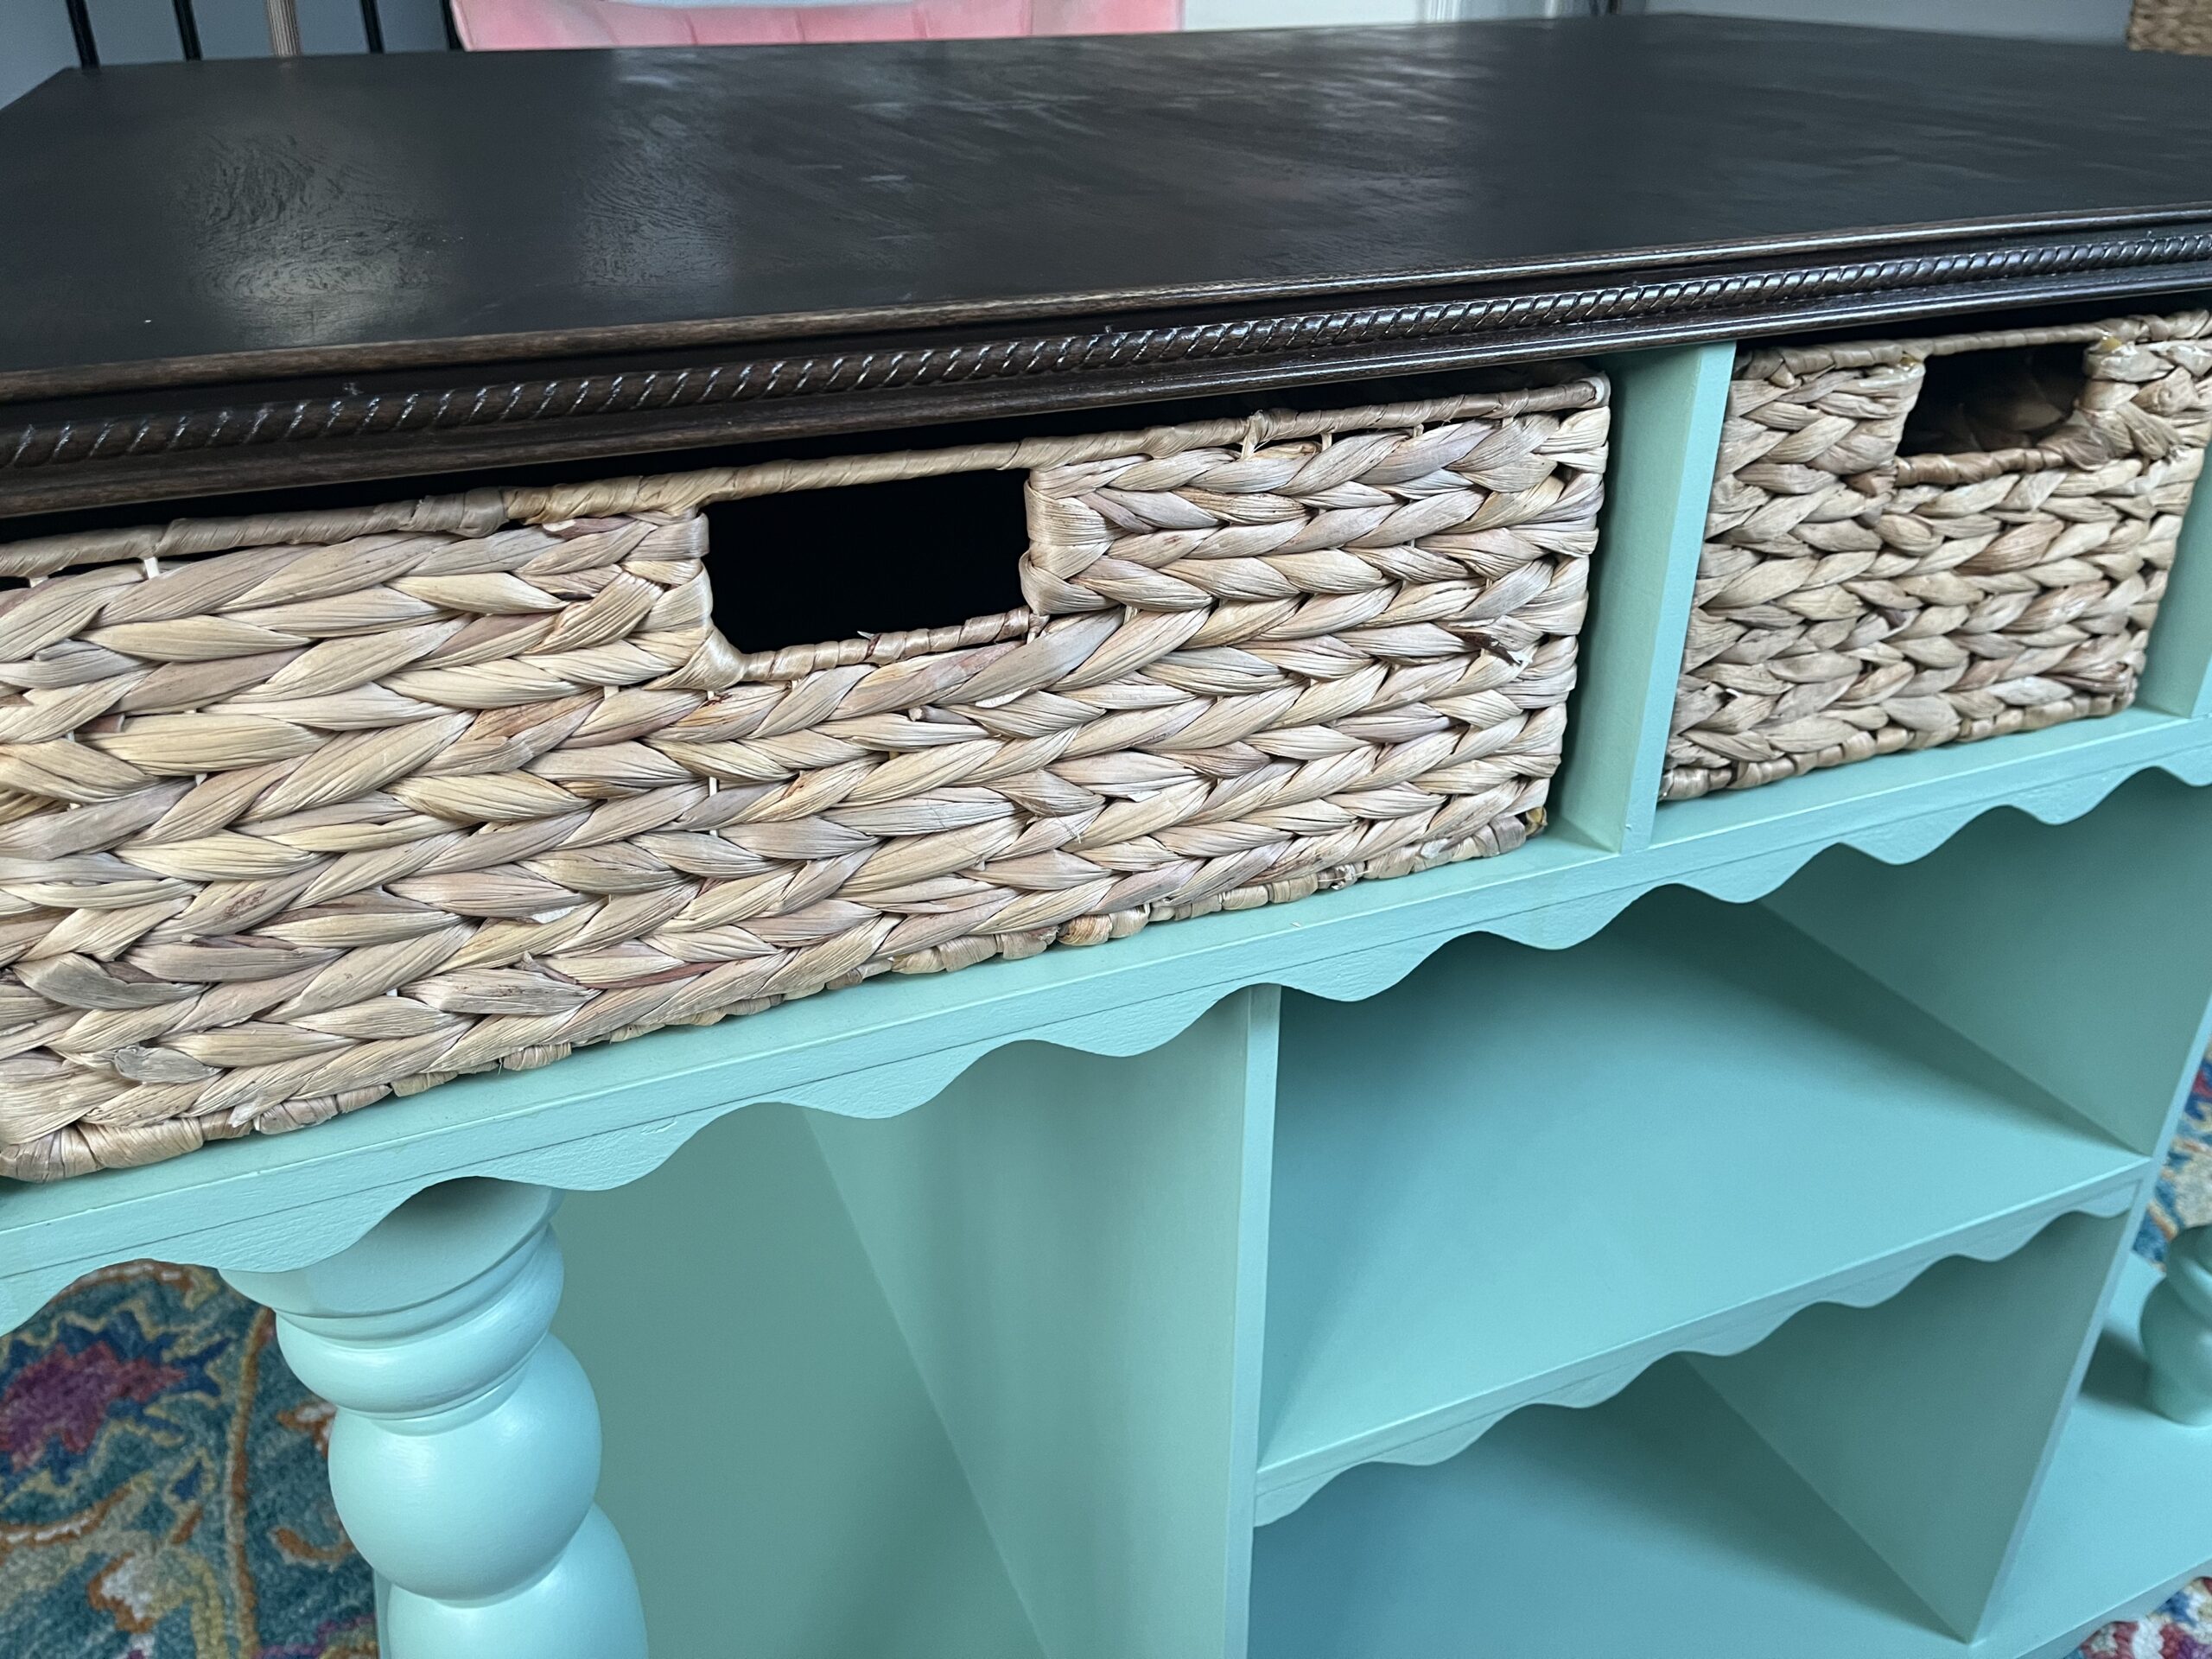
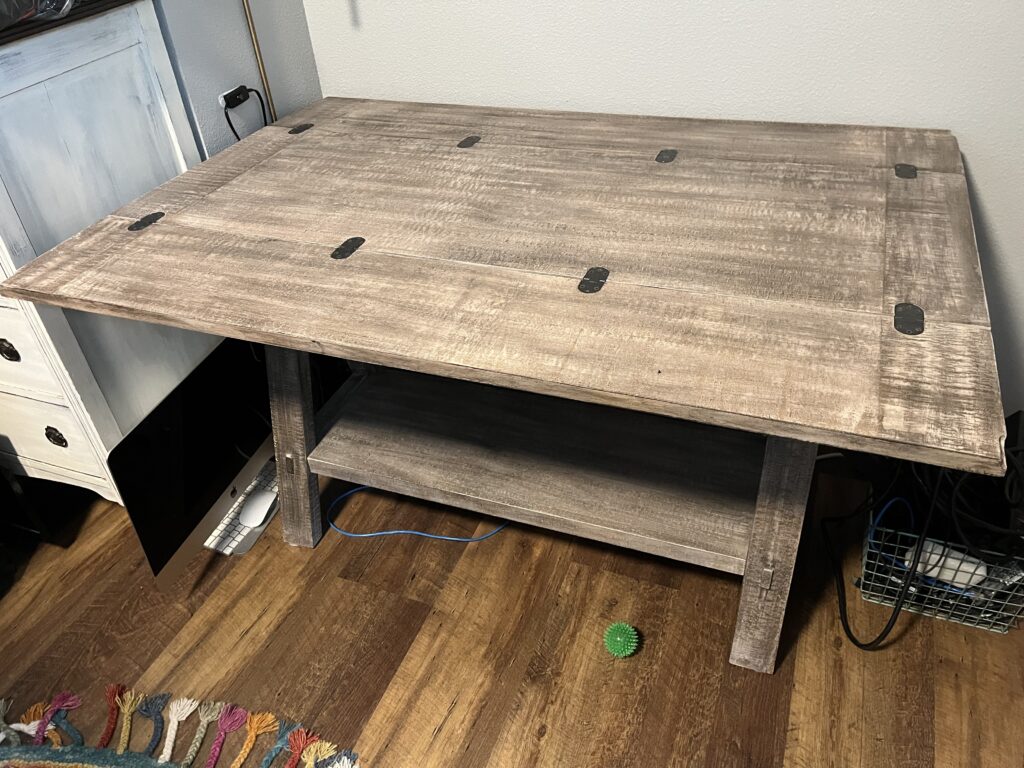
The last piece I needed to complete my very awesome sewing room was a new cutting table – at a proper height. I had purchased something from a vintage store a while back to make due but it wasn’t the most sturdy and the storage situation was lacking. And it really killed my back every time I had to cut out patterns.
I mean, for the $60 I spent on it, it was fiiiine. And it folded up smaller when I needed it to (I never really did that anyways).
Marketplace Hunting
As with every “need” I do a thorough marketplace search. Requirements:
- 3 foot by 4 foot to fit my cutting mat
- Counter-height though I could always add wheels to make a table taller
- Storage!
- Wheels!
I searched for kitchen islands but none were big enough. I searched dressers that I could DIY. I searched shelving. I searched. I searched. I searched. And the marketplace FAILED me. Hmph. So what’s a DIY girl to do?
Inspired Myself Instead
So I went on a mission to DIY the shit outta this cutting table. Through all of my searches, I kept being pulled back to this Pioneer Woman kitchen island:

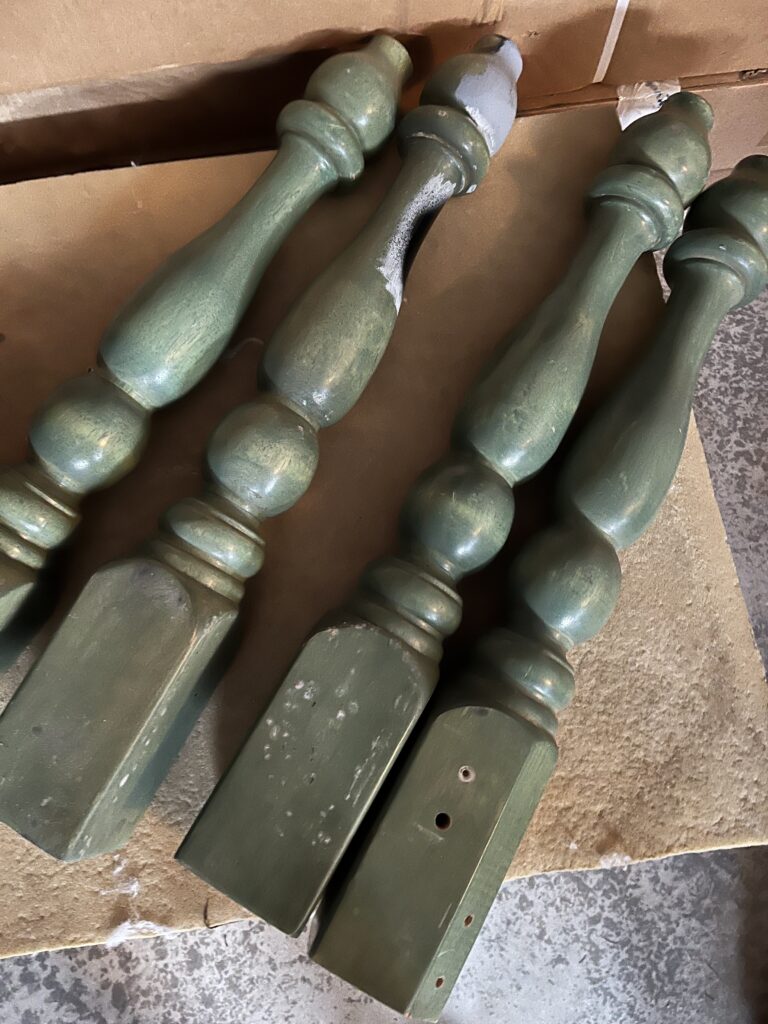
It had been ruled out as a possibility because it wasn’t big enough for my cutting mat but I loved the color and the details…and I finally could use the extra table legs the marketplace guy through in for frees when I bought the unfinished set for my sewing table.
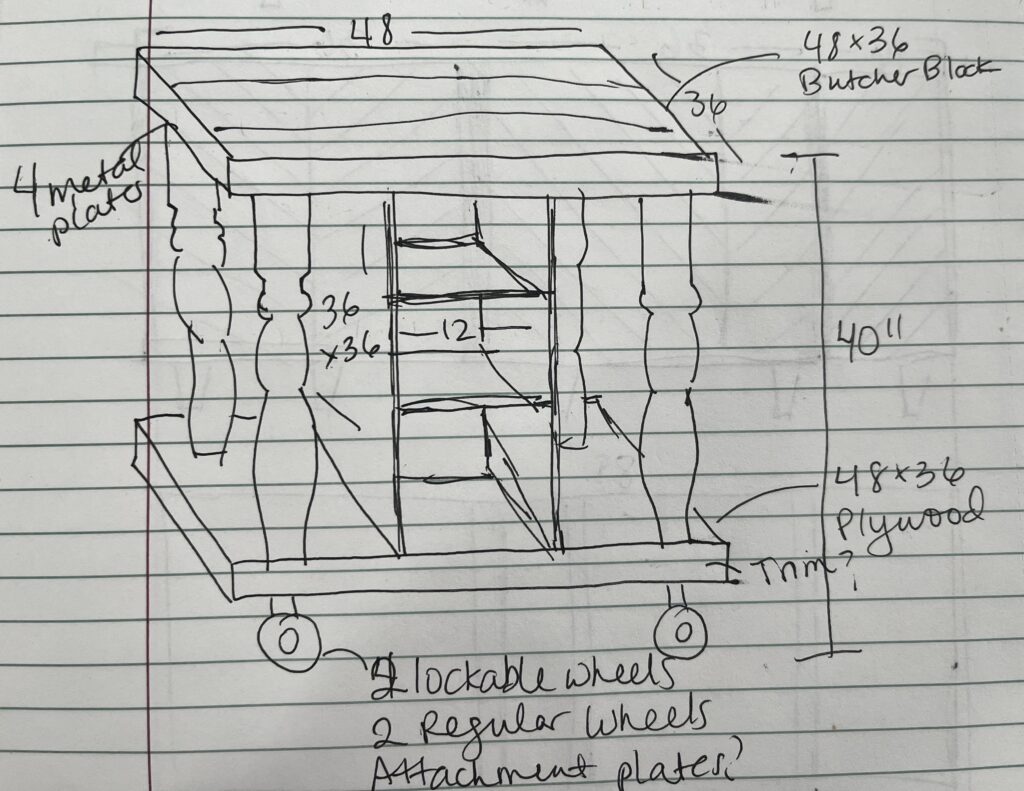
So I sketched out a plan, as I’ve done for all of my other DIY builds. It seemed easy enough!
Then I decided that it needed drawers…but could I build drawers? Probably not. So I opted to see if I could find big ass baskets and came across these coffee table baskets from The Container Store. They would be perfect at almost 3 feet long. With 4 feet width, I had a little extra room in between two and the plan was solidified.
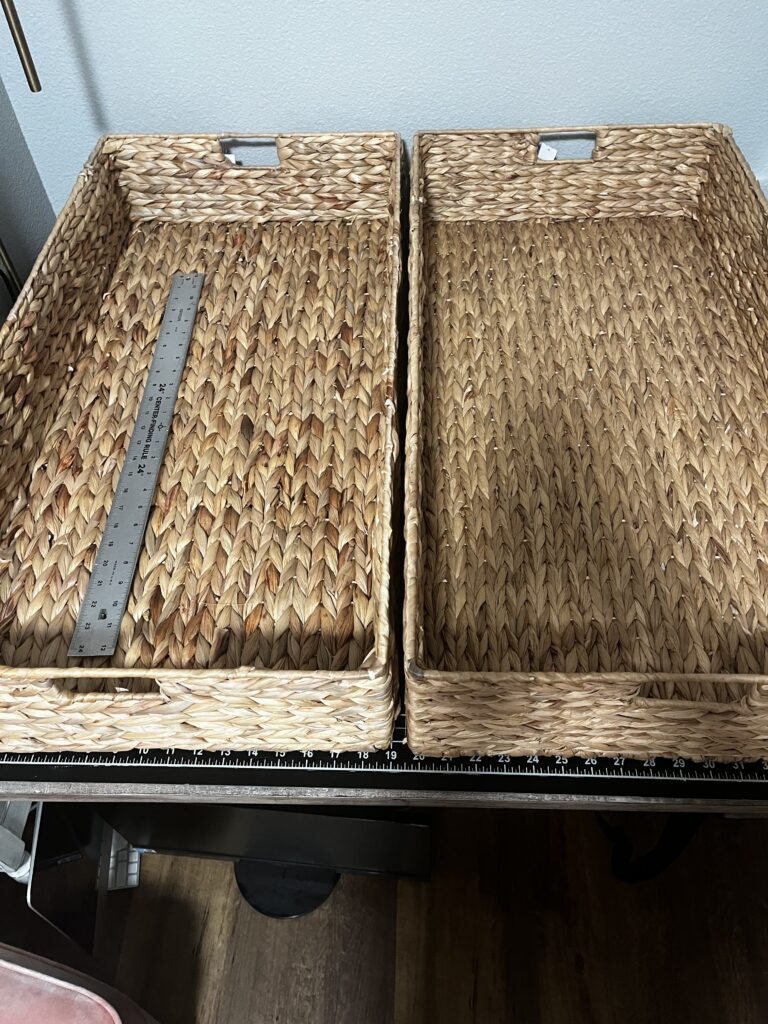
It was enough to send me to the Home Depot anyways. I knew that I needed two plywood sheets ($82) cut down to 4 foot by 3 foot. I ended up with four of those 4×3 pieces and then about 23 inch x 4 foot scraps.
I also picked up three packages of these wood roof closure strips for $8/pack ($28). This would give me the wavy detailing I wanted. Jim had little faith, as usual. But he knew better to question. And four caster wheels which were pricey (but worth it) for $53. Later I got some decorative trim for the top for $24.
Let’s get this party started!
First up, I needed to build the cubbies for the baskets. I did some maths and then measured and drew out lines on one of the 4 x 3 pieces to make sure that there would be enough space in the middle for a smaller basket. It was going to be close, but worse case, there just wouldn’t be a basket and I could store a ruler and accessories there.
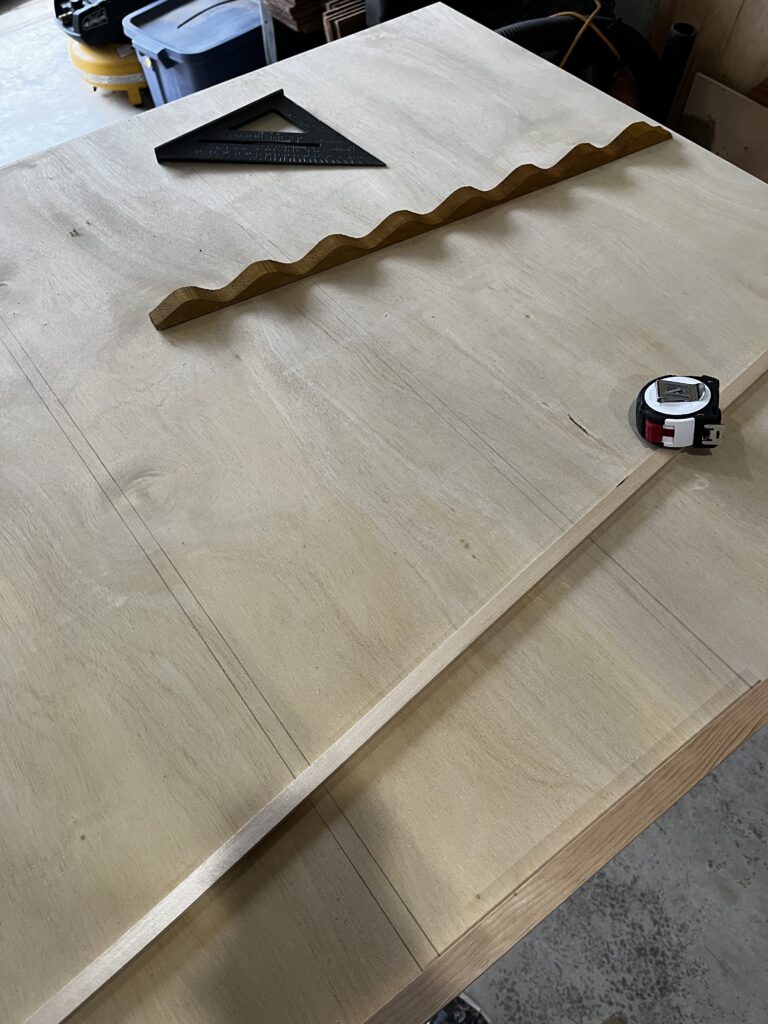
Then, with Jim’s help – and a new tool – we cut the side pieces, glued and nailed. I used leftover trim pieces from my arched cabinet to add some stability in between the boards. I’m 99% positive that this is not how you do it. But this is how I do!!
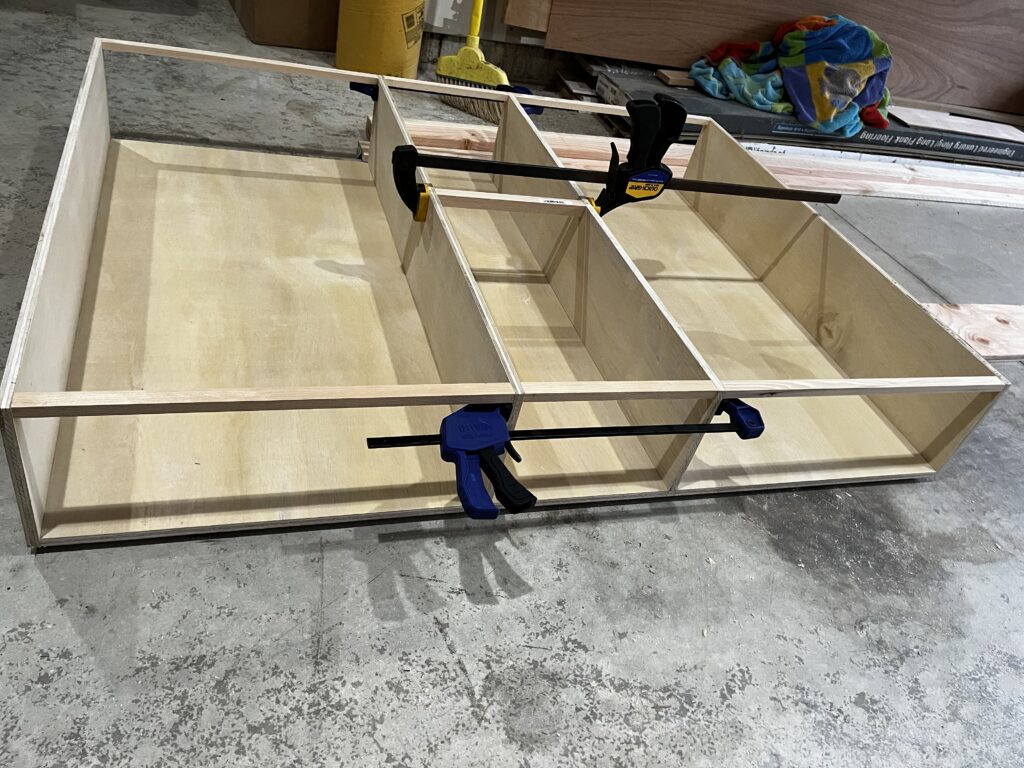
The next step was to add the cute! We flipped over the top and started piecing together and mitering the scalloped edging. It wasn’t perfect, but it would do.
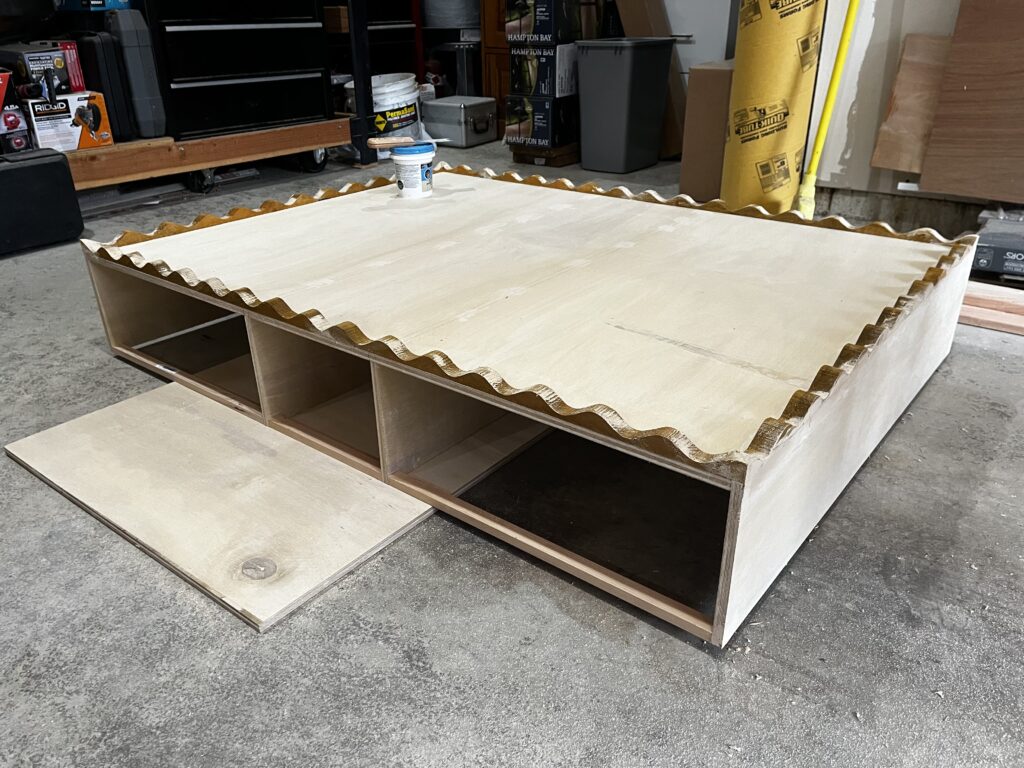
Then we did the same thing with the bottom shelf.
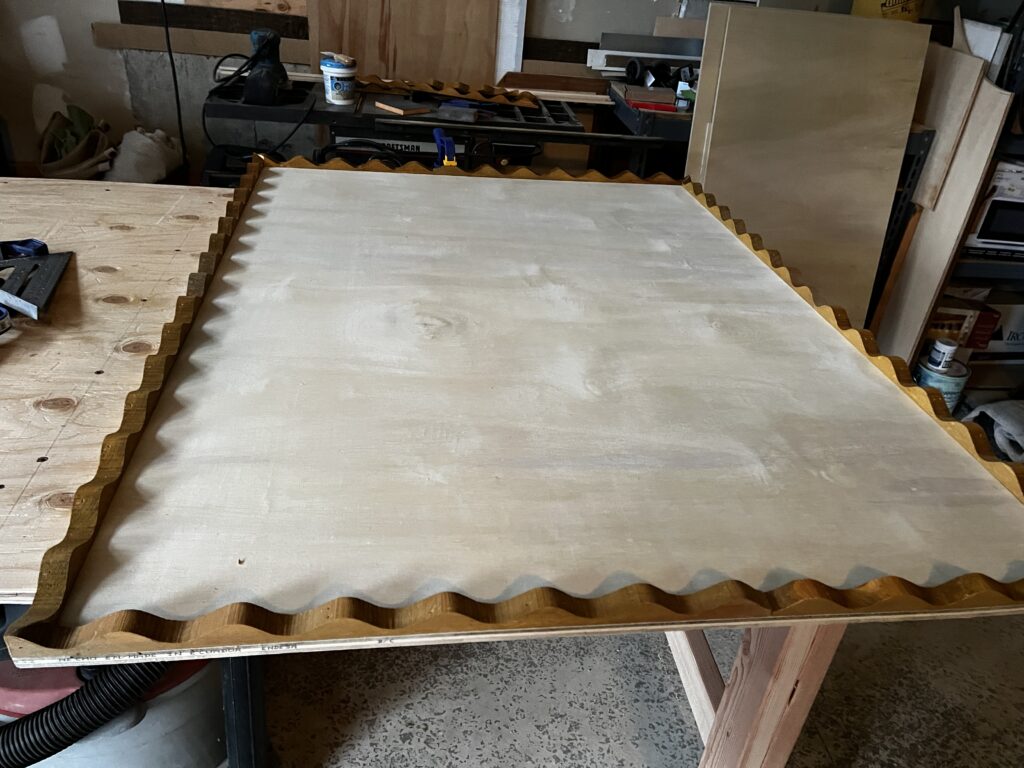
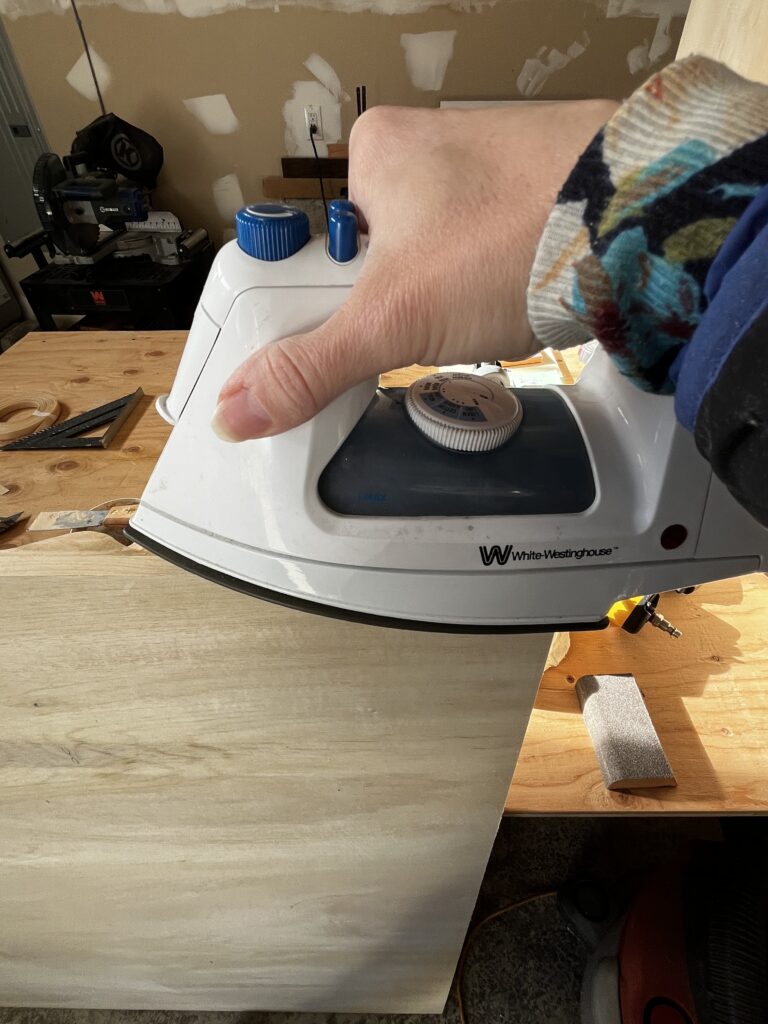
I added iron on edging to both pieces for a nicer edge. This is probably the first time using it this year…my motto…never iron unless ABSOLUTELY necessary. In this case, it was.
Because, I hadn’t fully planned out the center part of the table yet, I put it all together just to see what I could do with the leftover wood I had.
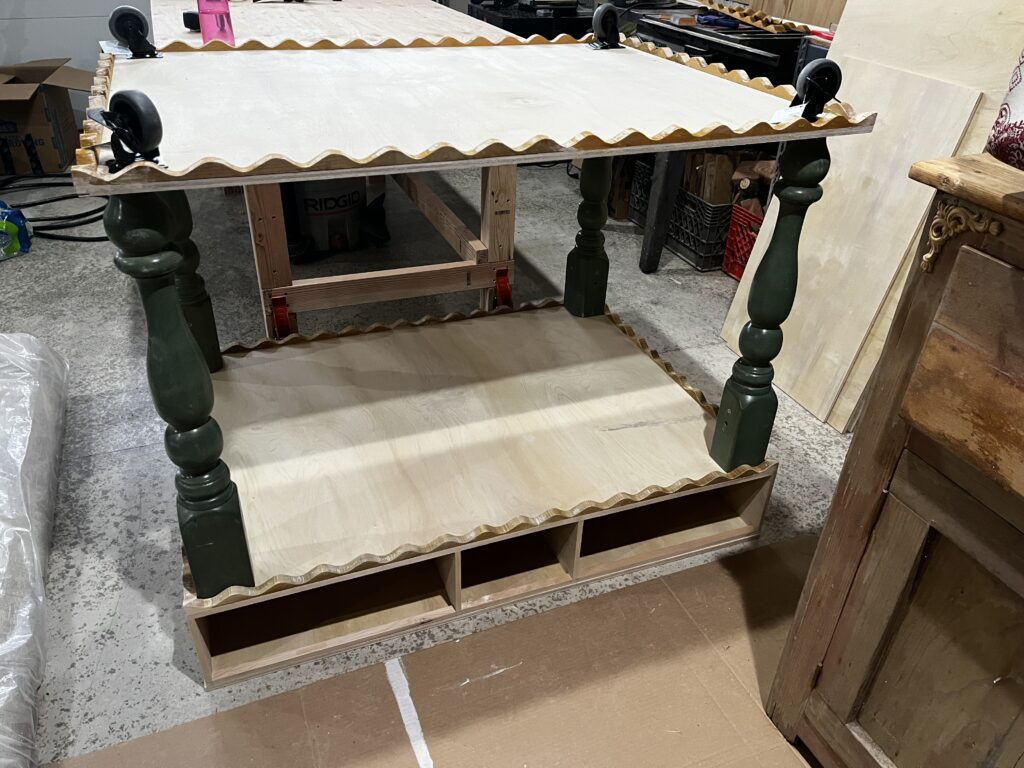
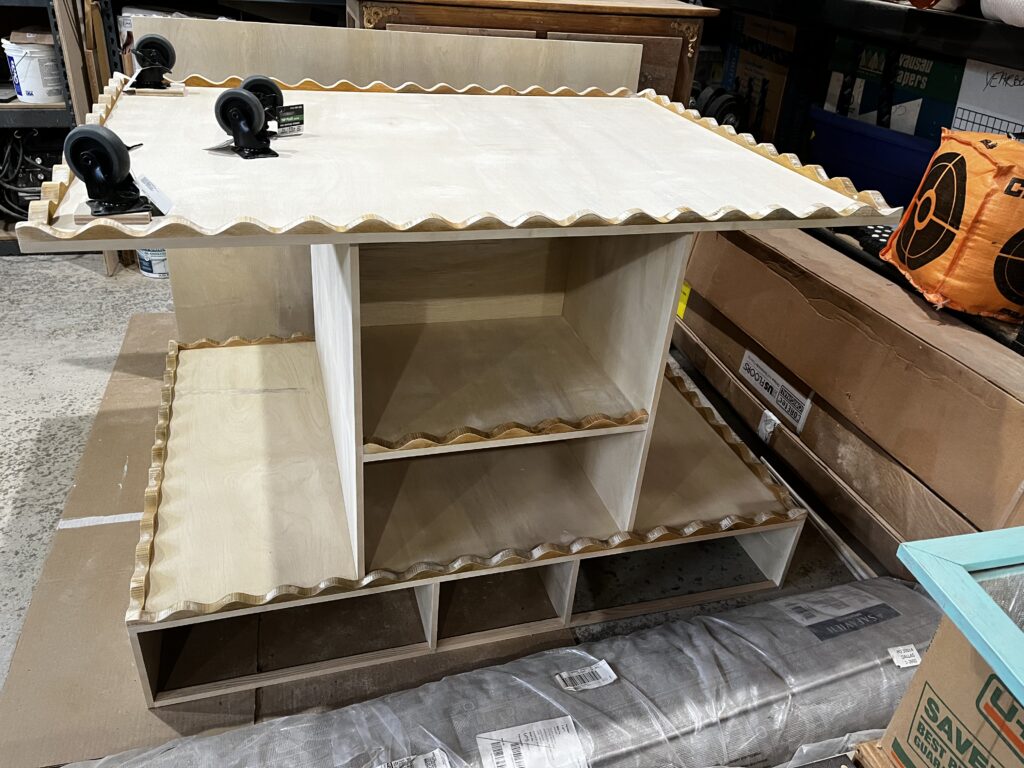
See the vision yet? It was obviously too tall and knew these legs would need to be cut down. But after more measuring and maths, I had the perfect amount of leftover wood for center shelves with only a few more cuts needed. It went together pretty well and I had just enough of the iron on edging to finish! And, of course, I added more of the scalloped edging since we had to open up the last pack anyways (always buy one more than you think you’ll need).
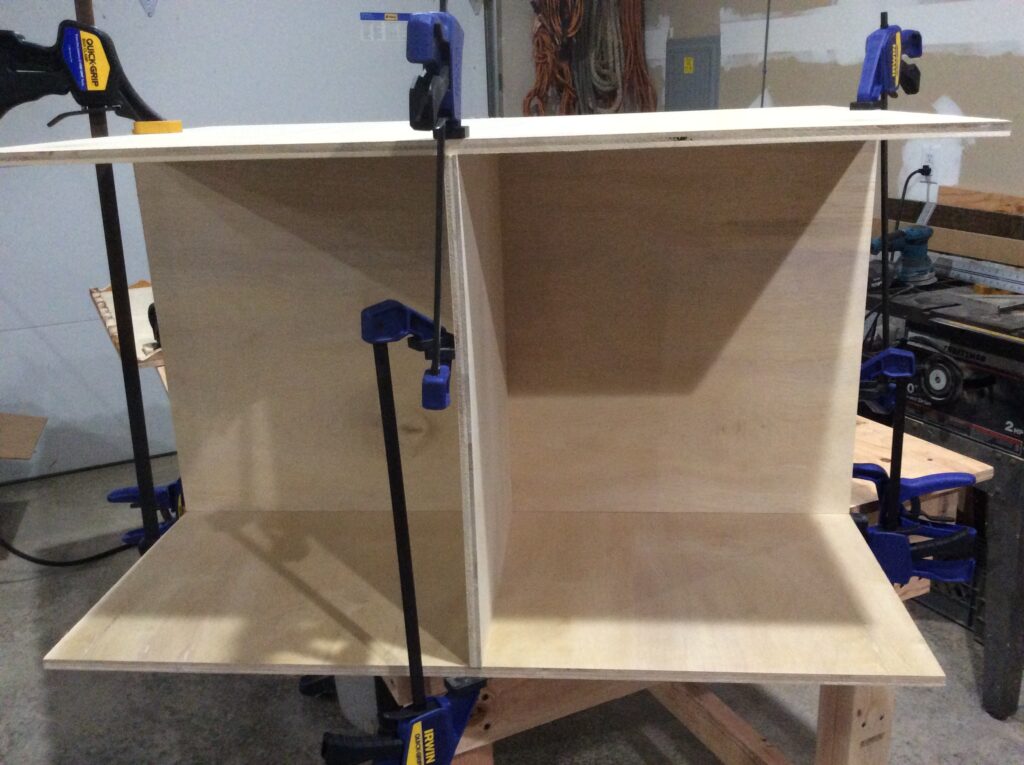
Now the mockup was looking better.
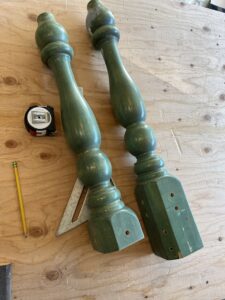
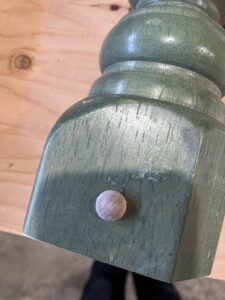
Last cuts to make were the legs! Instead of puttying the existing holes, I added some wood thingies instead. I can’t remember what they’re called…sigh.
Prime Time!
Once I had all of the pieces, I primed them all individually since it was easier to get inside everywhere.
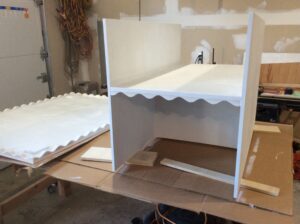
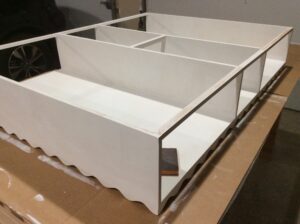
Once everything was primed, it made sense to put it all together before painting. Or I was impatient and wanted to see it all together. One of those….
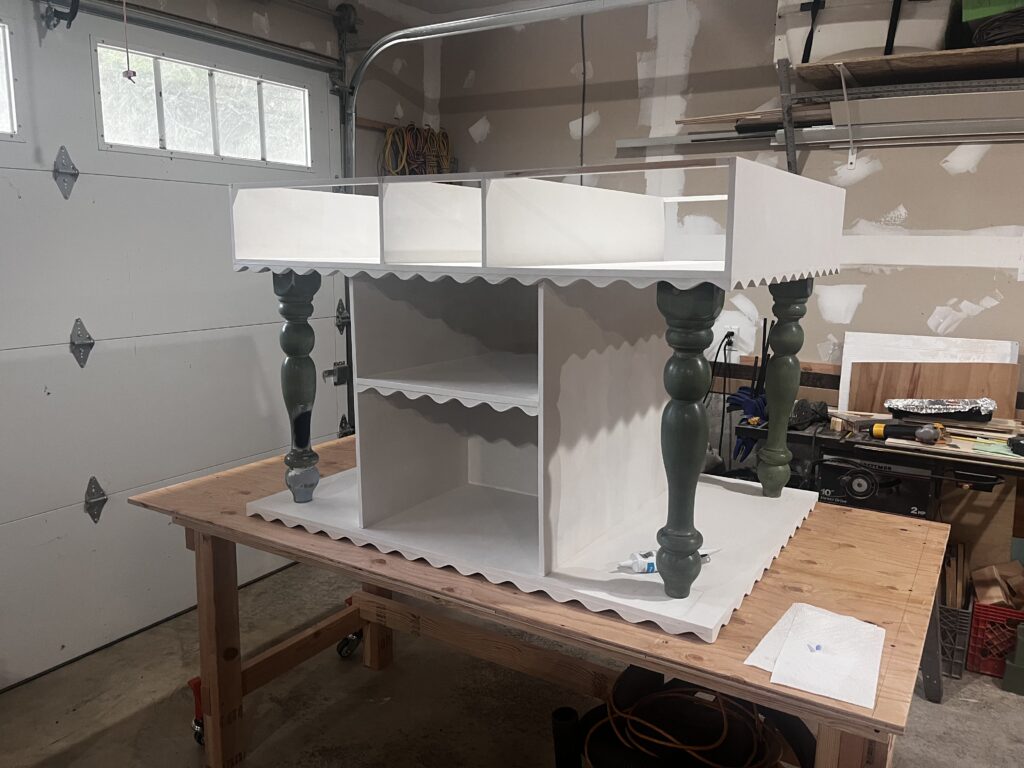
Bringing it all together
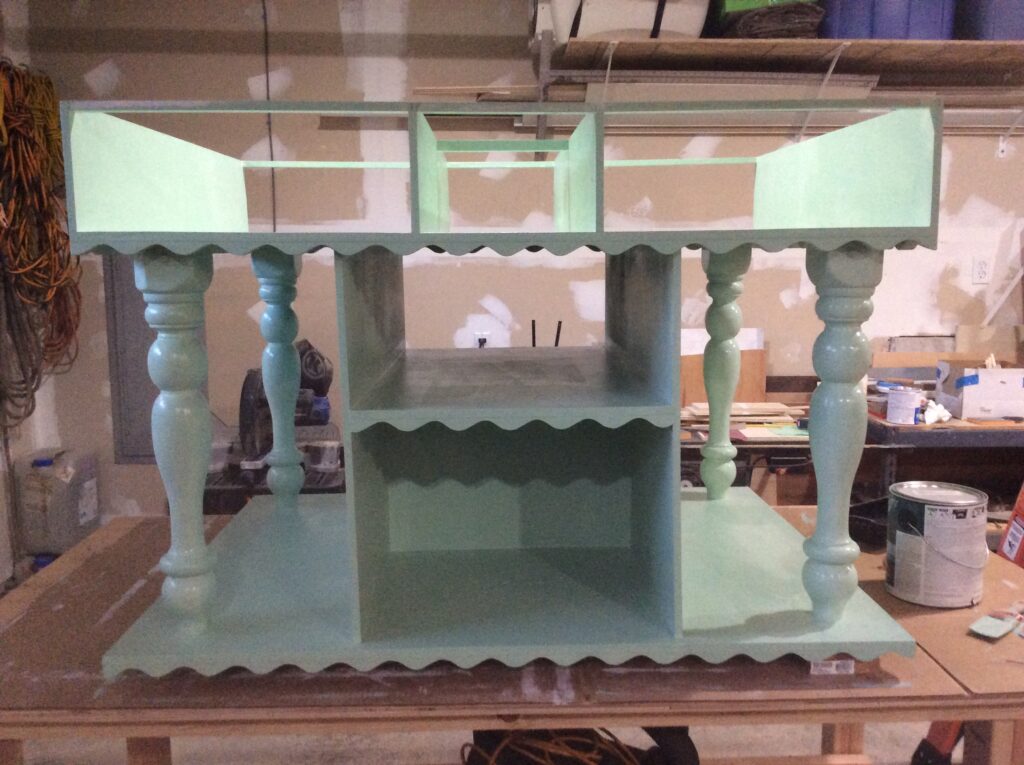
I had so much leftover paint from the green arch cabinet that I knew this table had to be green. So green it became!
The final piece was the top. I ruled out the butcher block that I originally had in mind because they are just so dang expensive and the top would always have my cutting mat on it anyways. So it didn’t need to be super pretty…pretty enough was fine. So I took the last 3 x 4 piece of wood and stained it to match the rest of the wood in the room. I also stained two trim pieces to finish it out. We attached the top and trim, sealed with poly and viola!
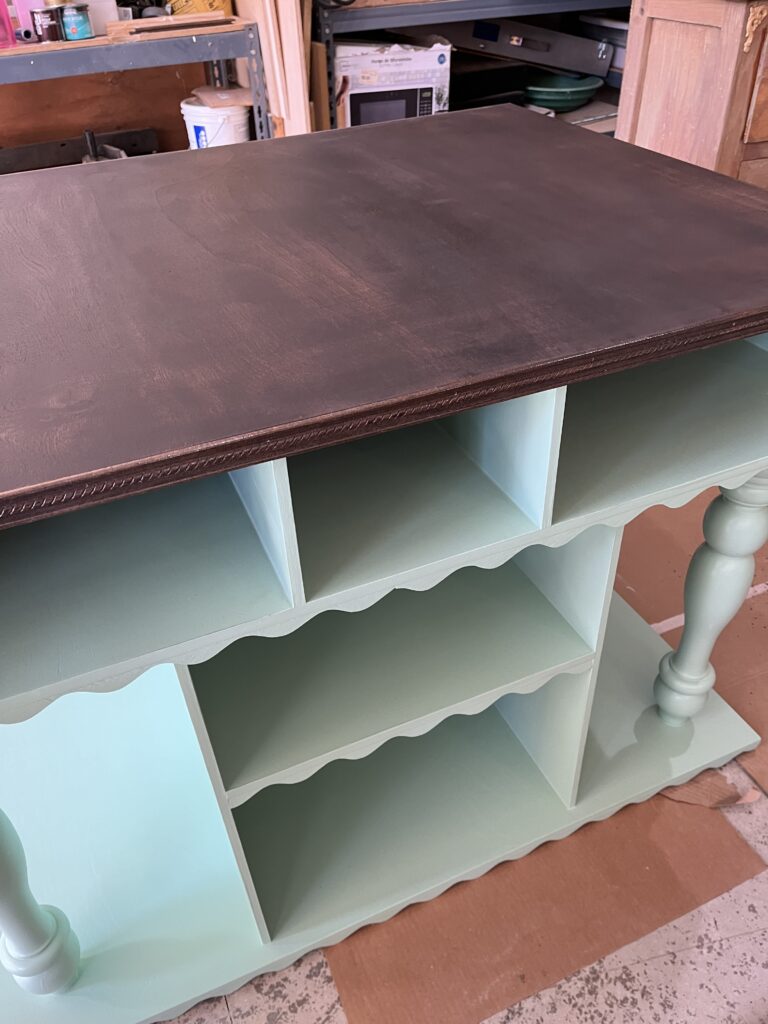
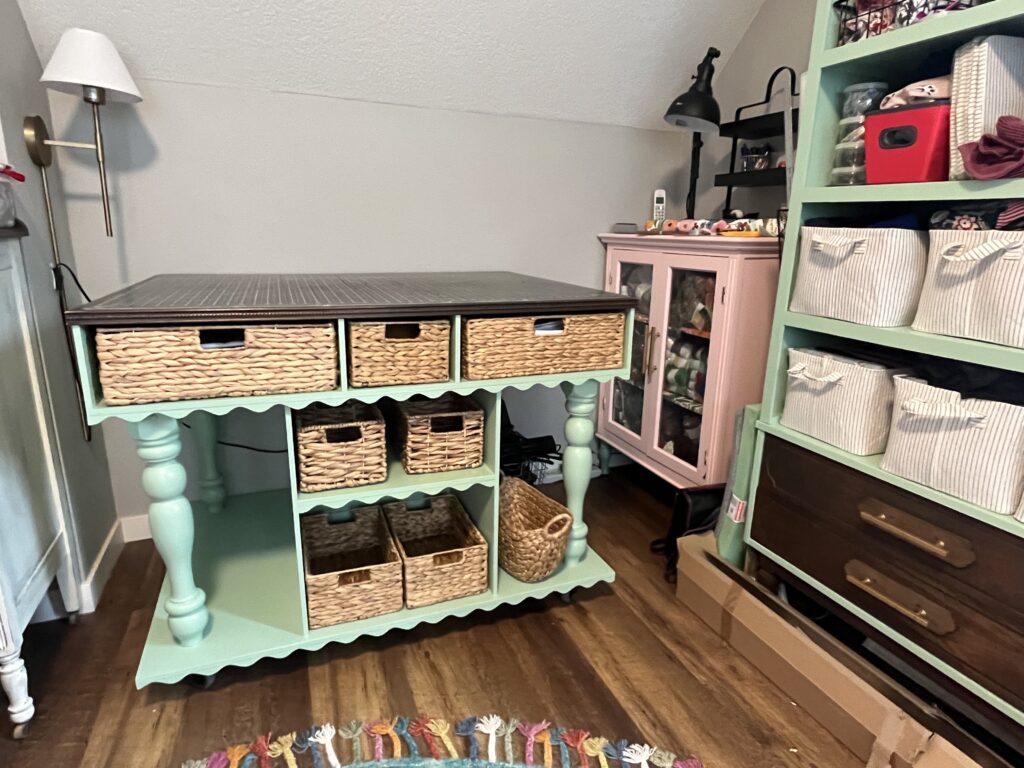
Welcome home!
We left the wheels off so that we could get it through the door and up the stairs (it was close). But once it was up, the wheels were on, and the baskets fit, I couldn’t be happier. Actually, no, my back was soooo much happier!
Pricing Recap
- Plywood: $82
- Wavy edging: $28
- Wheels: $53
- Decorative trim: $24
- Legs: FREE!
- Iron on edging: $10
- Paint: Leftovers
- Stain: $10 (I ran out)
- Poly: Leftovers
- Baskets: $75
TOTAL: $282
So I’ve checked off ALL of my sewing room DIY projects and actually got some sewing done along the way. Now I just need to finish organizing everything into all of my new storage spots. And then sew sew sew!!!
