Because building a house isn’t enough work…
Let’s make our own vanity for the powder room! We could have just gotten a simple pedestal sink…but where’s the challenge in that? Let’s do something completely different! Or something like Joanna and Chip would do! (I honestly don’t know why Jim still goes along with my crazy ideas).
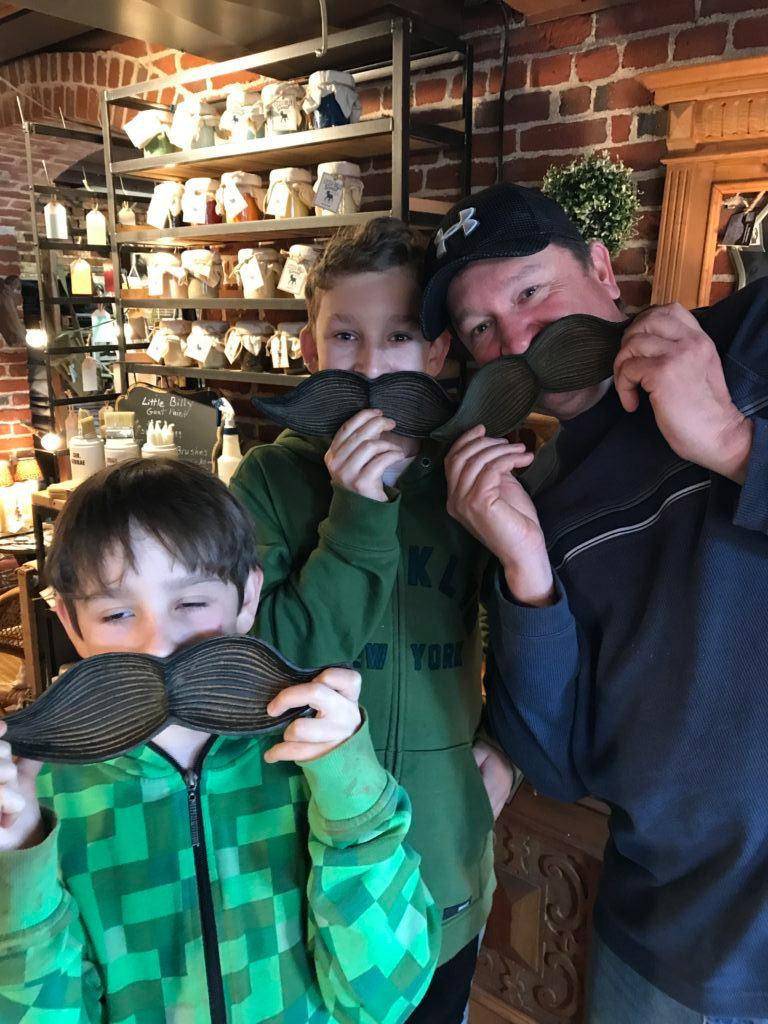
So I started scouring Craigslist for the perfect piece of furniture that would magically turn into a powder room vanity. I really wanted a dresser with drawers but everything I found was just too wide or too tall. So I expanded my search to shelves, tables, desks…I even dragged all my boys to the various vintage stores in Vancouver (we neeeeed to go back). They were mostly good sports (oh Mason):
And after tons of searching, I finally found it! Craigslist for the win!
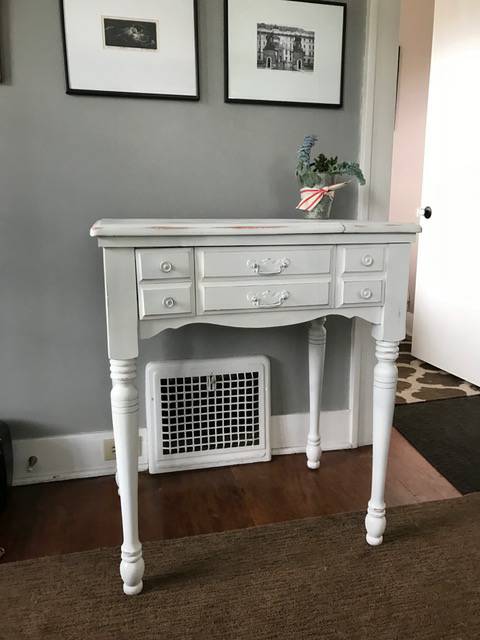
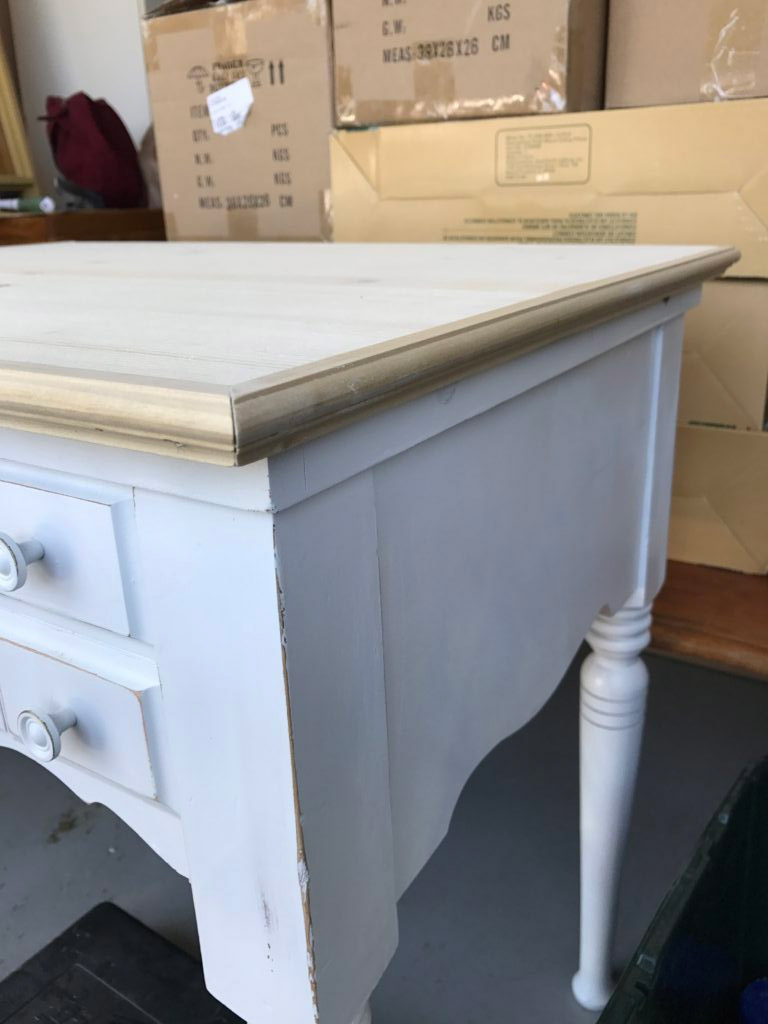
How cute is that? I totally stole the craigslist photo as it’s staged much nicer than my packed full of stuff garage. It’s the perfect width and depth too. A little on the short side but that’s ok. We have a solution for that. Oh! I forgot the best part. The very reason this find is so kismet…it’s an old sewing desk! Complete with cute little drawer for sewing things….or soon to be lotions…or powder room things.
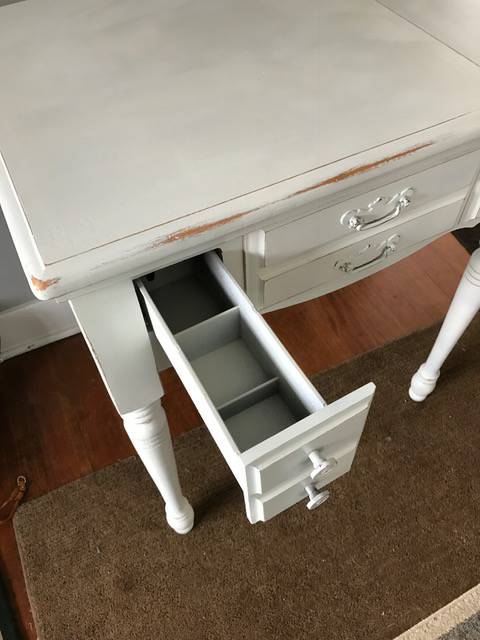
Did I mention it was $40? Score!
A Third Life
So this desk has been a sewing table turned computer desk…soon to be bathroom vanity. But how are we going to do that you ask? Read on….
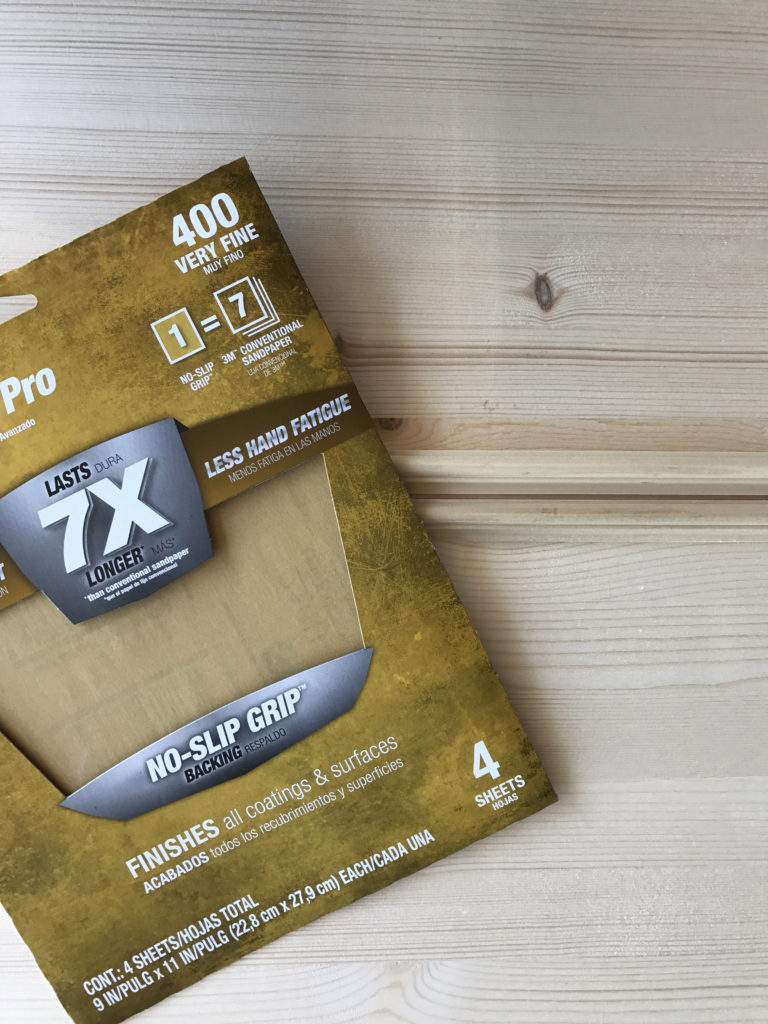
First we needed supplies. I knew I wanted to have some sort of wood or distressed black top and needed to add a shelf on the bottom. Lowes had some “craft” pine in the perfect width and length. I found some edging to help finish off the look. Add some sandpaper and we put in another $40.
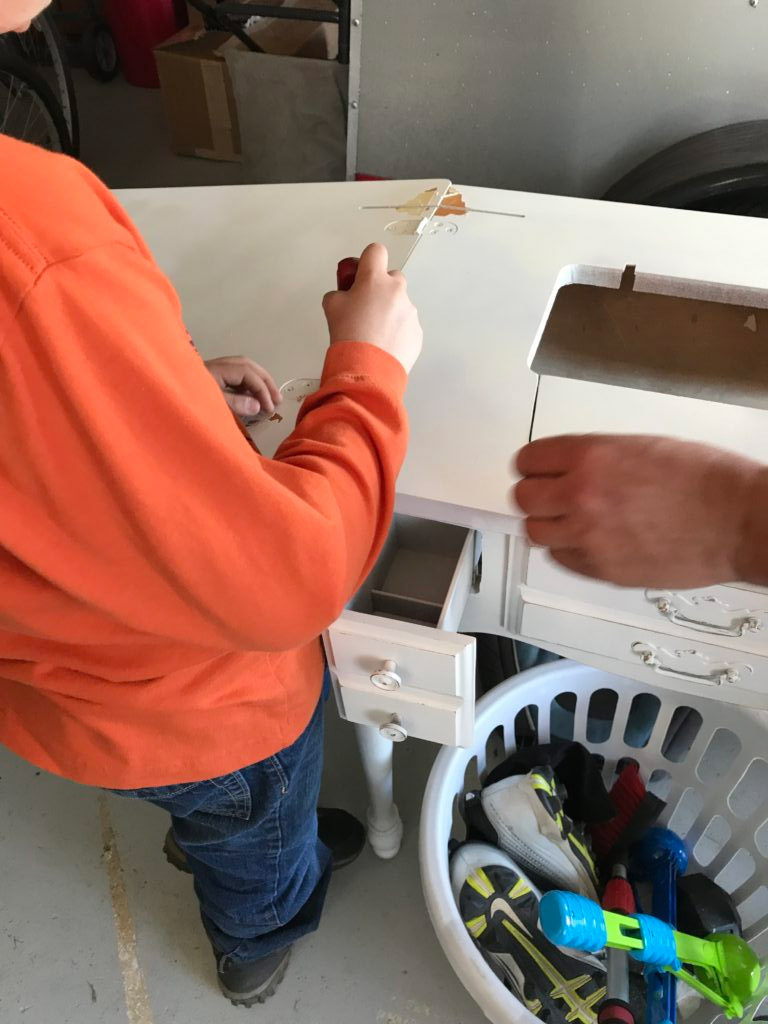
Next we had to take off the old desk top…this was two pieces on hinges. Mason helped! We took off all the sewing hardware too (I resisted the urge to just convert it back to a sewing desk).
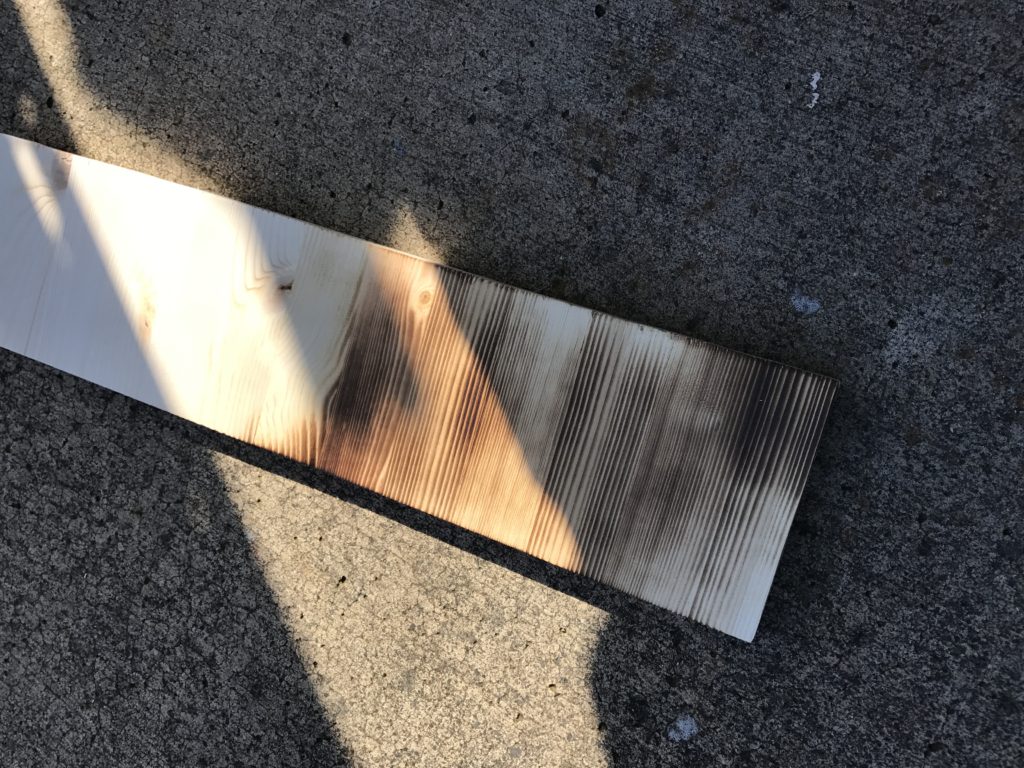
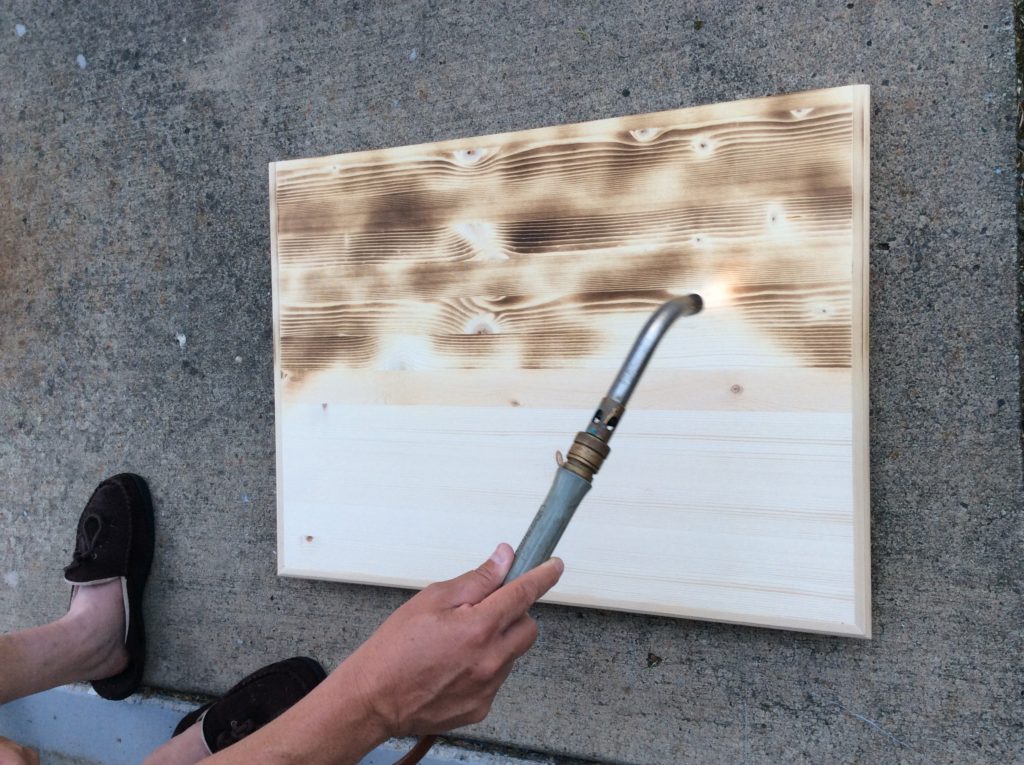
Then we needed to cut the pine and figure out how to finish it. Let’s blow torch! We did a light burn on one side.
Then we burned the other side super dark. I’m really digging how the grain pops here.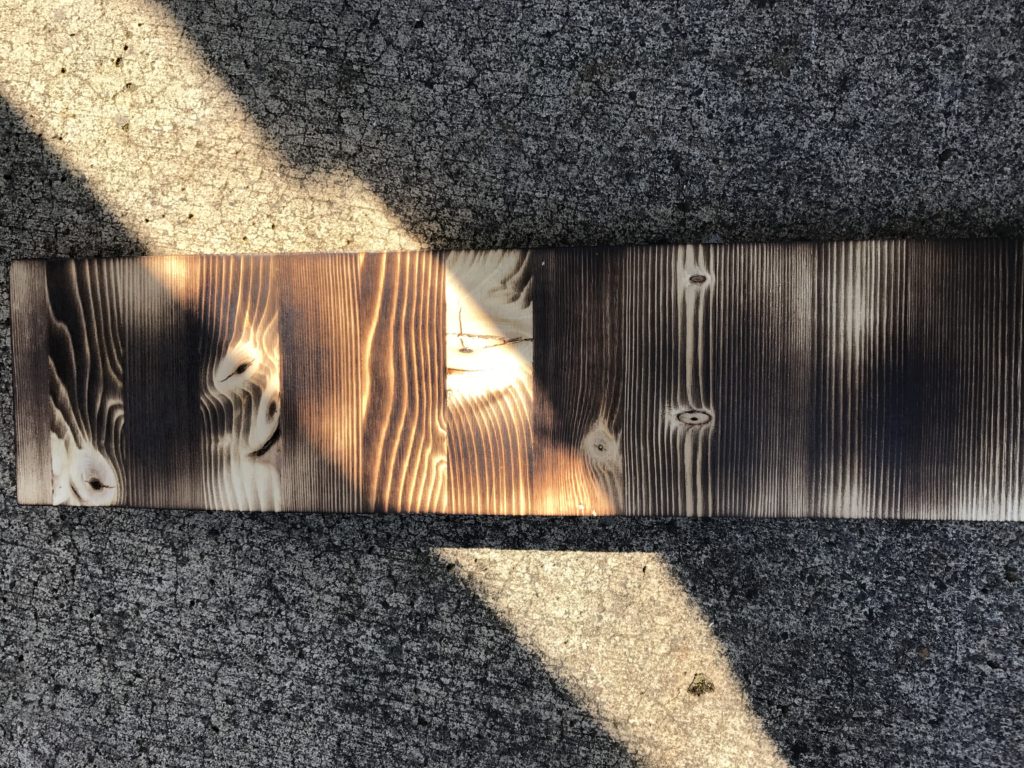
$15 and a trip to the local hardware store, we had a dark walnut stain and polyurethane to try out different finishes. Here’s the test piece:
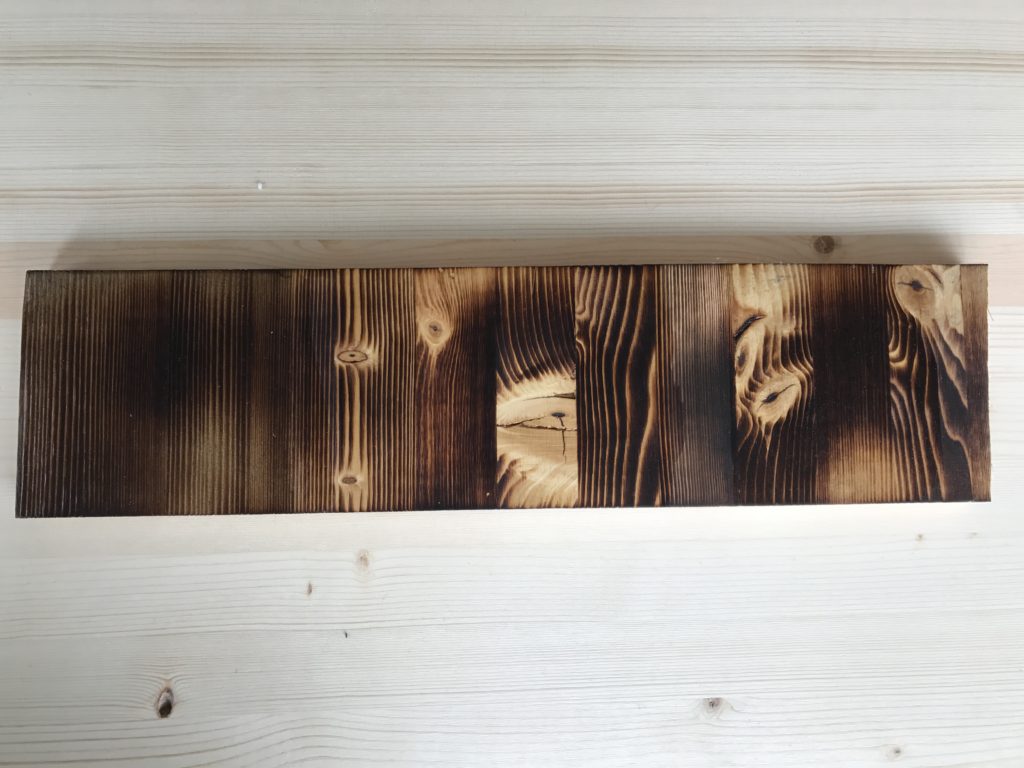
The top is the walnut stain, the middle is just straight polyurethane and the bottom was just a lighter stain I had laying around. I’m really liking the middle one…it’s dark yet a little warmer to me. Let’s go with that one!
Now onto the actual top. Jim cut a top and shelf out of the craft pine…luckily the board was 20 inches deep so he only needed to make two cuts. Then, all by myself (go me!), I took the $8 miter saw and cut the edging peeerfectly. Like so perfect. It was gorgeous. Then Jim helped me with the power tools and nailed them in.
After a light sanding, it was time to burn! Here’s the before: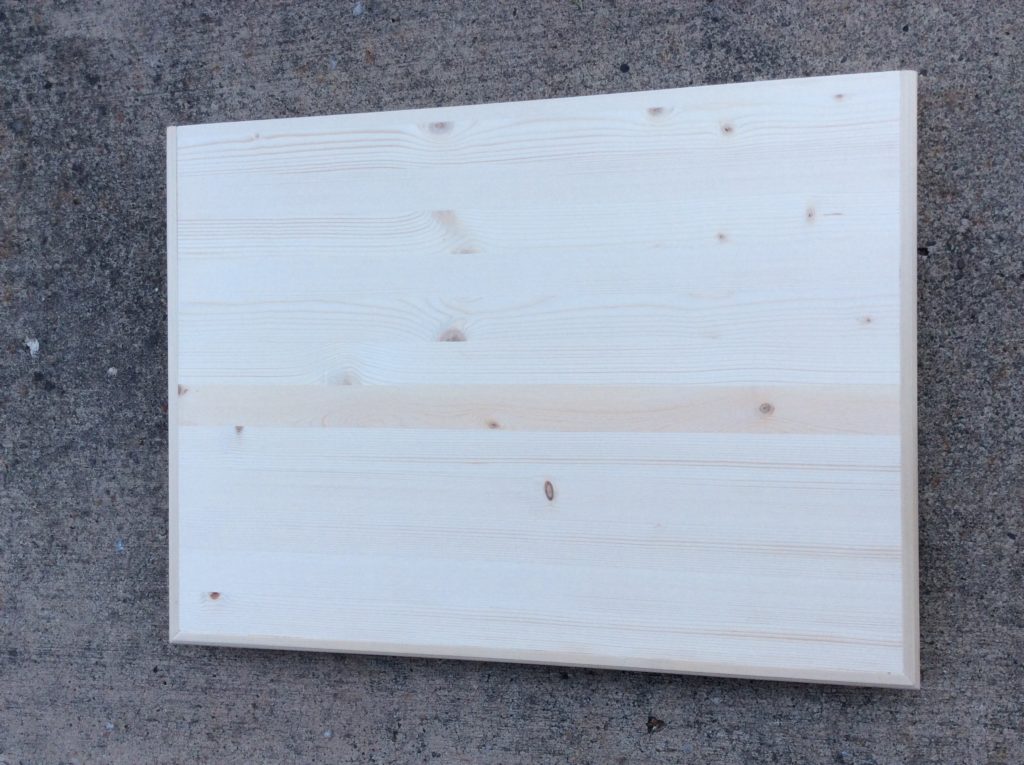
During:
And after:
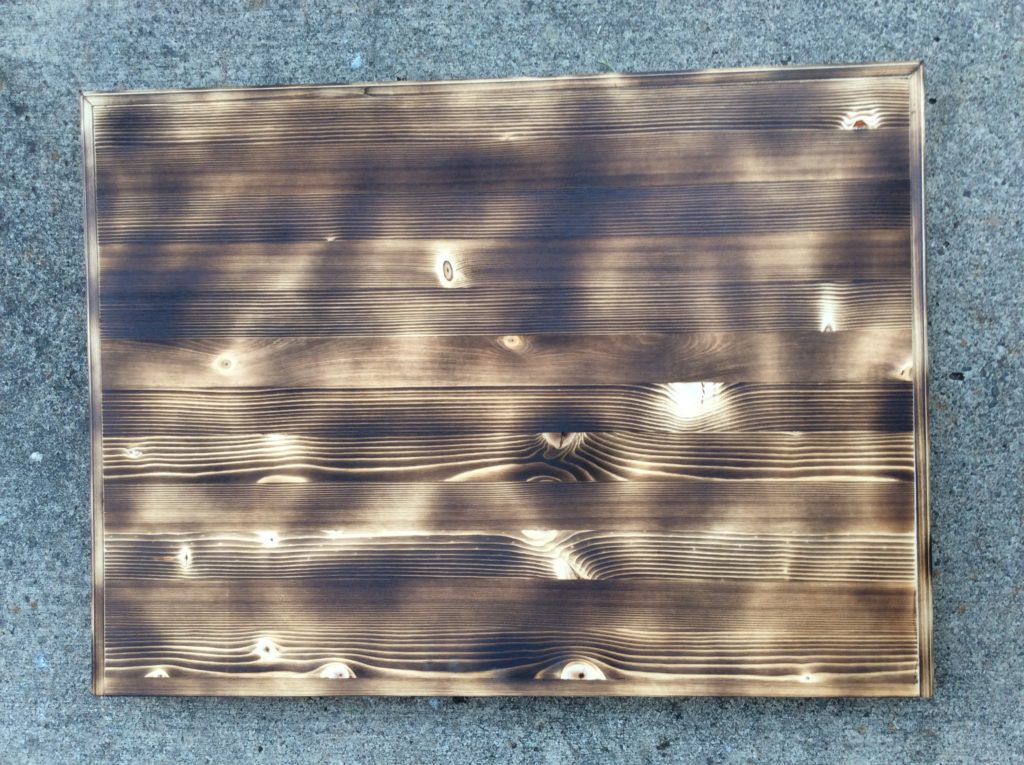
I think it’s looking pretty good…most of this will be covered by the top mount sink so it didn’t need to be perfect.
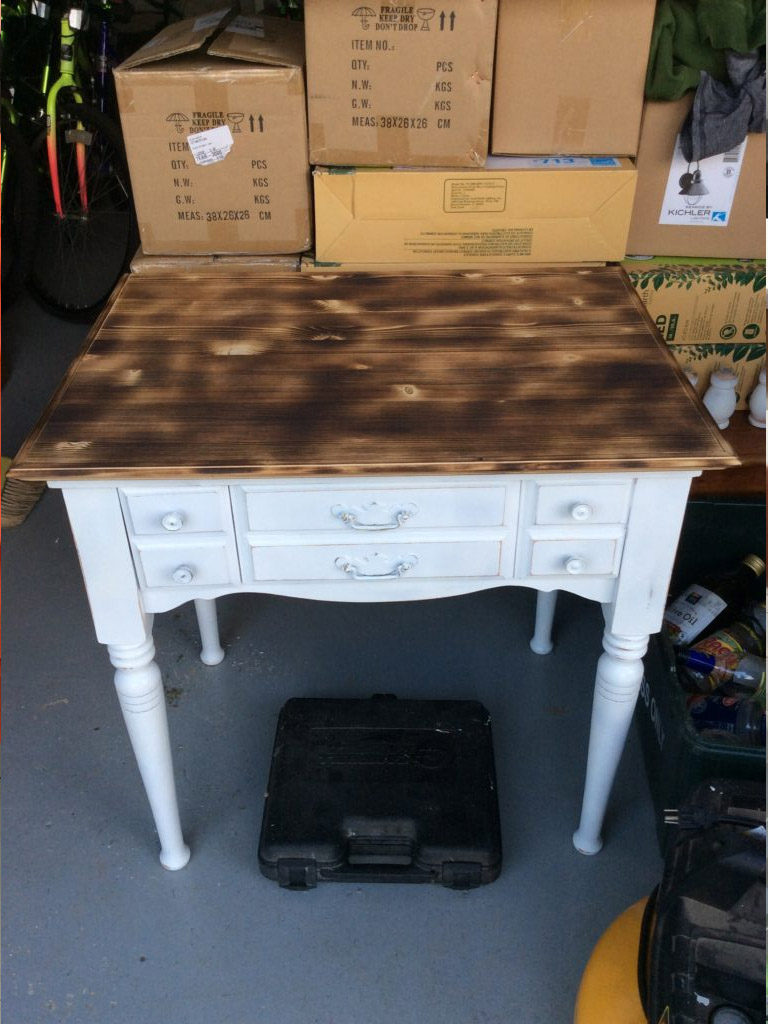
Now onto the polyurethane…coat #1…and 2…3…4…5 on both sides.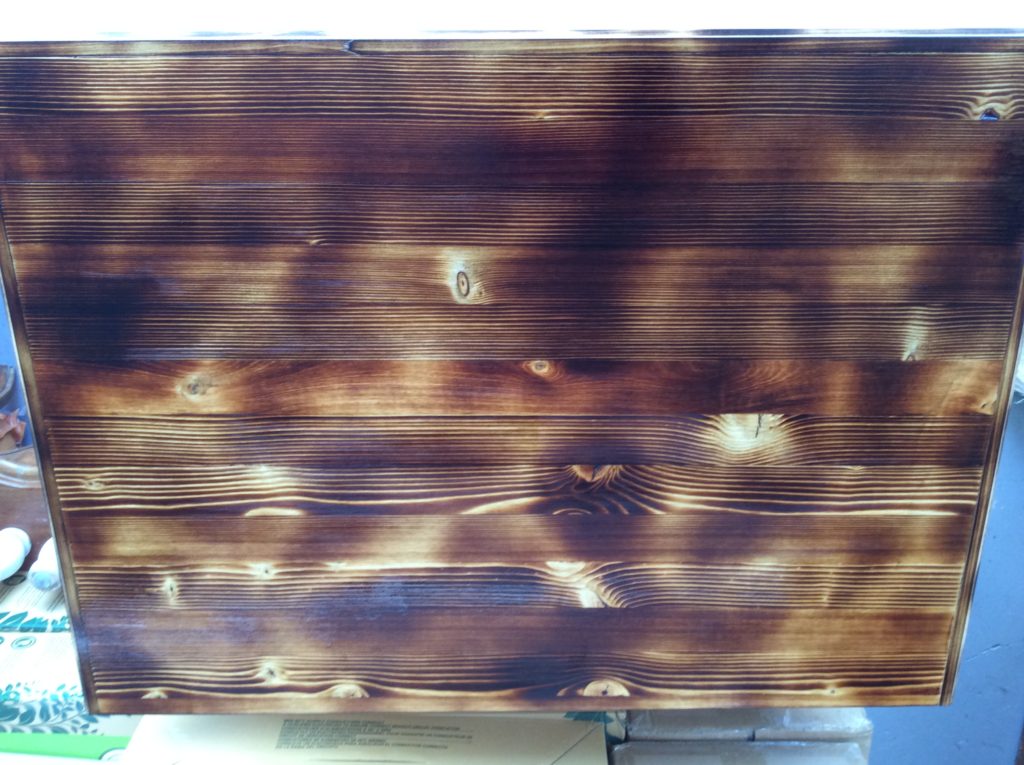 Then we did the same thing for the bottom shelf. Along with all the coats of poly.
Next step was to put it all back together.
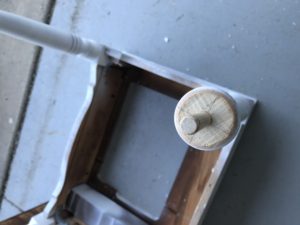
In order to add the bottom shelf, we cut off the bottom part of the legs so that we could sandwich the shelf in between. We drilled holes in the center of both top and bottom parts of the legs and then a hole through the shelf. And by we I mean Jim did the work while I directed…it was a team effort. Go team!
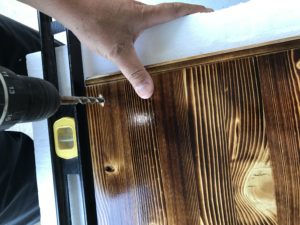
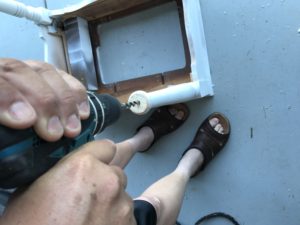
We glued dowels into the top leg holes, then the shelf and finally the bottom legs. We toenailed everything with finishing nails to make it extra sturdy.
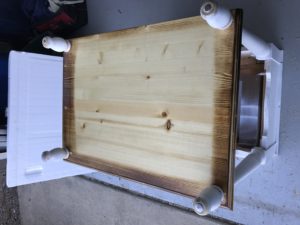
And then we just screwed on the top…easy peasy!
Tada!
It’s definitely different. A conversation piece. I’m a little on the fence but I think it will work…especially with the awesome black faucet.
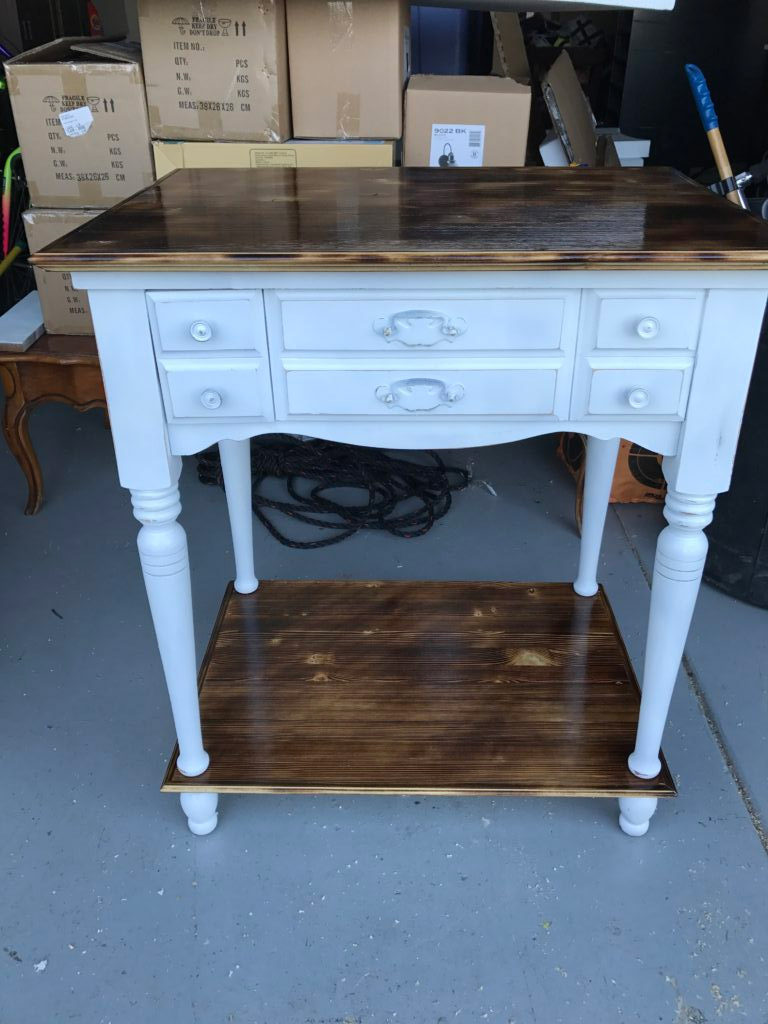
More pics to come when it all gets installed!
