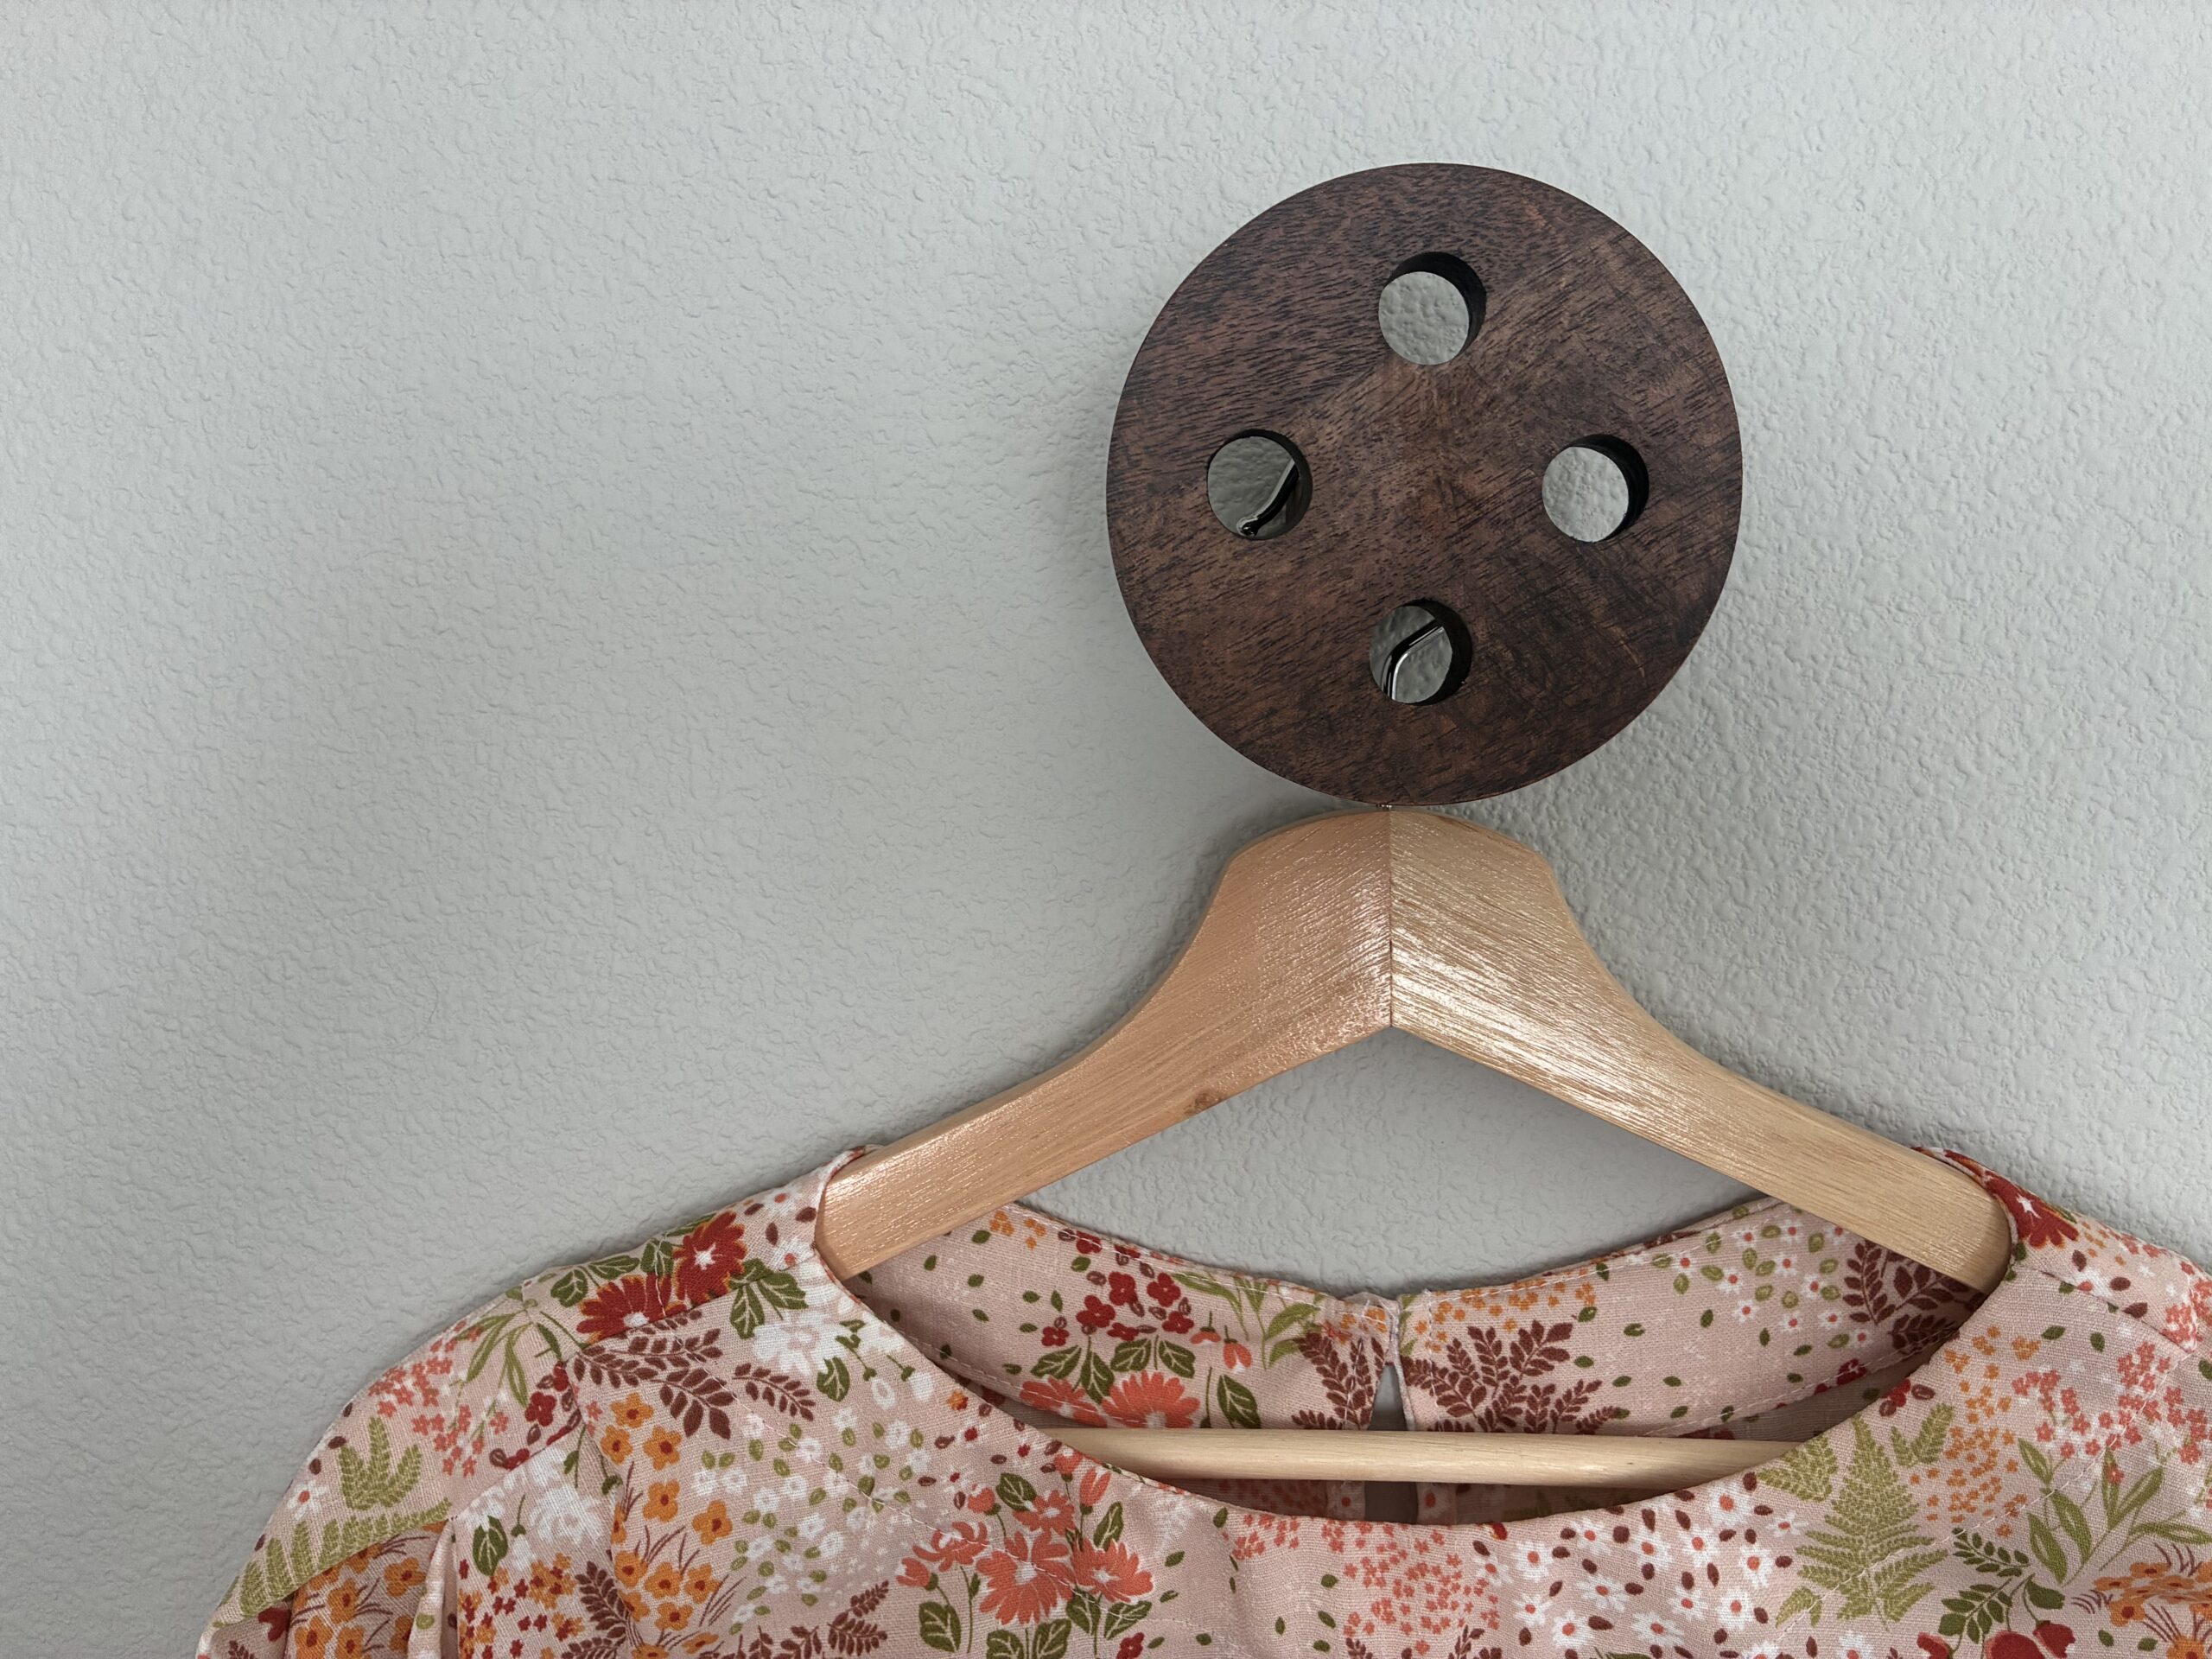
It always starts with seeing something either in real life or on the interwebs…and then I can’t get it out of my mind. Because there’s always some way to make it myself.
There’s a cute sewing studio way on the other side of the world that has these button hooks to display clothing or hang purses (find them on the gram). I fell in love and thought that it would be a great way to show off my makes! But, I’m not going to pay the international shipping (and probably tariffs up the wazoo) to buy them where she did. I did search the Etsy shops and various other places. But nah.
I can make these myself! I just need something round! So obviously, I bought a 4-pack of coasters for like $7 after Kohl’s cash.
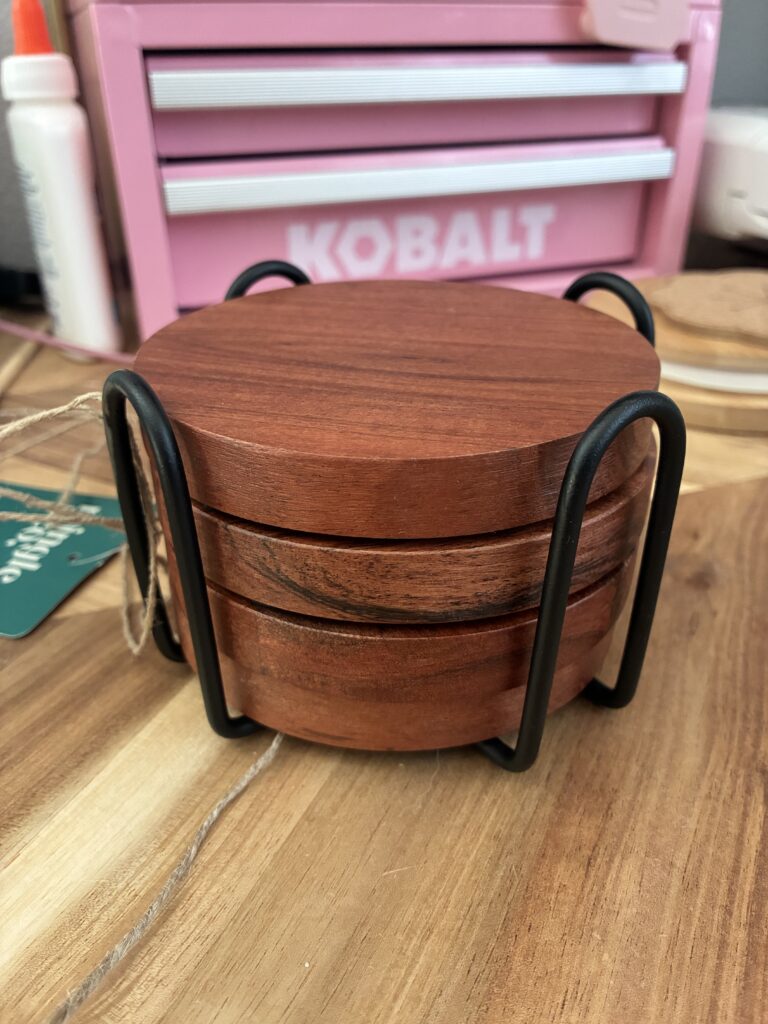
Can you see my vision yet?
But, Laura…how on earth can you hang something on that? Well…I needed to head to the Home Depot and find the parts to do just that! Mostly because I thought it’d be cheaper and quicker than buying something already pre-made. And I really didn’t want to give Amazon my money.
So I researched what I needed and went and bought a 1″ dowel and these insert thingies and some other thingies for around $20. And then after those all sat in the garage for a couple of weeks, I decided to just order the 4-pack of wooden wall hooks from Amazon. Don’t judge. They were $10. Already assembled. With wall anchors. And next day shipping. With a free Prime trial. Because no way I’m giving Amazon unnecessary moola. That’s my story.
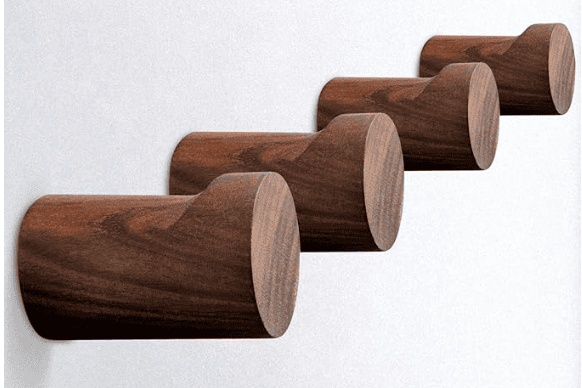
So yeah, they came and the home depot supplies went back to their home because these were just about perfect (except they didn’t match the wood of the coasters…but I’ll fix that).
Making the buttons
I used my trusty Illustrator skills to make myself a template to drill the button holes keeping enough room in the center for the hook part.
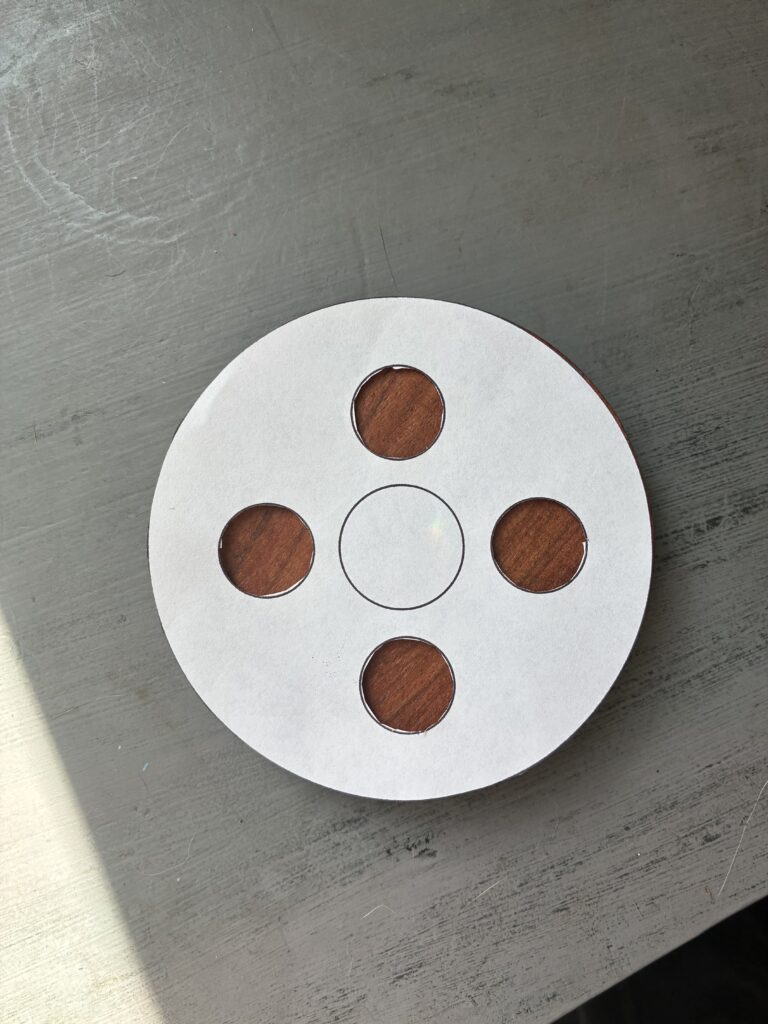
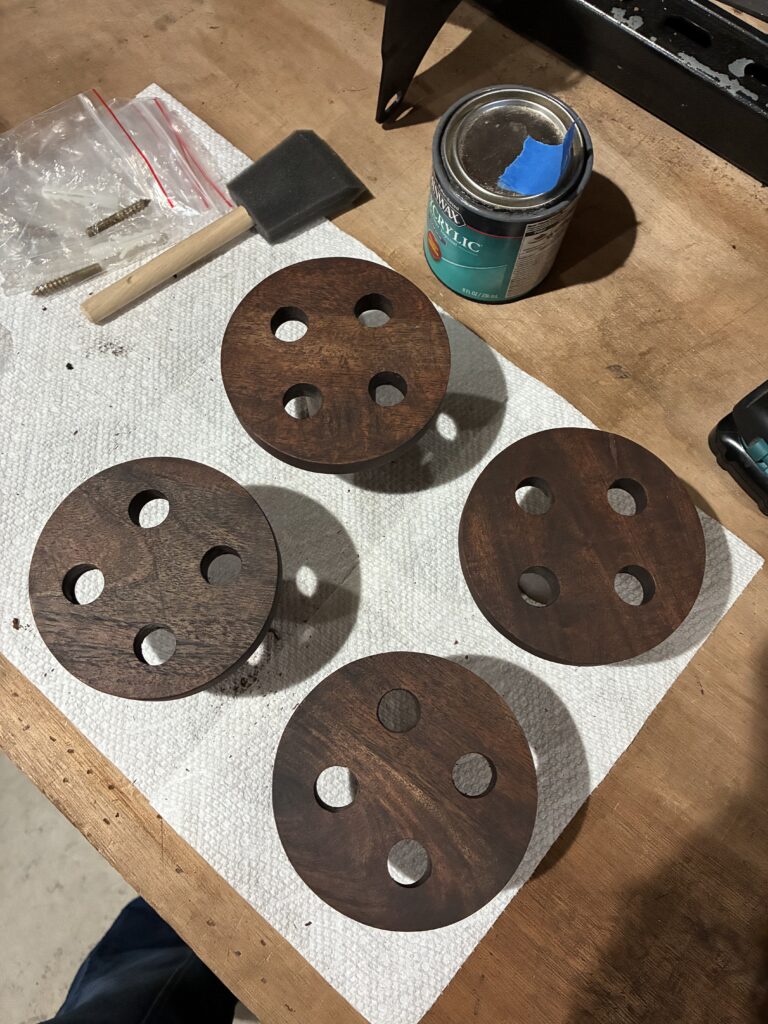
Then, with Jim’s help getting the right drill bit (and holding the coaster…and eventually taking over because I can’t drill for the life of me), I had four buttons! But then I had to solve the not matching issue. Enter…my trusty orbital sander! And I did it all by myself.
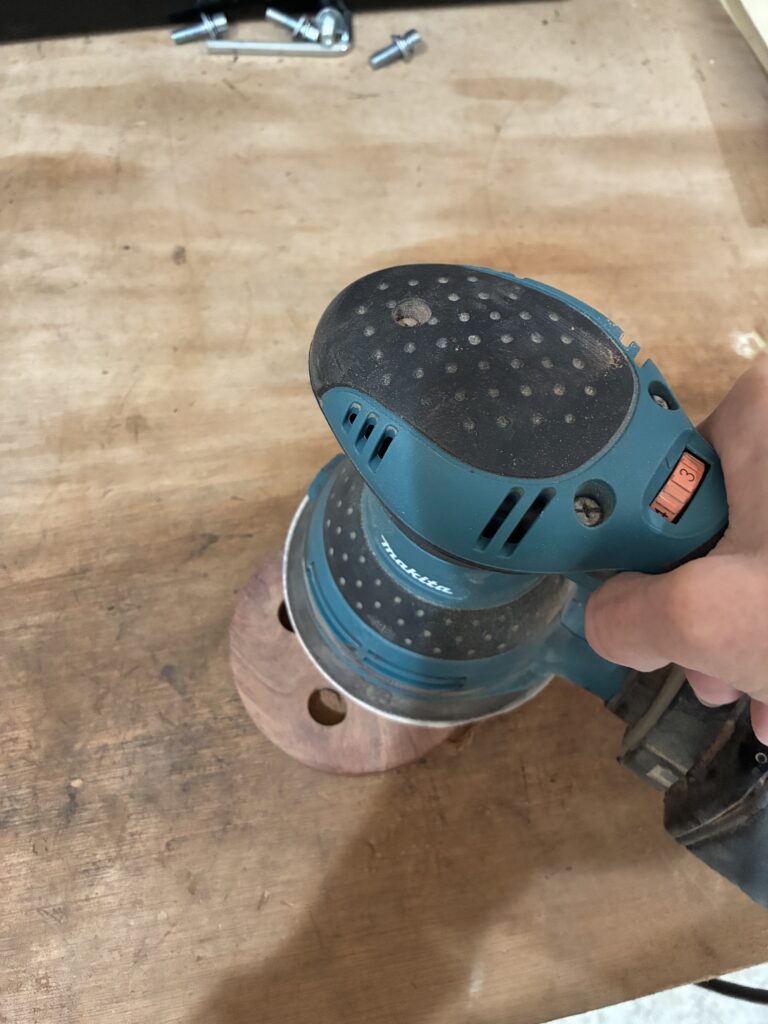
I sanded the worst one (obviously the one I drilled before Jim took over) and tested my tried and true wood stain. The match was perfect! So I carried on and did the other three.
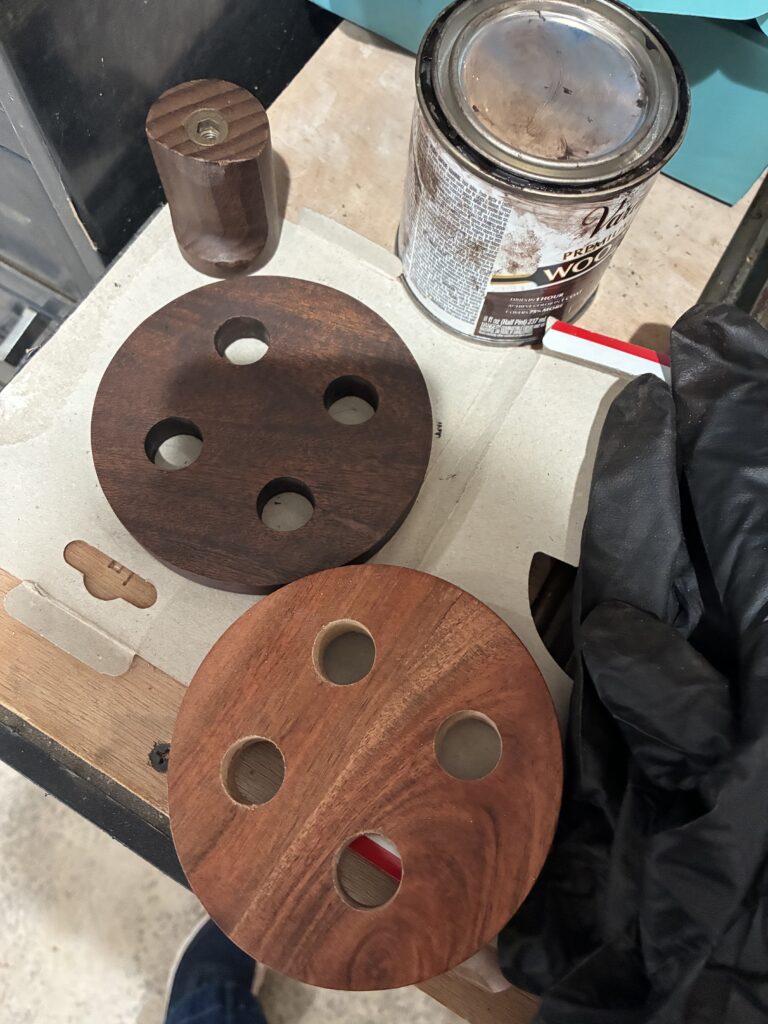
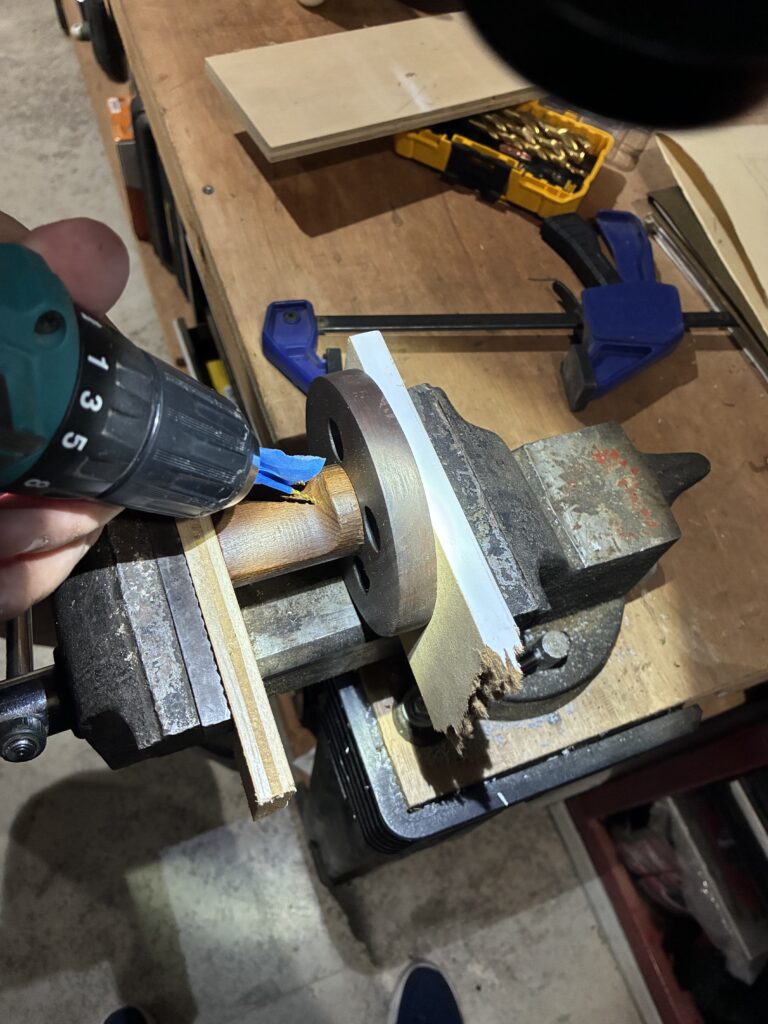
Next step was to attach the hook to the button. I had some random little screws that would do the trick. After some trial and error (and Jim’s help, of course), we figured out the best way to attach these:
- Add a little wood glue for perfect placement
- Secure it in the vice to keep everything in place
- Pre-drill a hole with a smaller drill bit taking care not to drill too far
- Countersink around the hole
- Drill in the screw
- Viola!
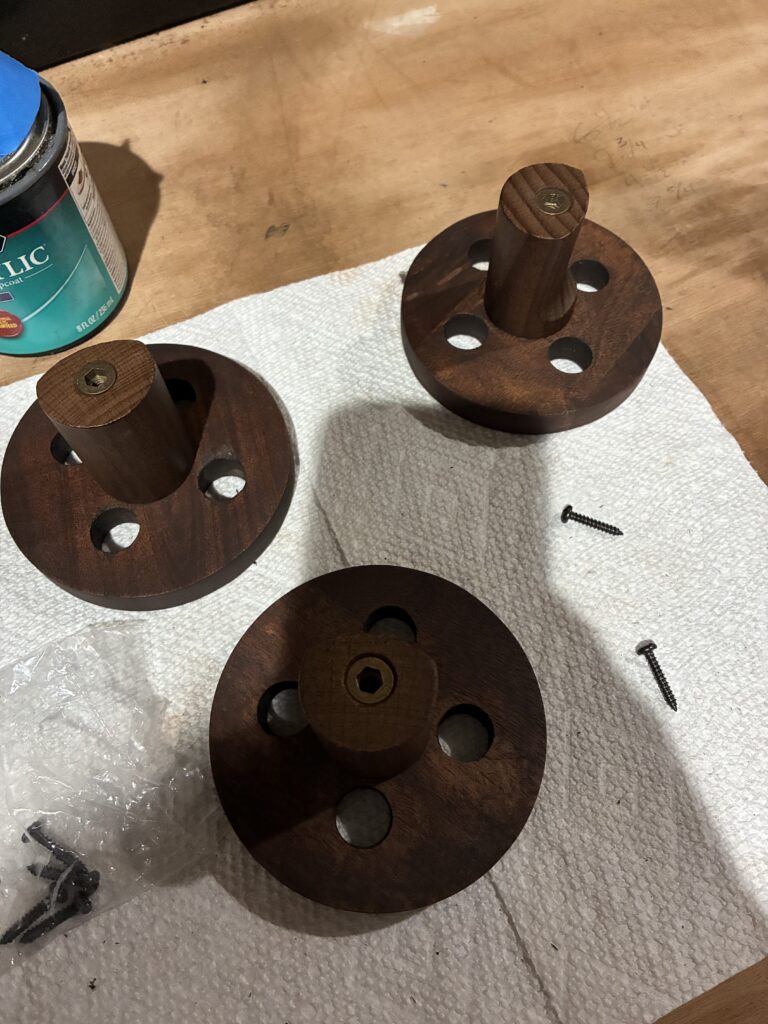
The last step was to add a little bit of poly. Aside from buying the coasters and hooks ($17), I had everything else on hand making this one of the most affordable (and quickest) projects to date!
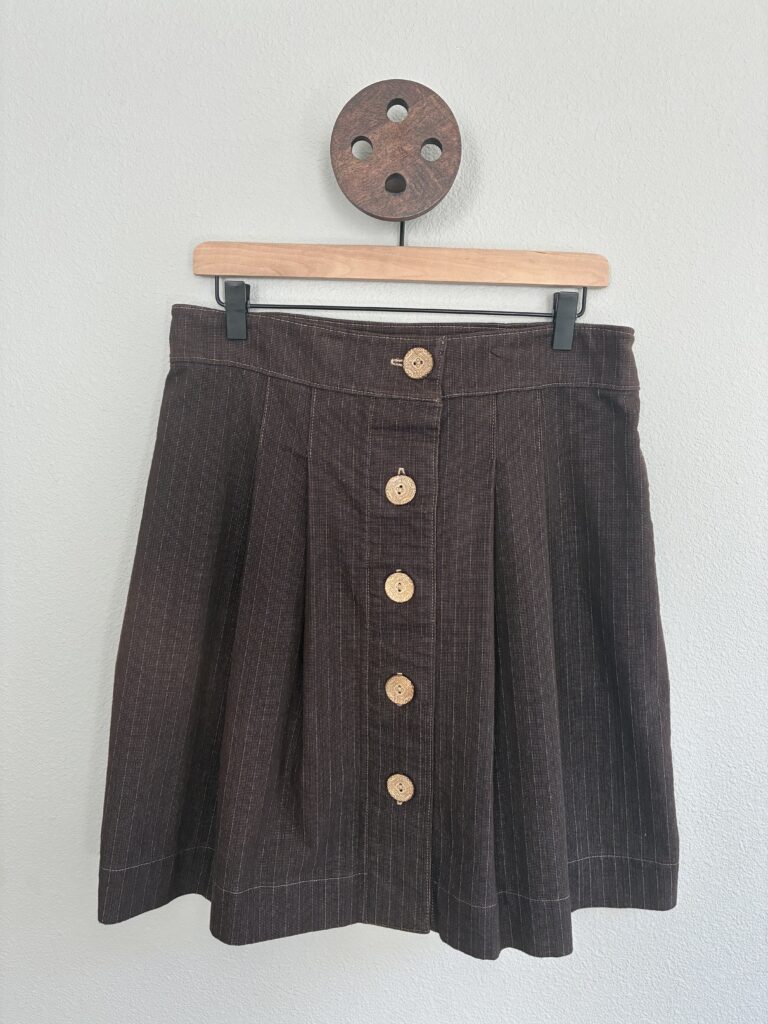
And now I have the cutest way to showcase my makes!
You are so talented and clever! I love how Jim helps!
Thanks, Sister! I’m sure Jim “loves” to help too!